DIY Paper Olive Tree
I’ve made olive leaf branches before to pair with paper flowers, but this time I wanted something bigger, a full paper olive tree for my craft room studio. Faux olive trees can be pricey, and I’ve always loved their organic look. So I decided to create one entirely from cardstock paper and it turned out even better than I imagined. The best part? You can make individual branches or build the entire tree depending on your space.

Supplies You’ll Need
Template- https://www.handmadebysarakim.com/digital-templates/olive
Green (use discount code “SARAKIM10”)- https://www.12x12cardstock.shop/?p=BkRvWGQ5n
Brown Floral Wire- https://bit.ly/3elPLnJ
Green Floral Wire- https://bit.ly/3xMzFKB
Wire Cutter + Poking Tool- https://bit.ly/3uv7QEI
Green Floral Tape- https://bit.ly/3yuaSLH
Pan Pastel- https://liketk.it/5T0Fc
Hot Glue- https://bit.ly/3M61tk8
Cricut Maker- https://bit.ly/4oIxBgu
Silhouette Cameo (use discount code “SARAKIM”)- https://www.silhouetteamerica.com/silhouette-cameo-5-alpha
Electrostatic Mat (use discount code “SARAKIM”)- https://www.silhouetteamerica.com/CUT-MAT-ES-WHT-12

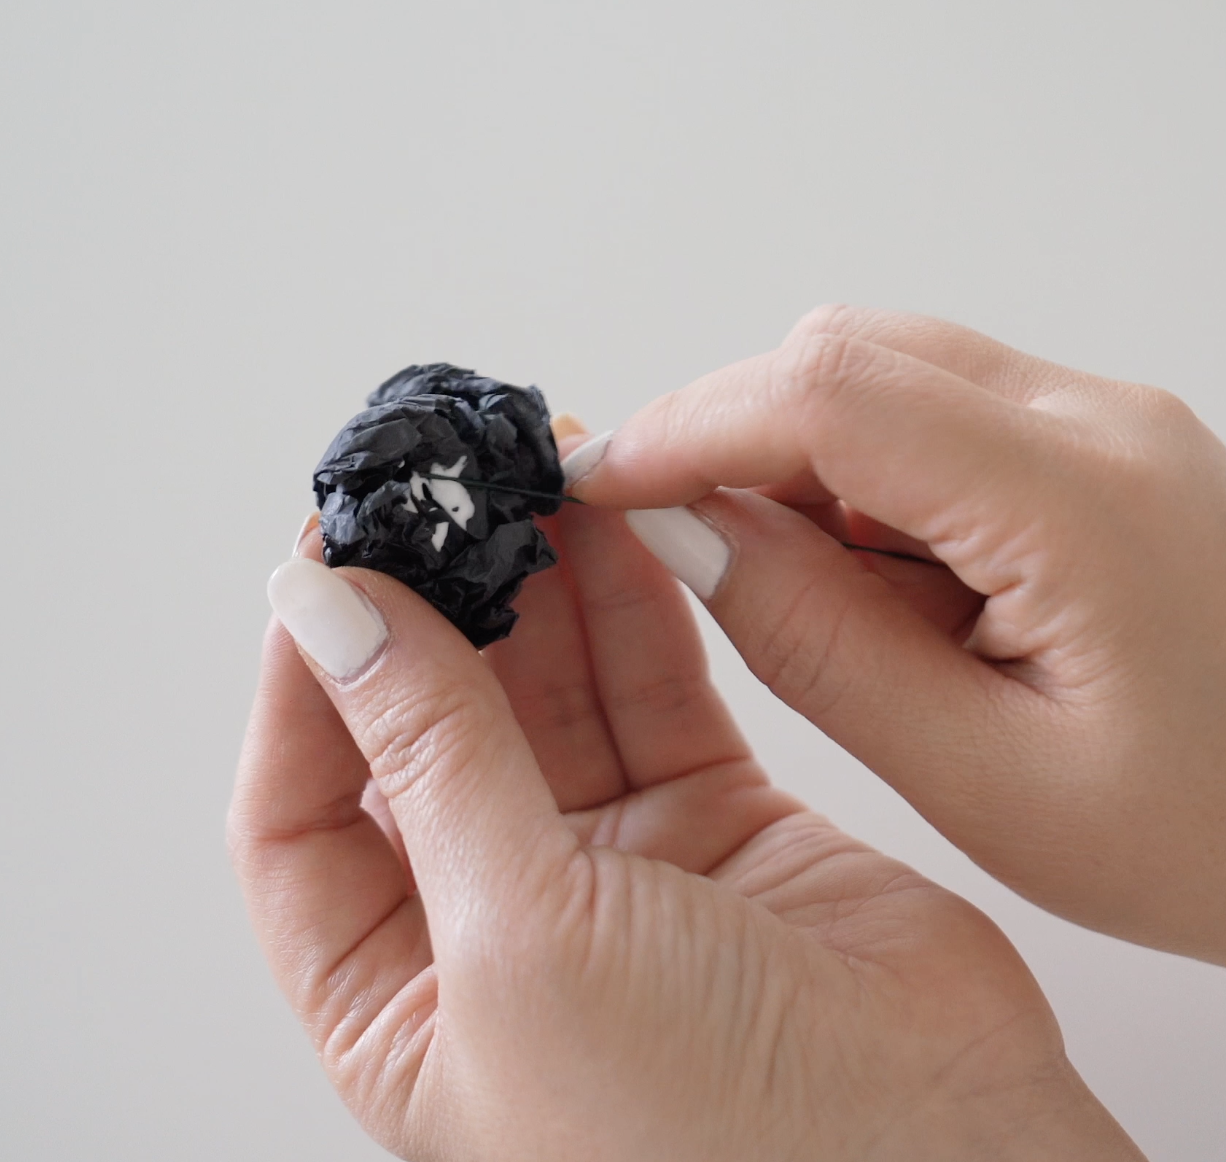
Step 1: Make the Olives (Optional)
Take tissue paper in any color and glue it into a small ball onto 22 gauge floral wire. Wrap the base with floral tape. Leave them green for unripe olives or use black pan pastel for darker olives. Olives are optional, many trees look beautiful without them.
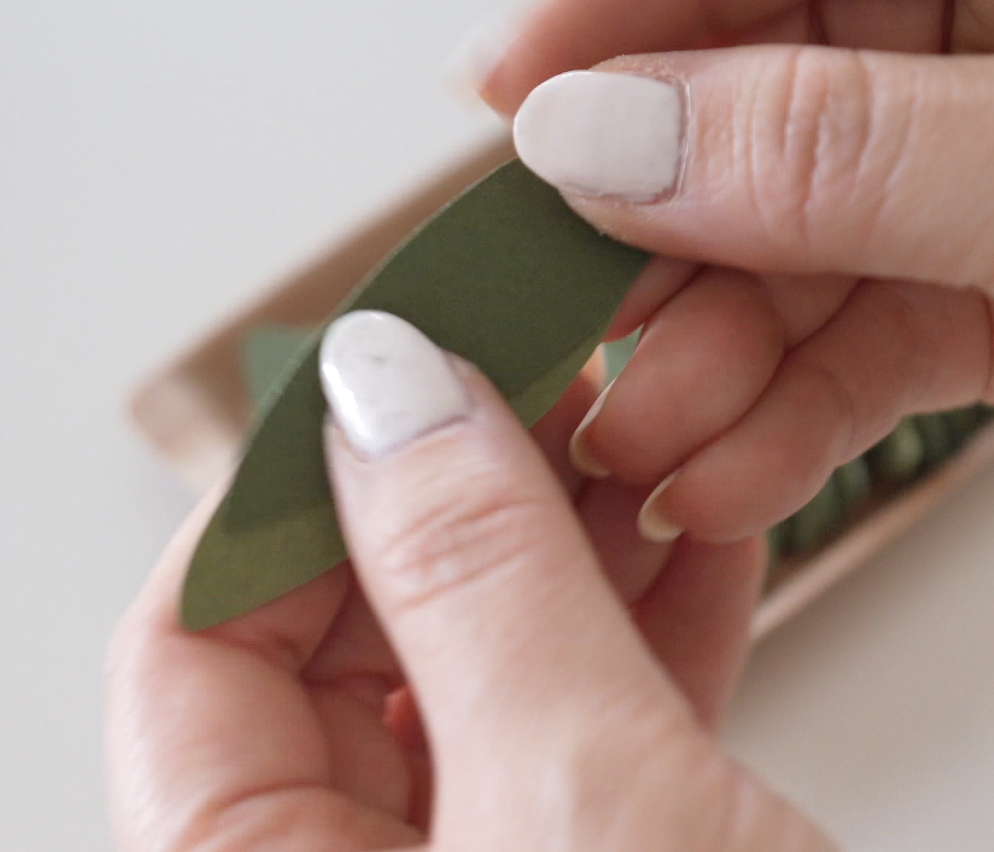
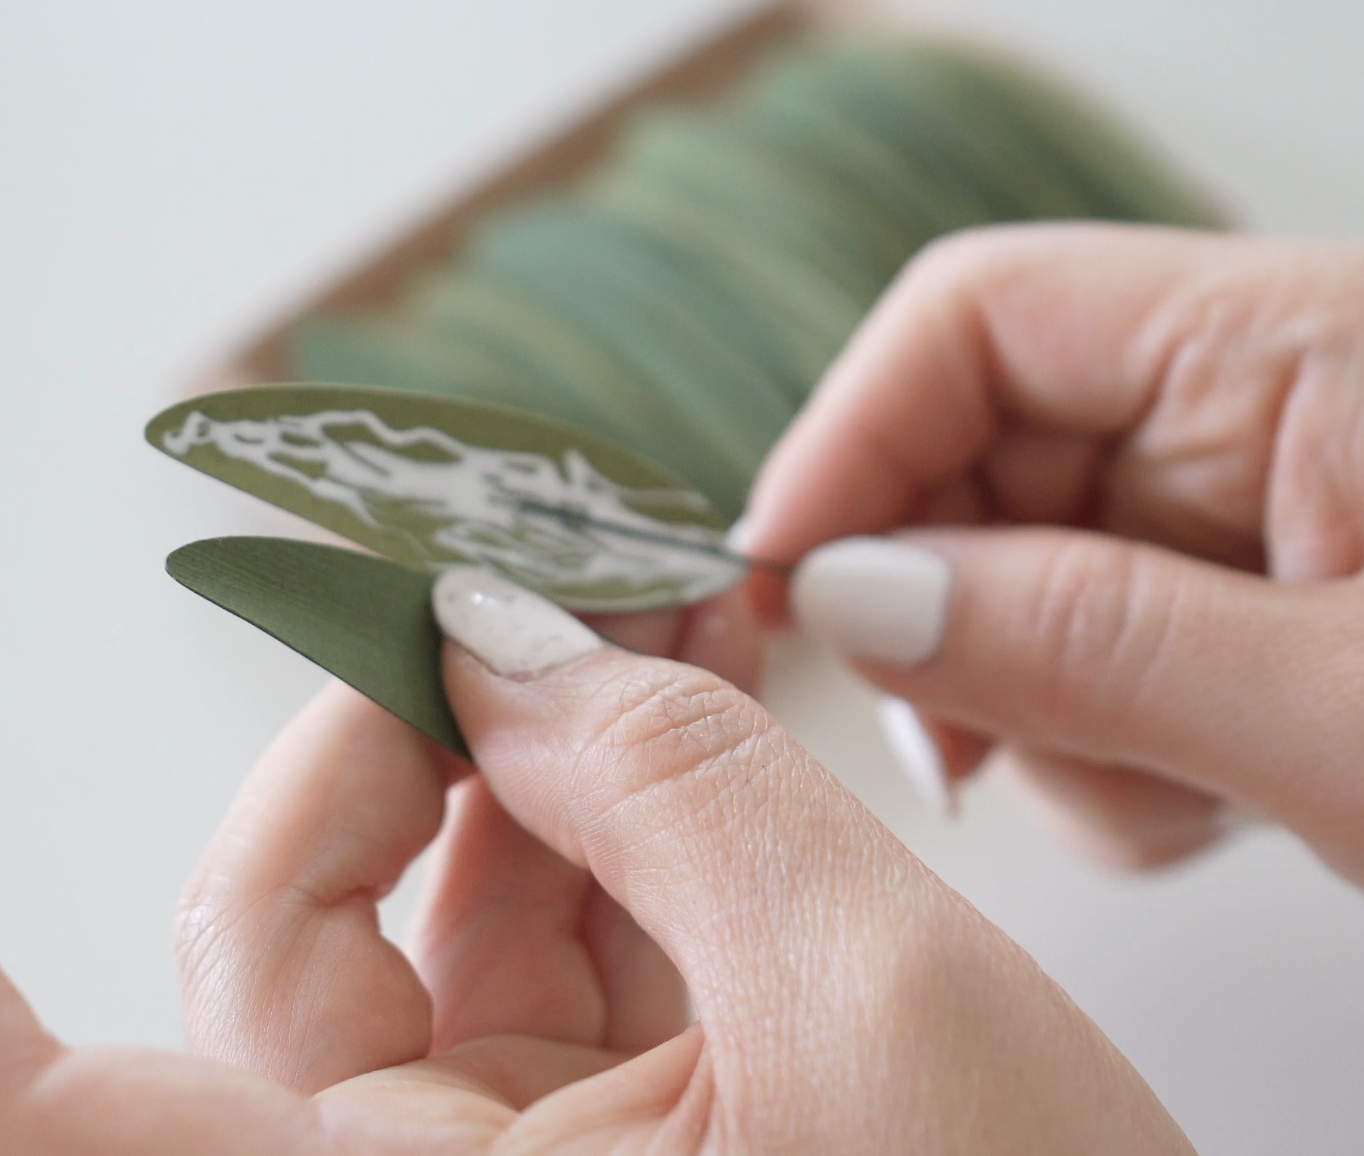
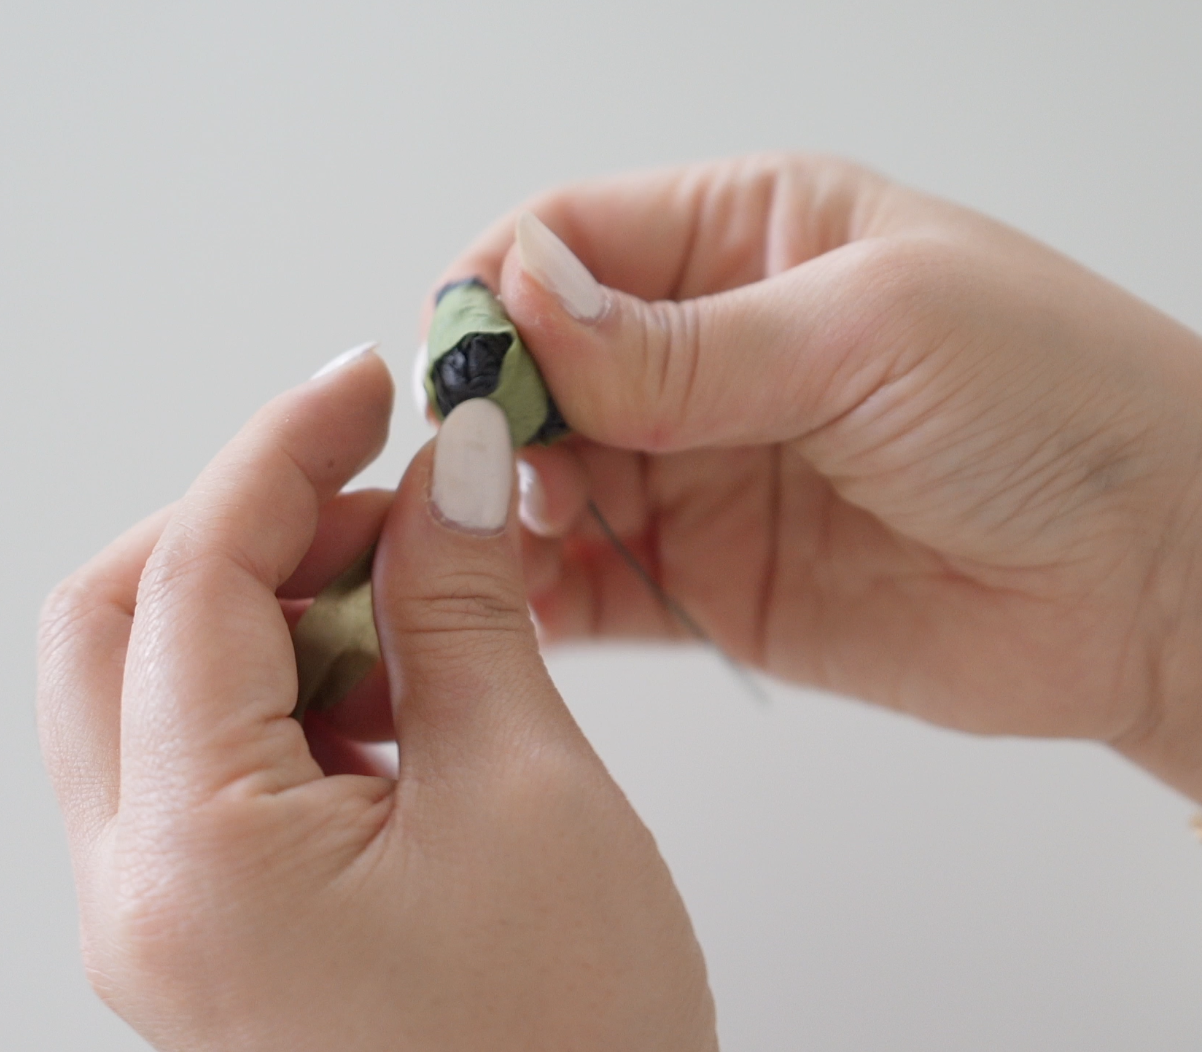
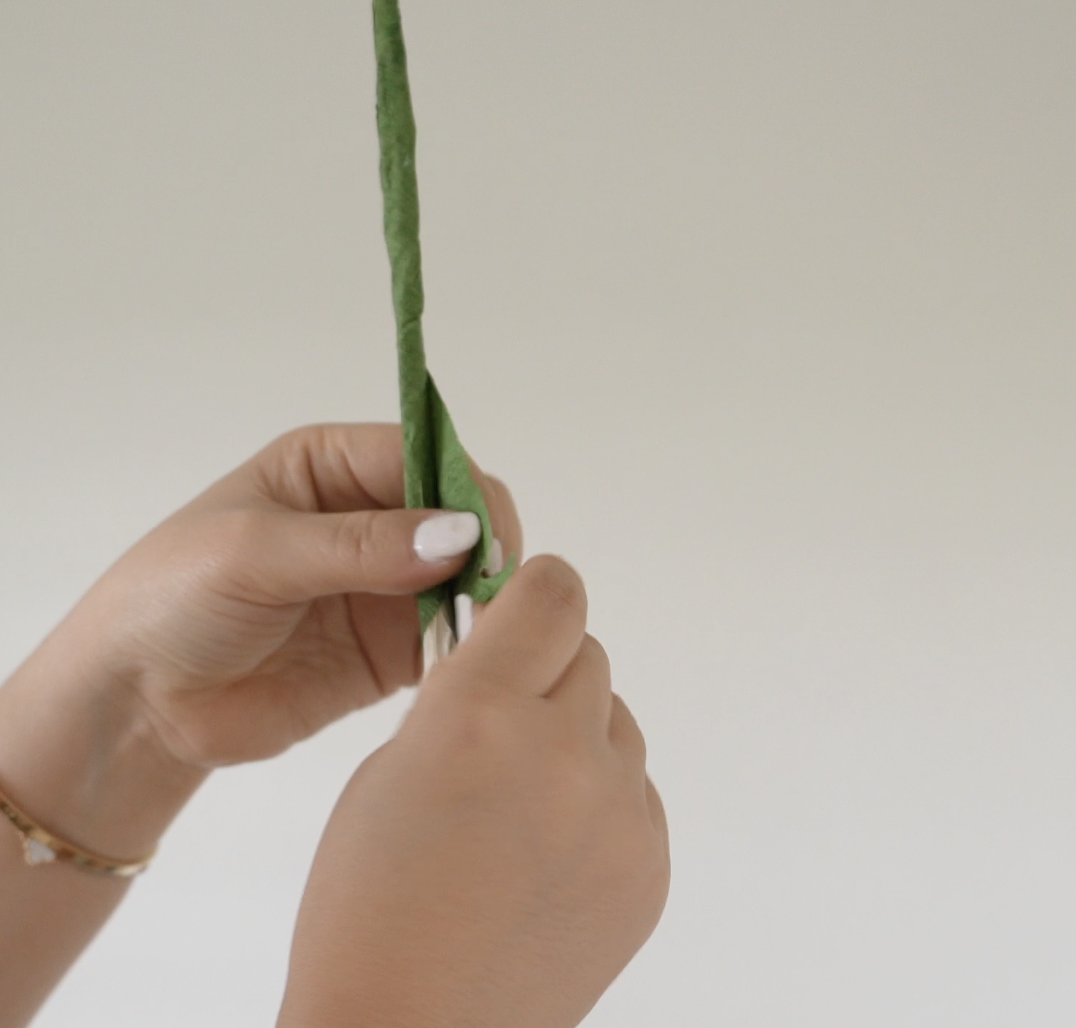
Step 2: Create the Leaves
Cut full sets of leaves from dark green and light green cardstock. Pair one dark + one light together.
Fold the pair in half (doesn’t have to be perfect).
Glue together with white glue (more discreet than hot glue).
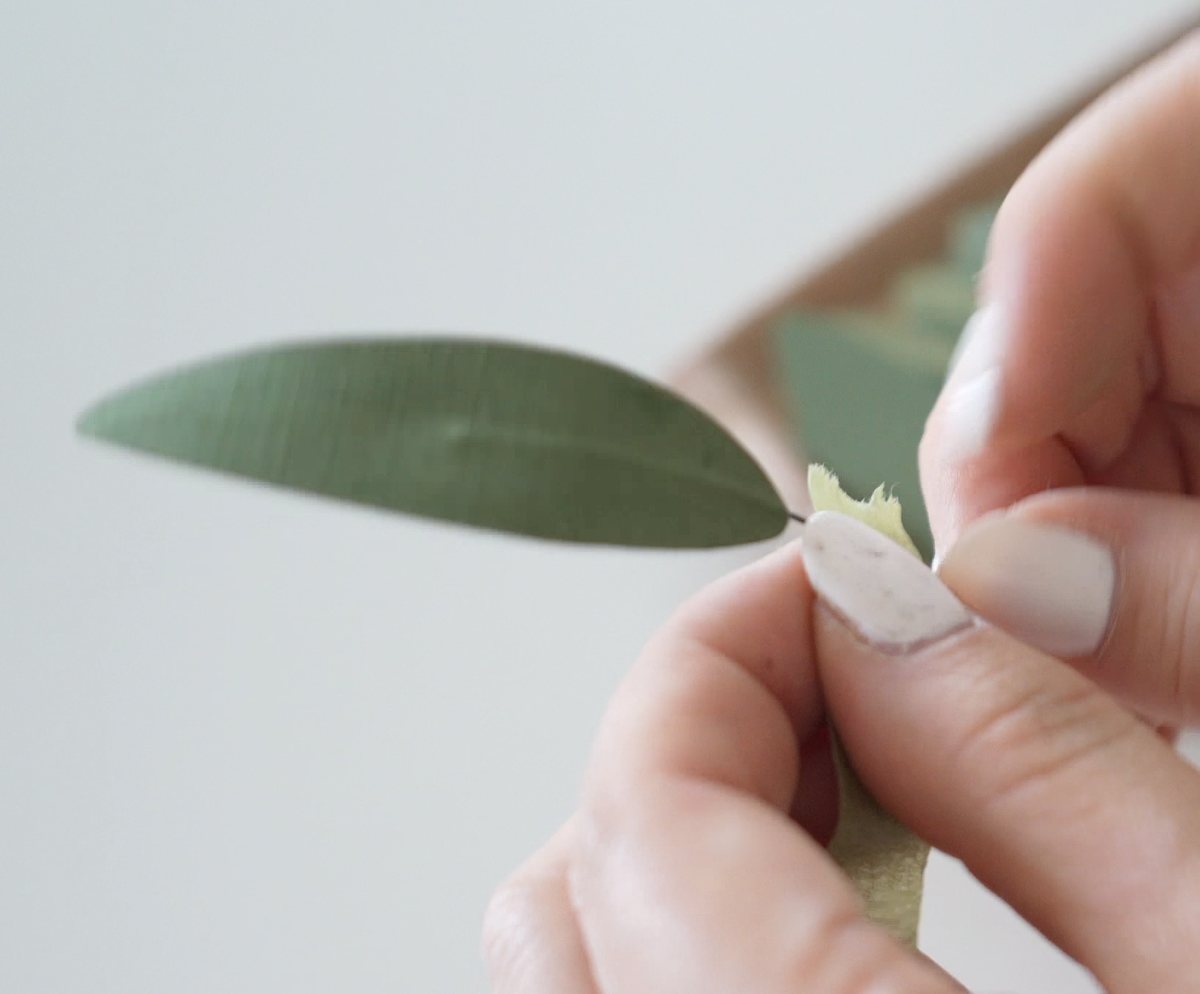
Sandwich a 22 gauge floral wire inside.
Shape leaves while glue is drying, curl some inward, some outward.
Wrap floral tape about 1 inch below the leaf.
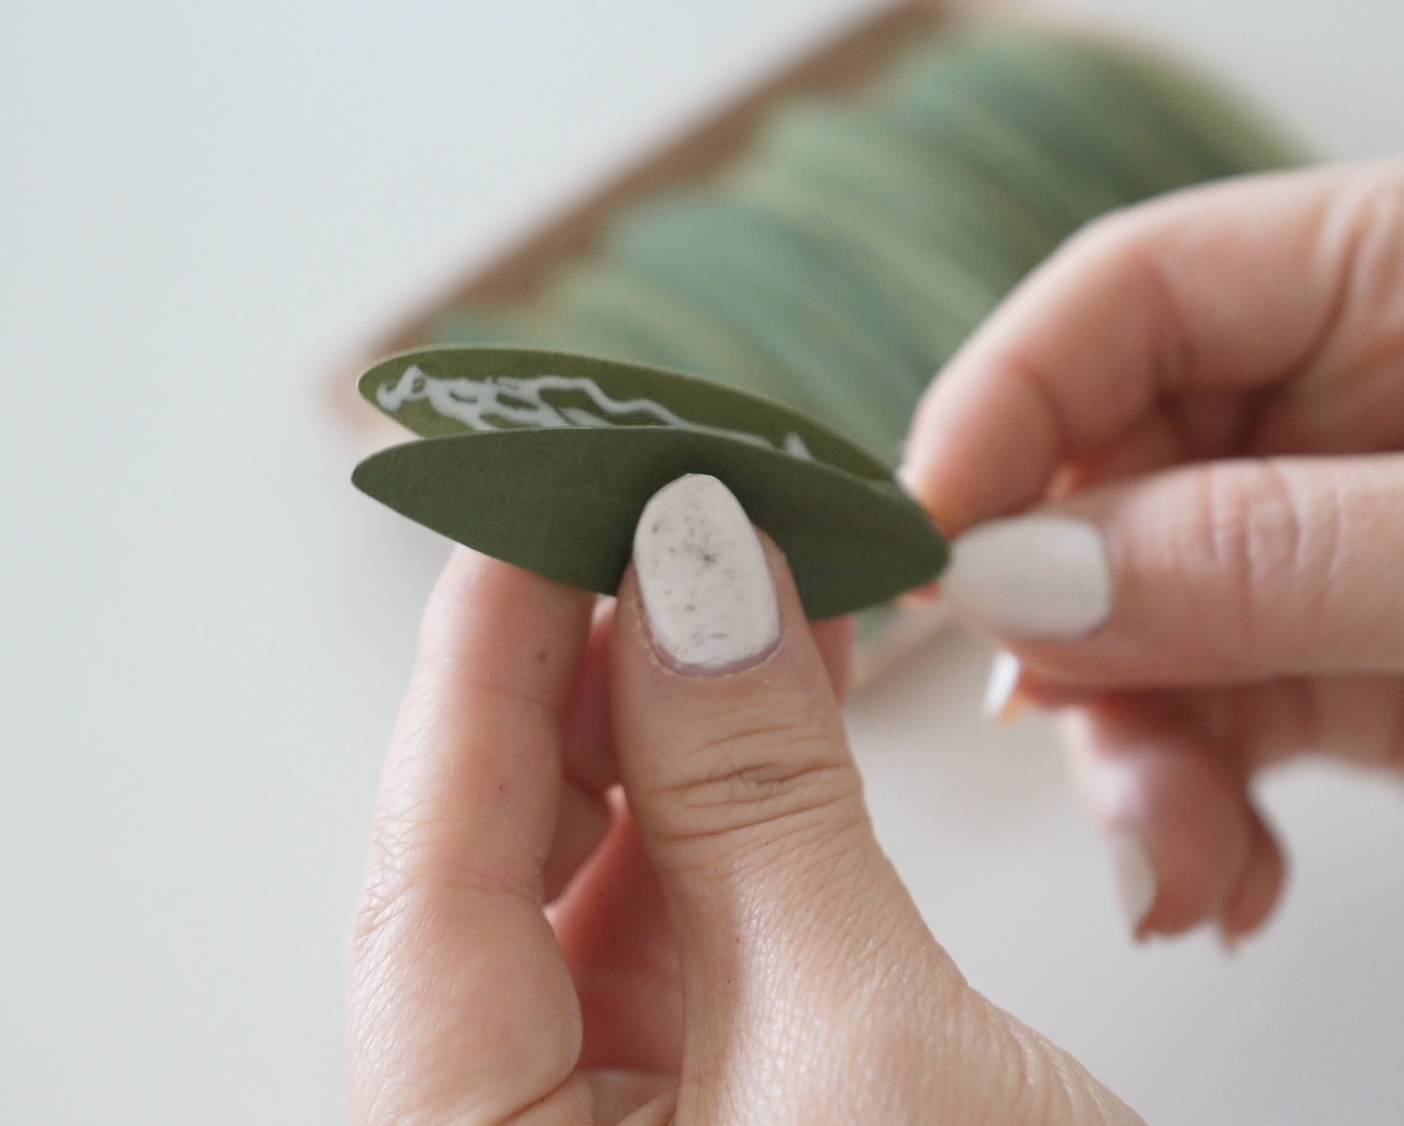
Use different sizes from the template and slightly adjust scaling so nothing looks identical. I used about 6 sheets dark green + 6 sheets light green for my tree.
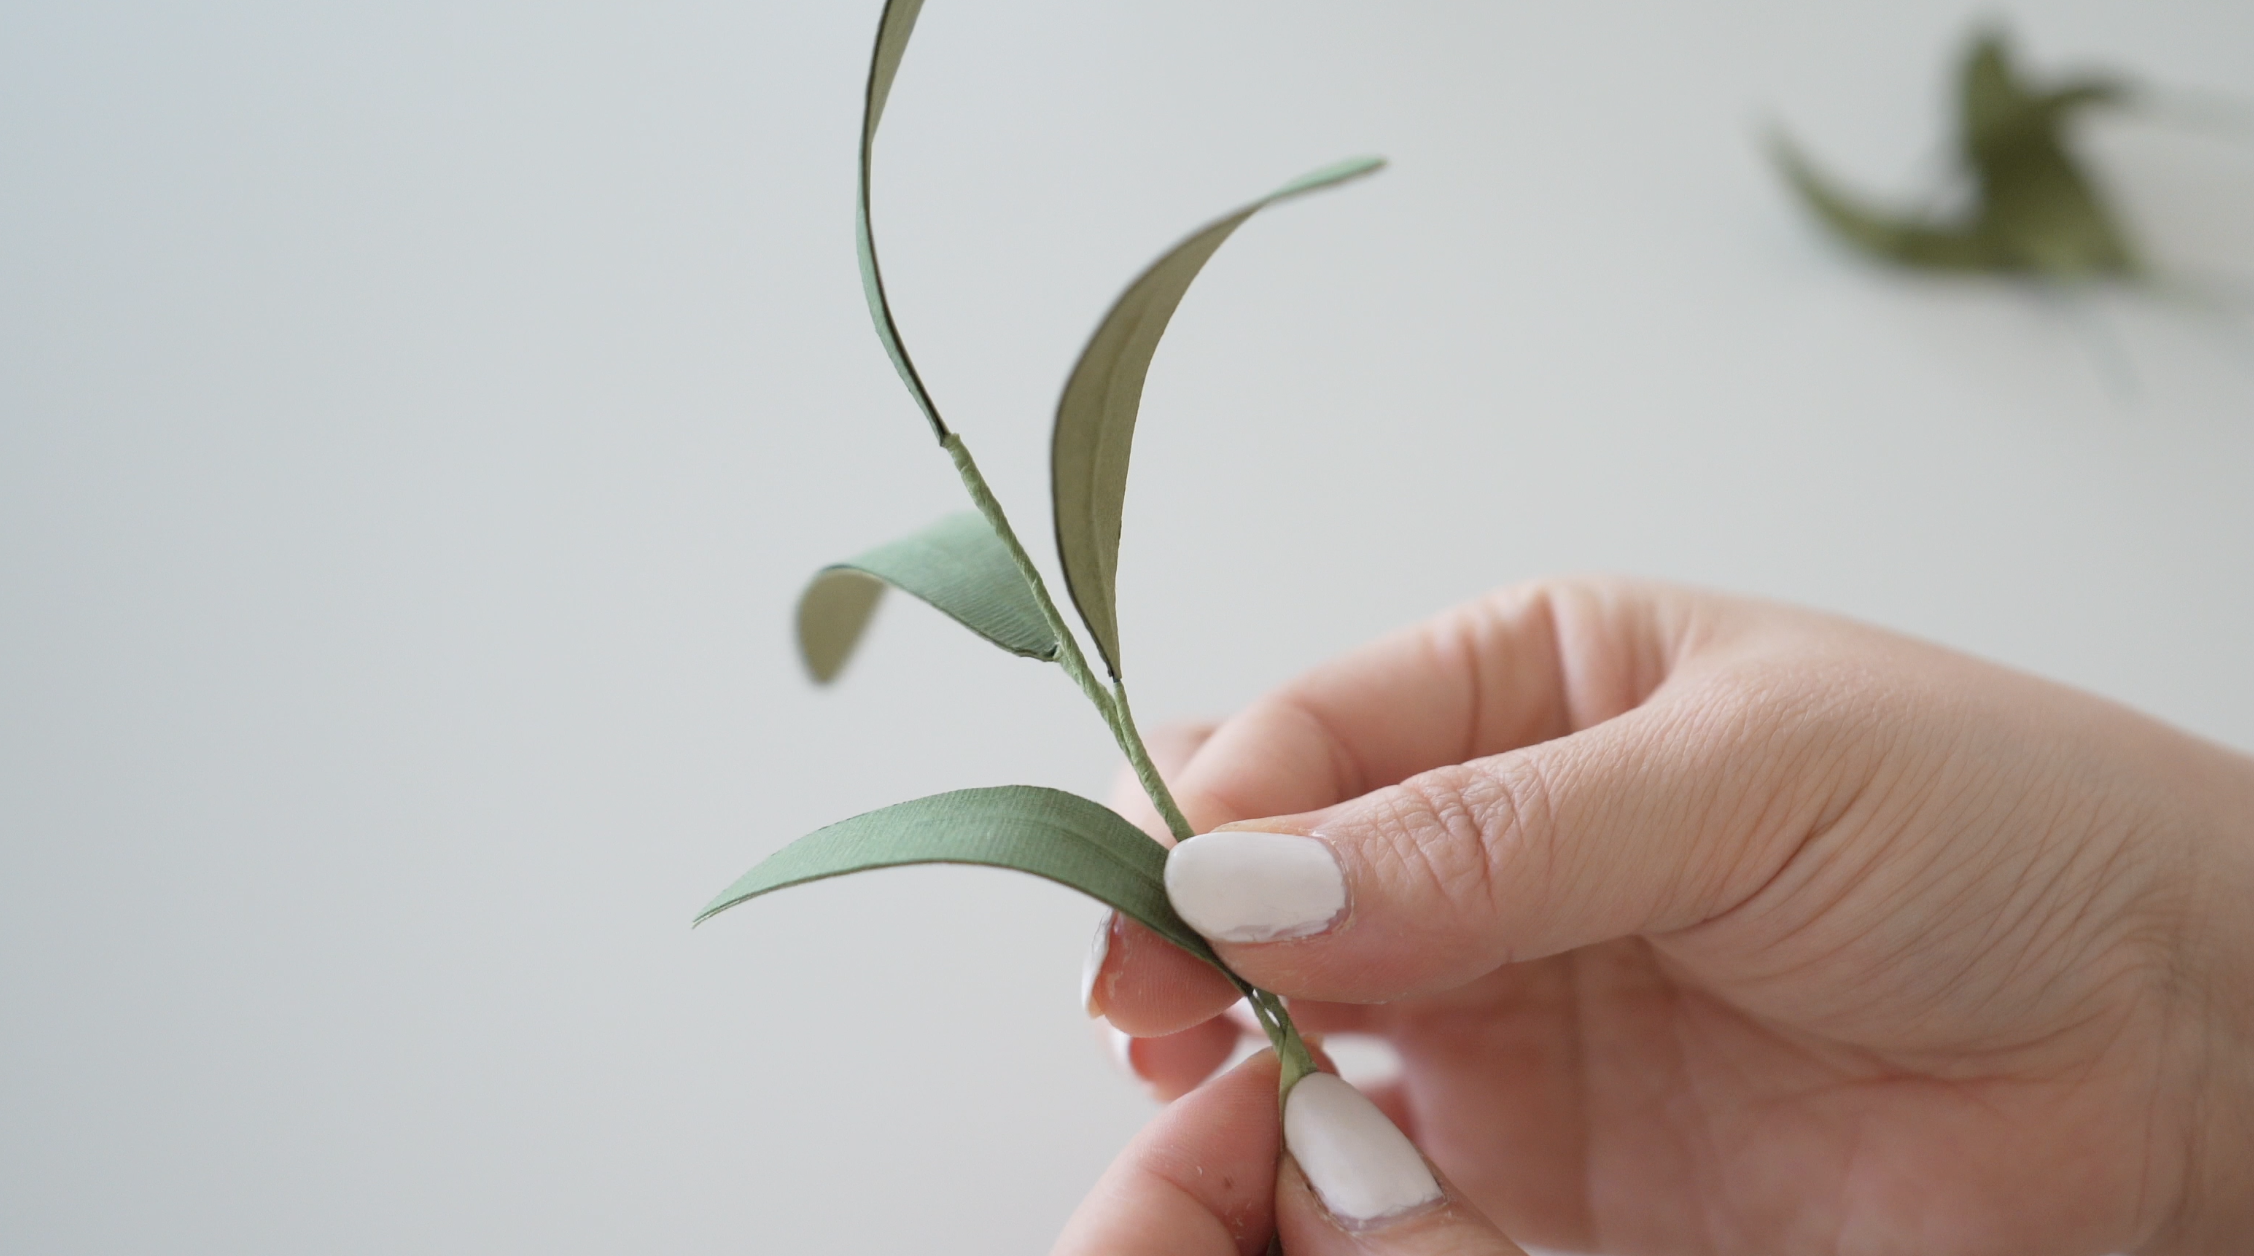
Step 3: Build Branches
Use longer 22 gauge floral wire: Tape a leaf to the top, go down a few inches and add another leaf (or two alternating), continue until branch is full
Then the thicker branches that will be the main branch will need a thicker floral wire, start at the top with one leaf, move downward adding 1–2 leaves at a time, add olive between leaves, attach smaller branches to the sides.
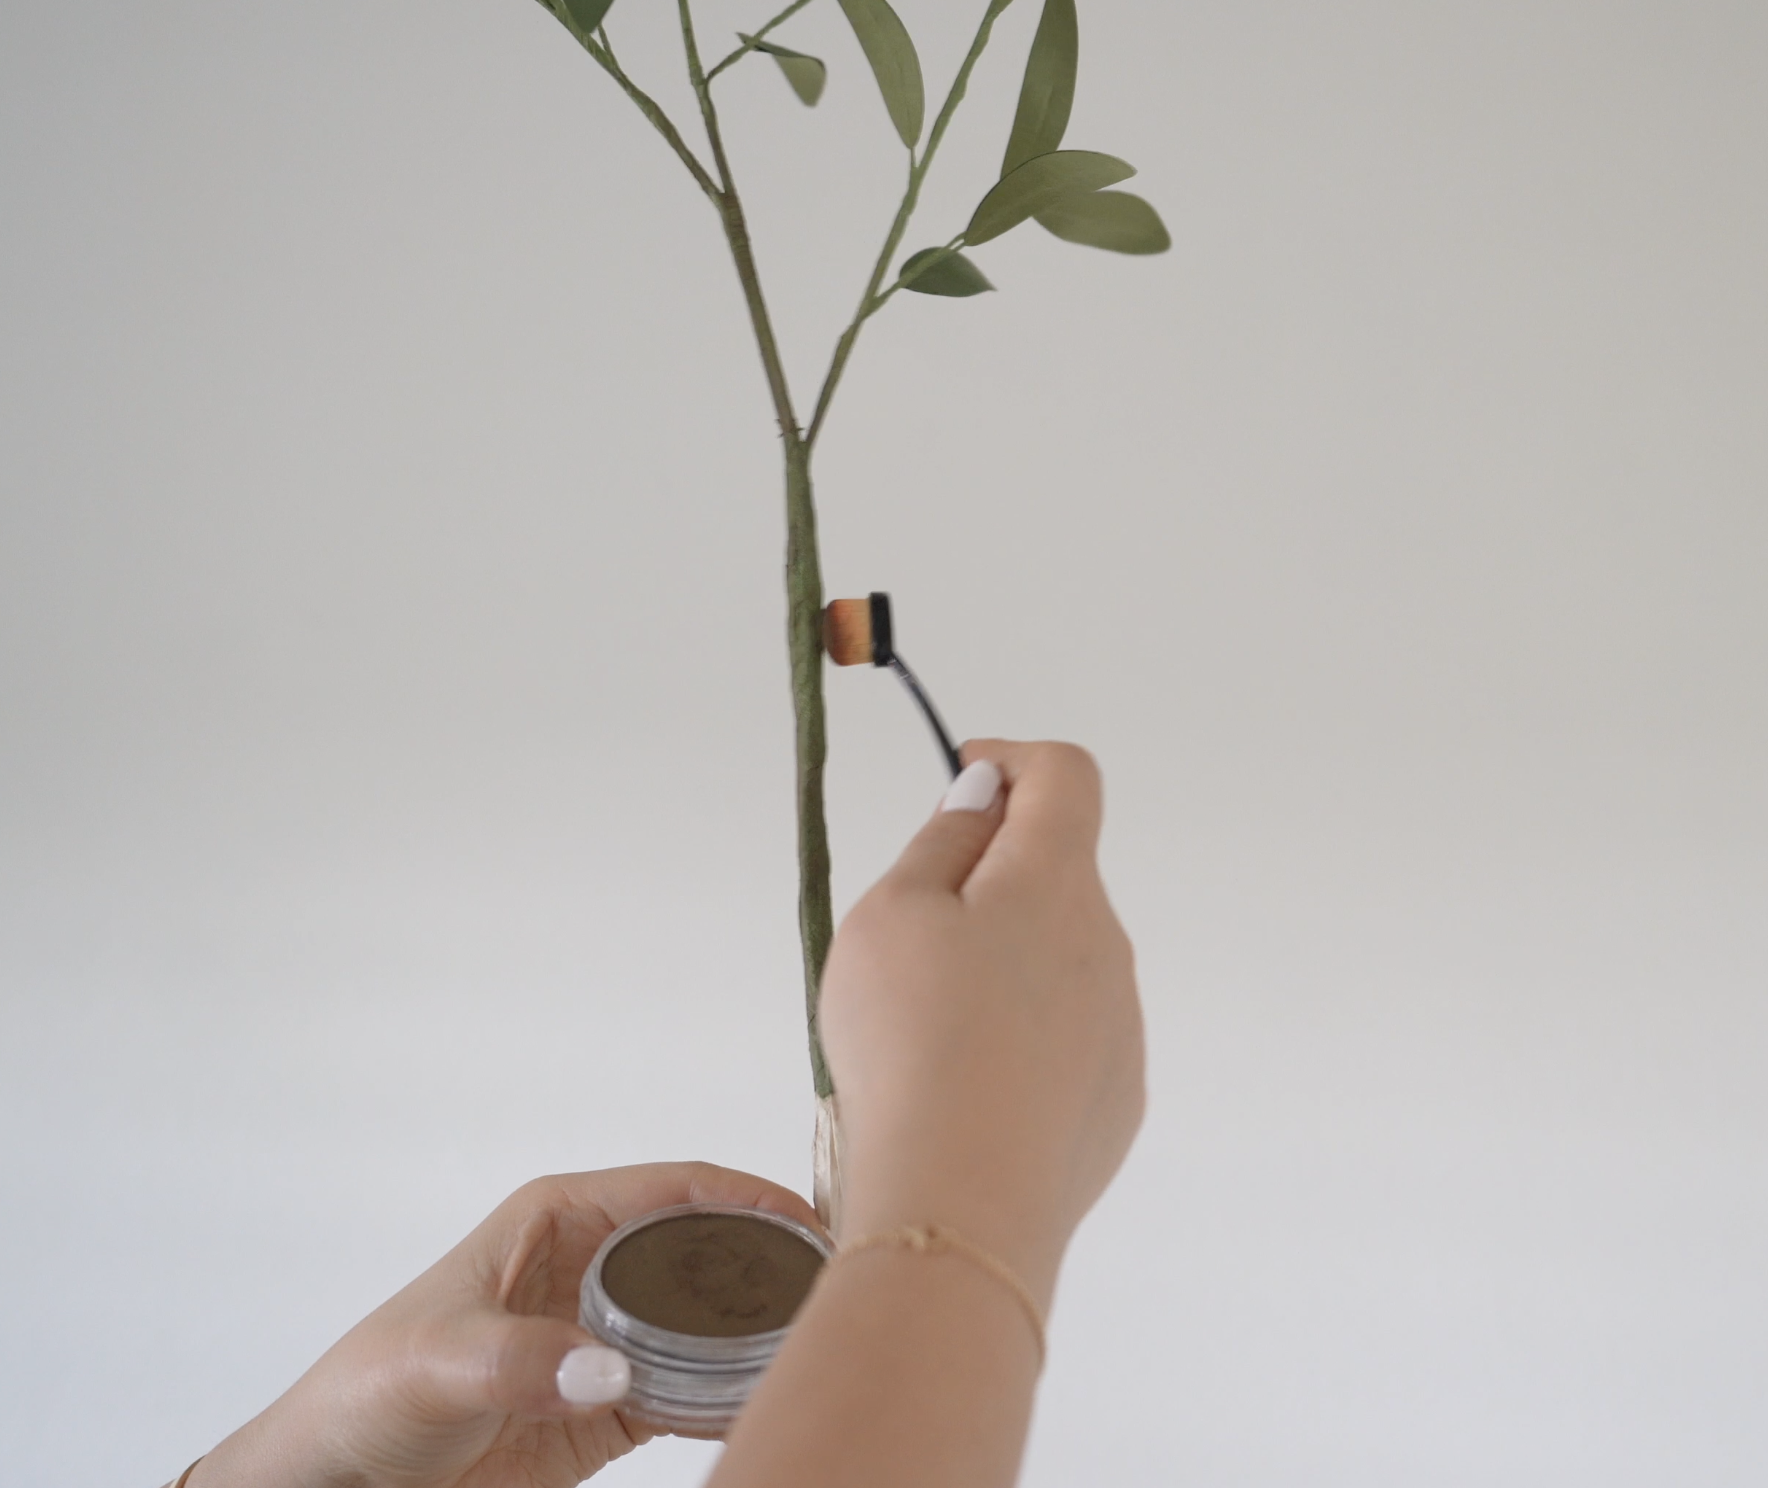
Brush light brown pan pastel along the stems to create a realistic gray-brown tone.

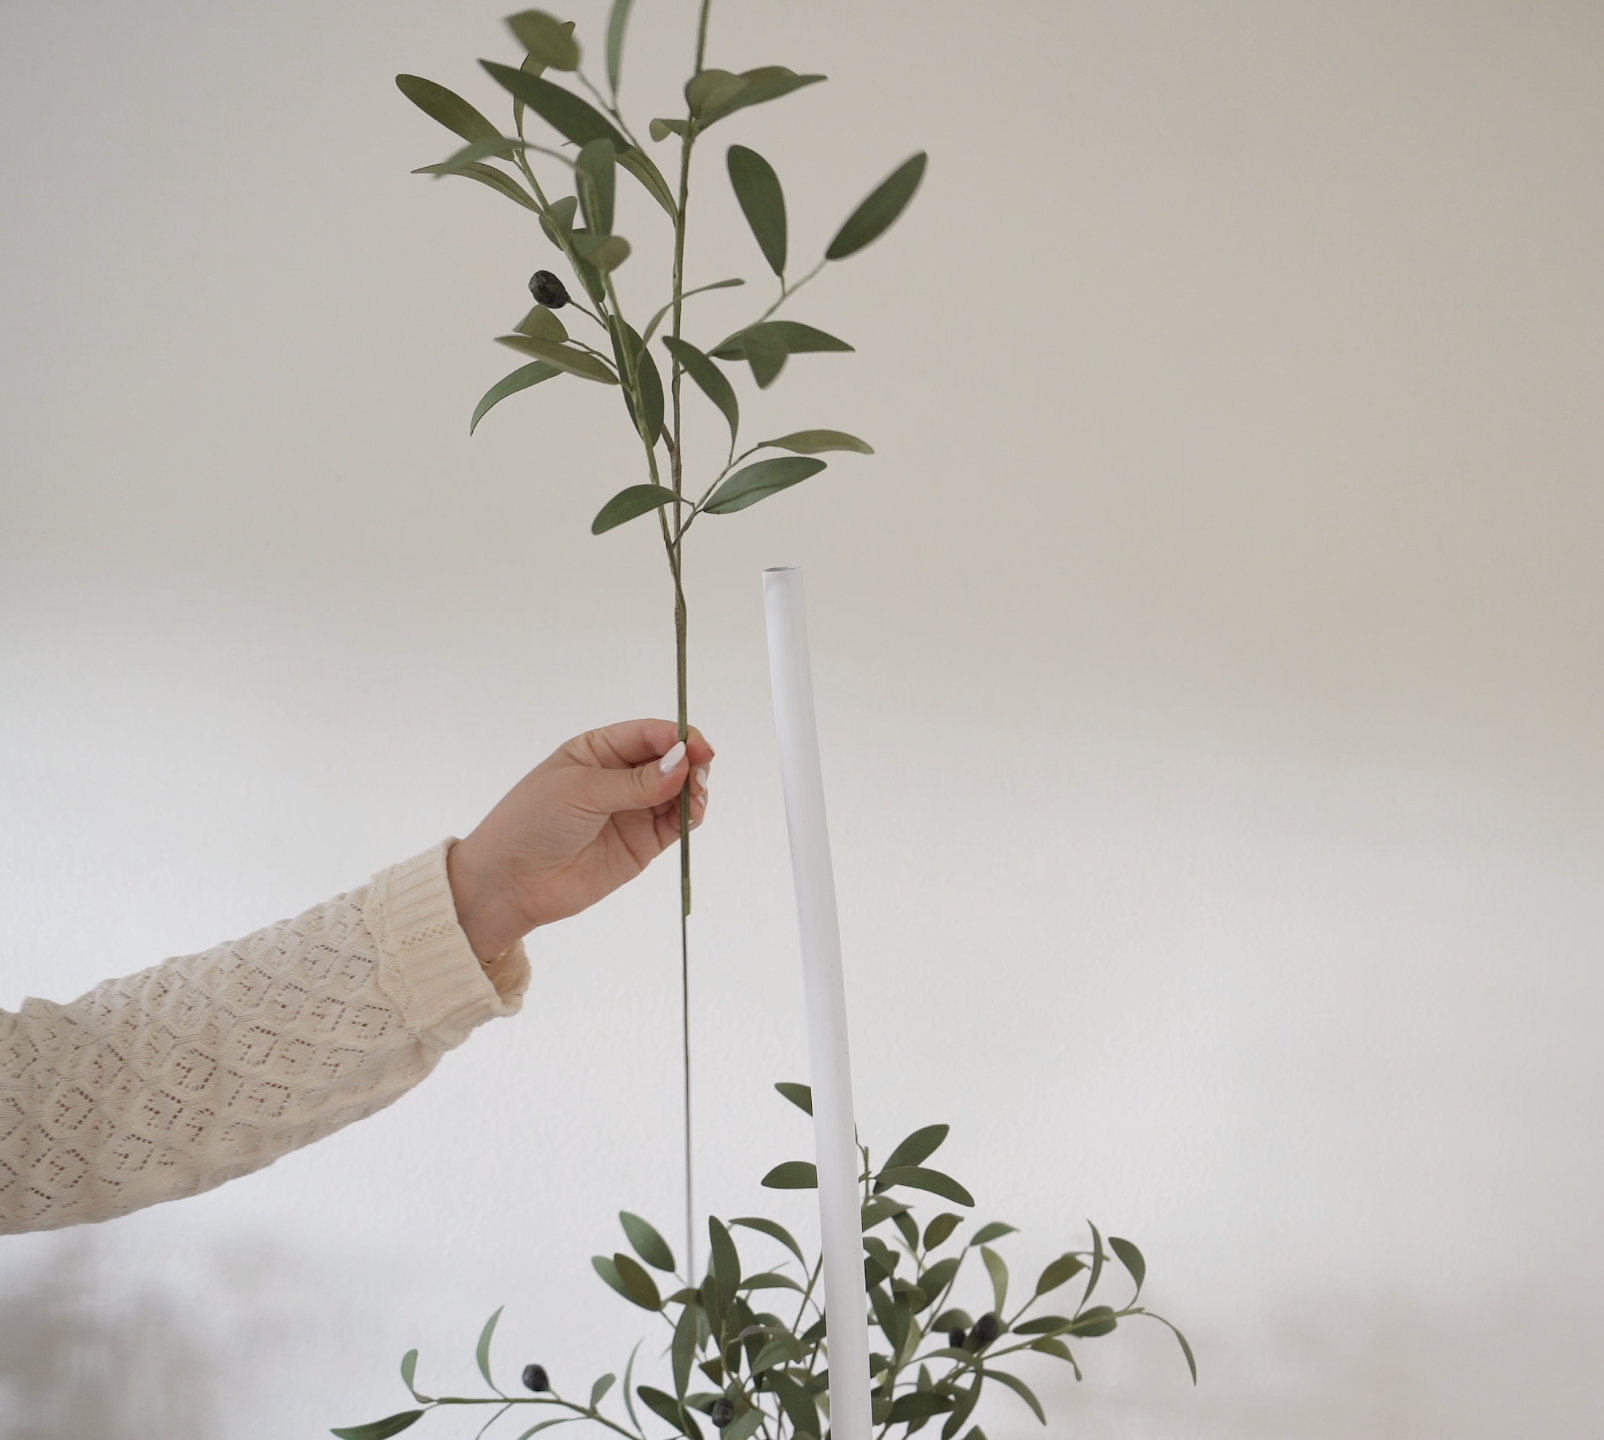
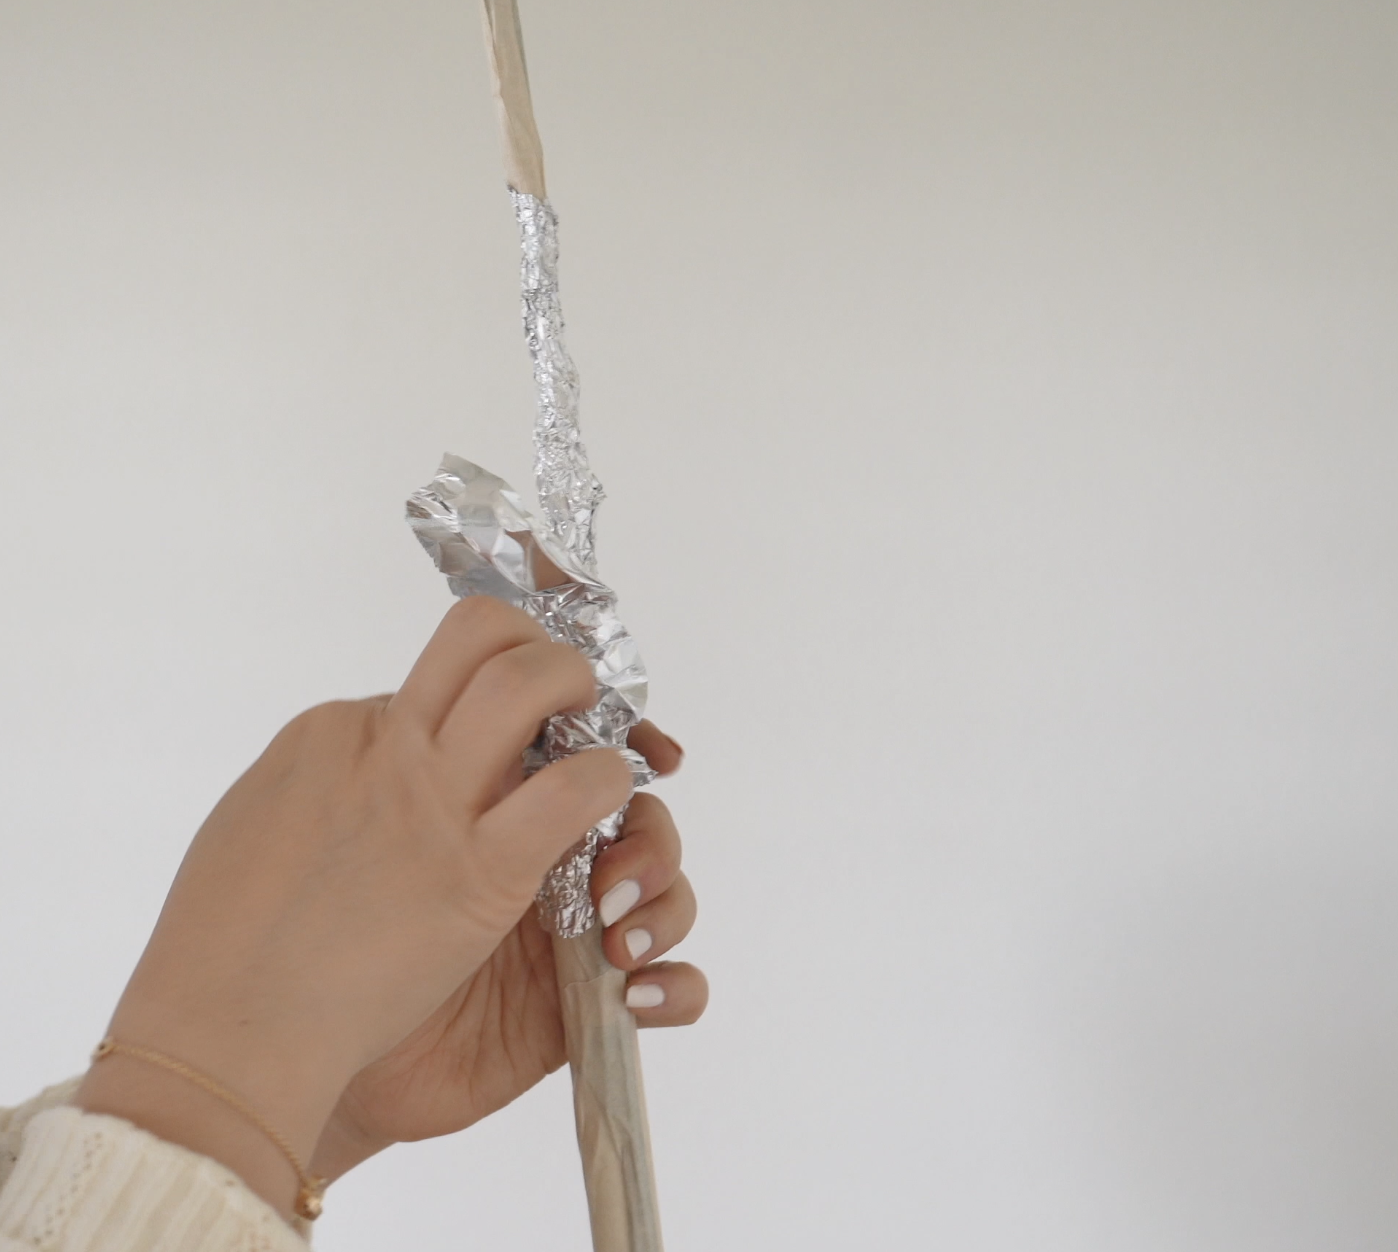
Step 4: Construct the Tree
Combine 3 large branches together using extra wire for strength.
Secure tightly with masking tape.
Insert PVC pipe as the lower trunk.
Attach branch top to PVC pipe with masking tape.
Use foil to blend the transition.
Cover with masking tape again.
Wrap green crepe paper over entire using white glue.
Brush with light brown pan pastel for a natural finish.
Continue adding branches as you move downward until the tree feels full and tall enough.
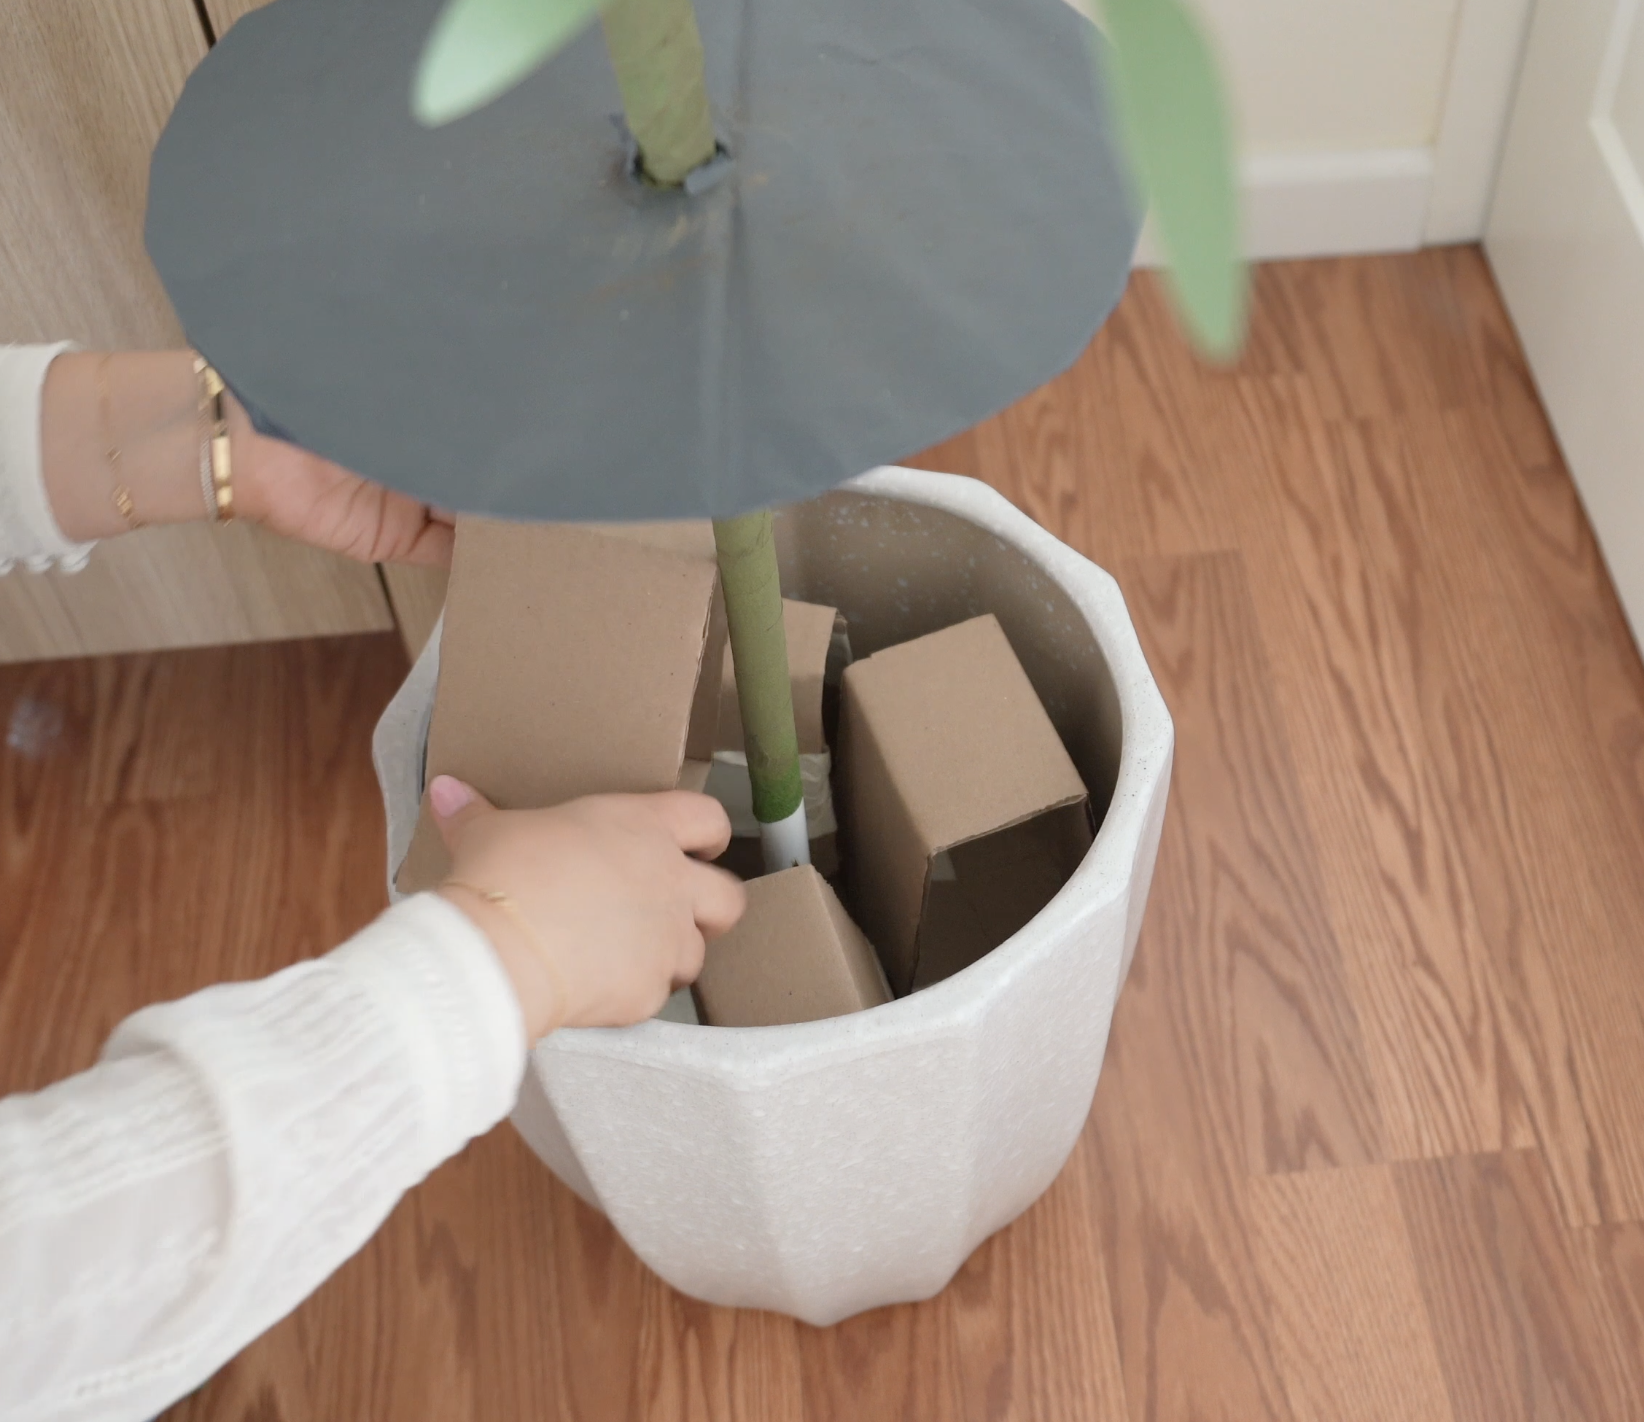
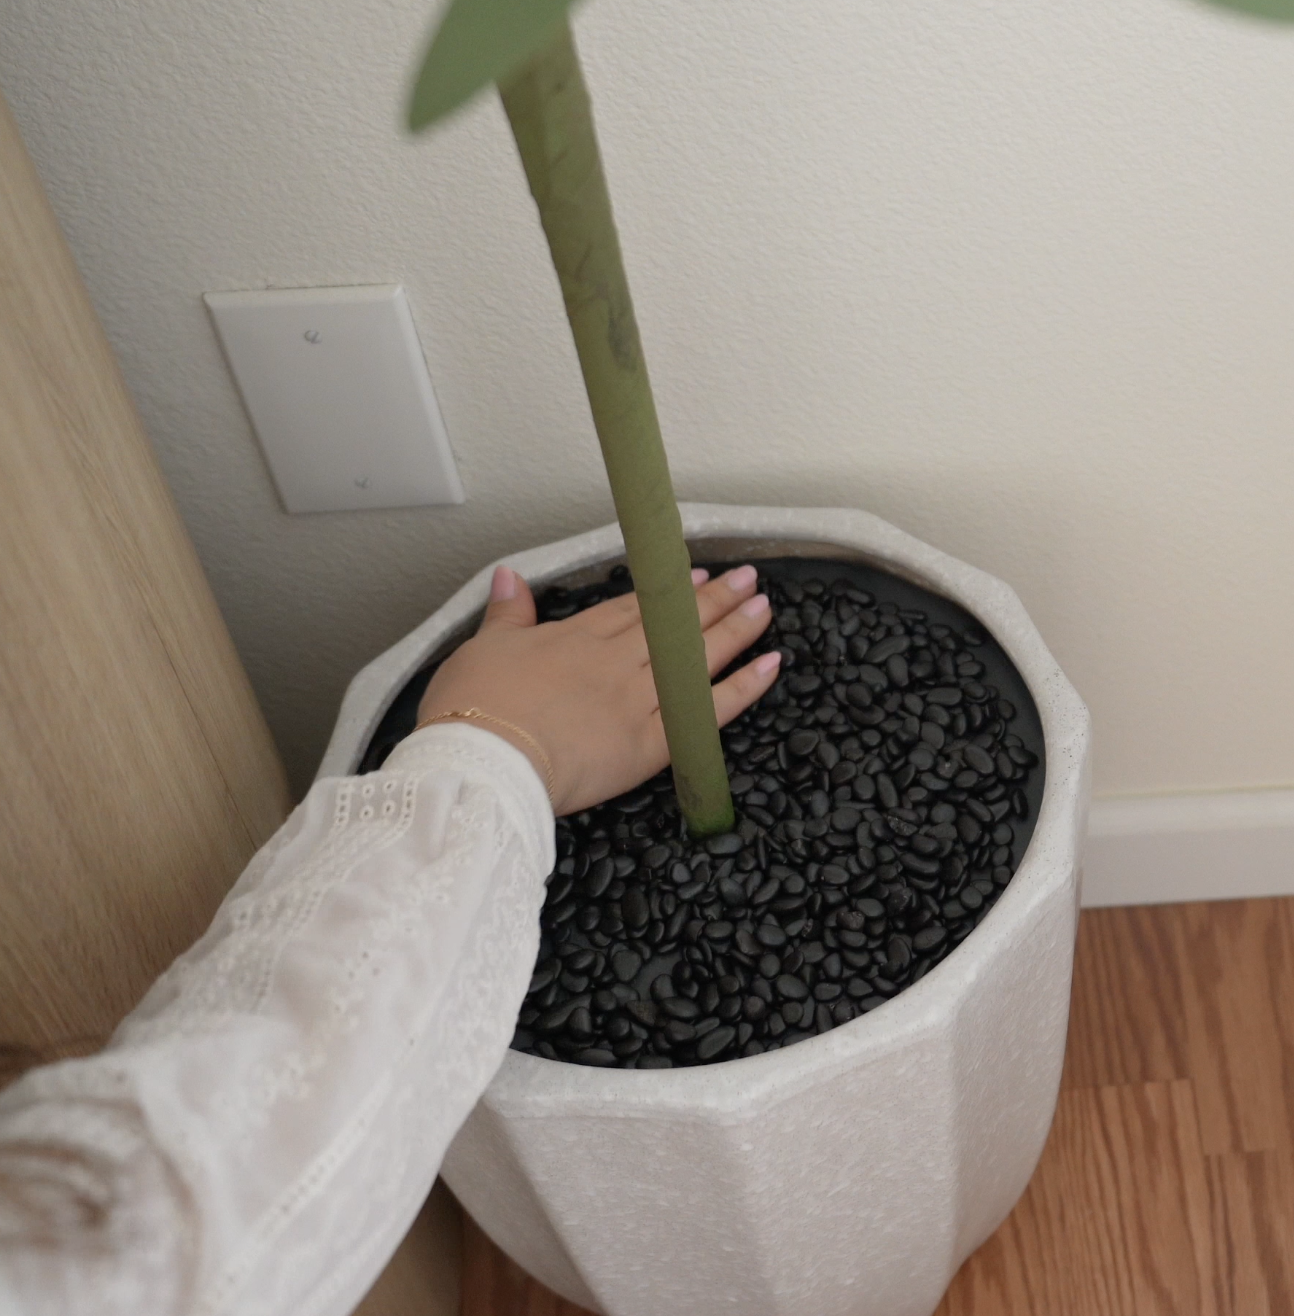
Step 5: Finish the Base
Place tree onto a concrete base with pvc pipe inside a pot. (Concrete Base Tutorial), add boxes inside for extra height, cut a cardstock circle to fit inside pot to cover, cover with black rocks
And here it is, an olive tree made entirely from paper!
Find the full video tutorial above or linked here- https://youtu.be/OPEO9_QtEpE
Olive trees can be expensive, but this paper version gives you a pretty similar look for a fraction of the cost.
You can make just paper branches for paper flower arrangements or create a full studio statement tree like me, and customize height and fullness. This paper olive tree is perfect for home decor, weddings, studios, or content backdrops.