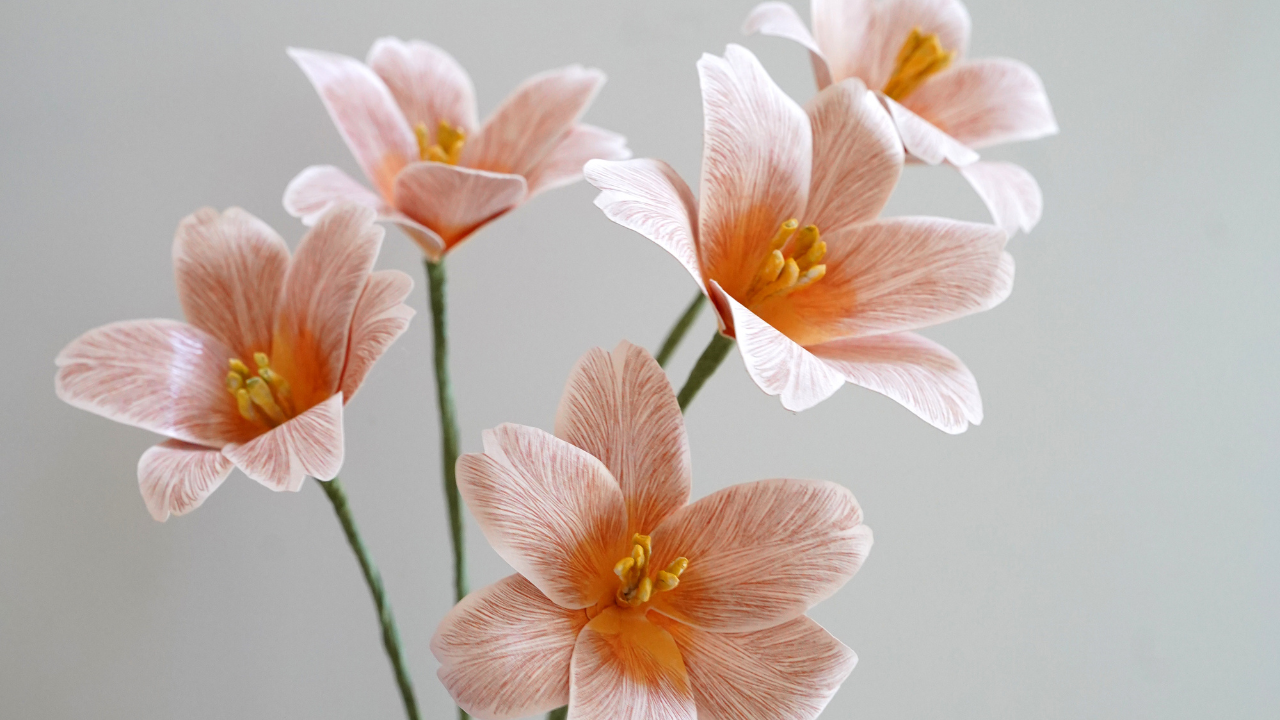
How to Make a Paper Tulip Brownie
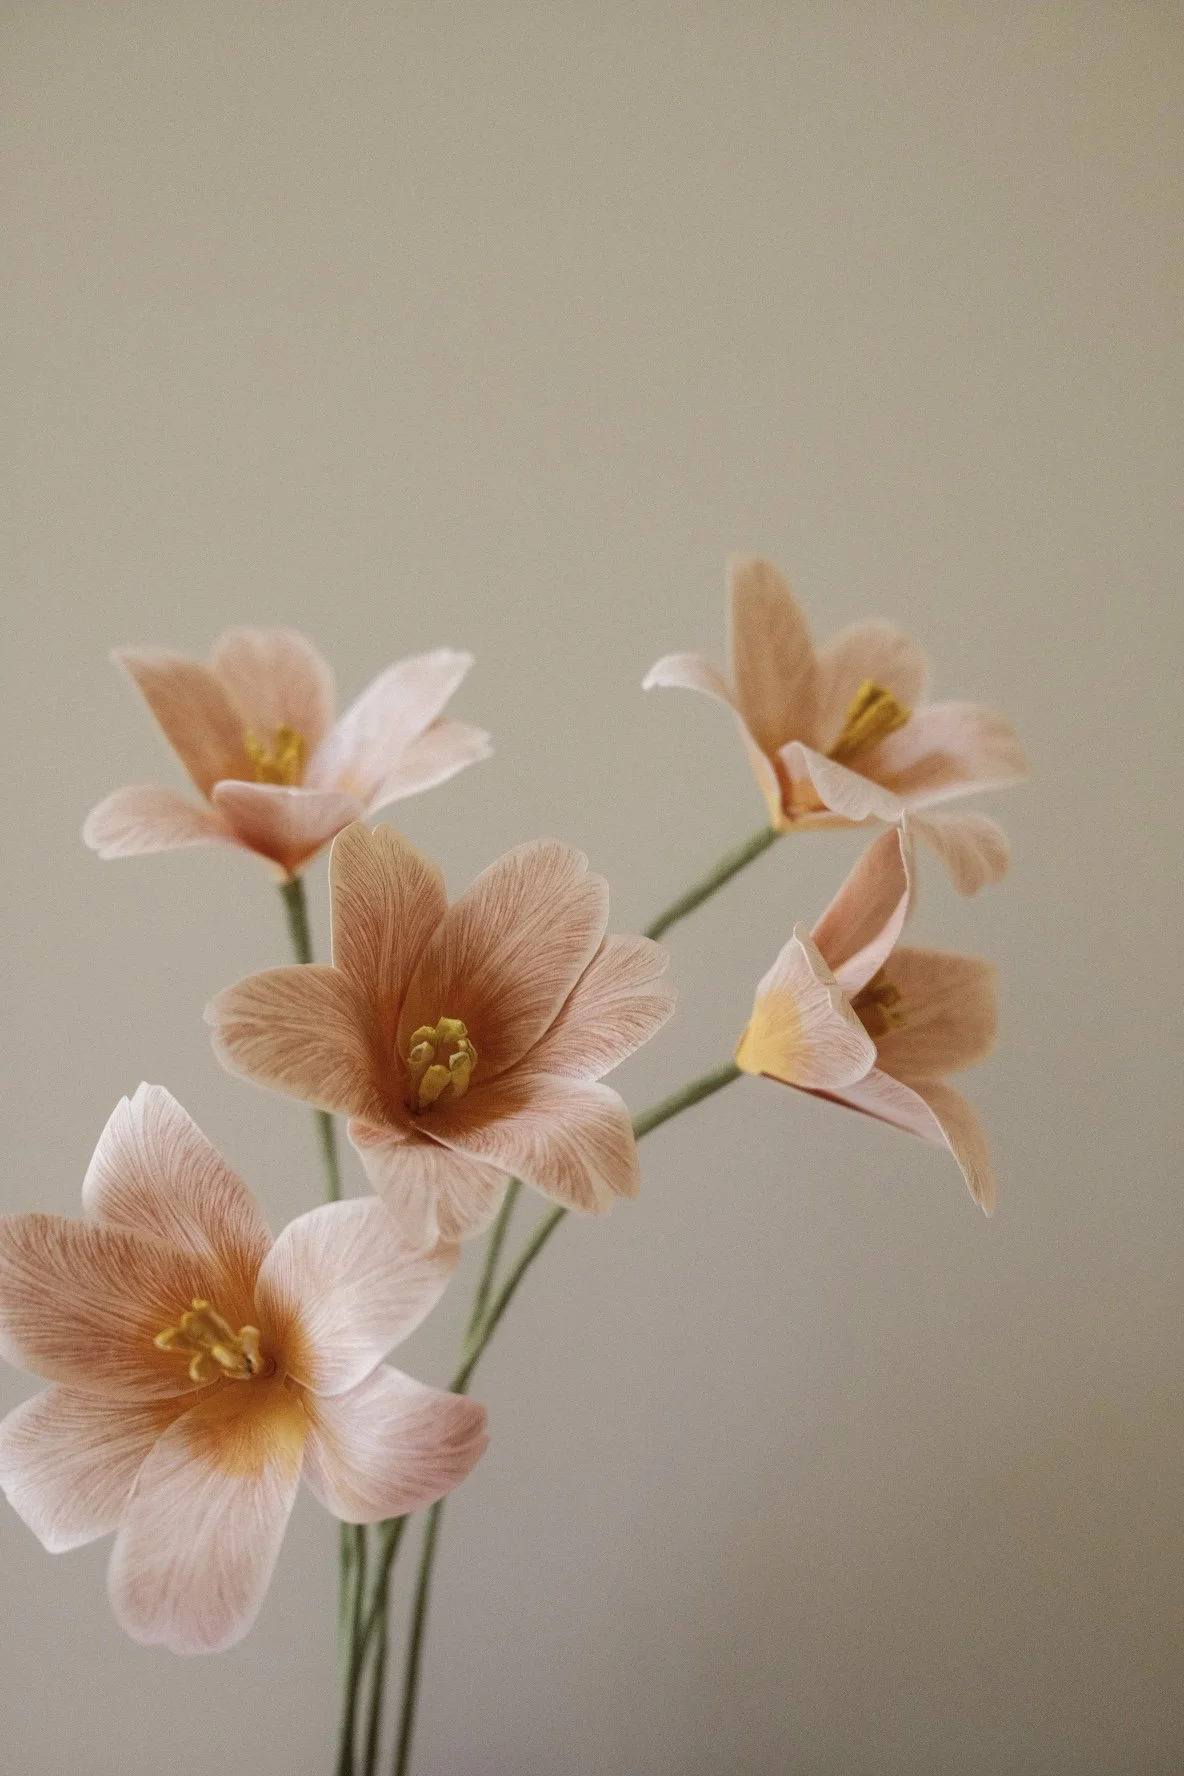
Spring is here and nothing says it quite like a handmade paper tulip. In this tutorial, I'm going to walk you through how to make a paper tulip brownie, a gorgeous open tulip with line details that also looks great in bouquets, as gift toppers, or simply as spring home décor.
What You'll Need
Template- https://www.handmadebysarakim.com/digital-templates/tulipprint
White, Cream, yellow, green, pink Cardstock Paper- https://bit.ly/3OfDdlP
Green Floral Wire- https://bit.ly/4tHSvjp
Thicker Floral Wire- https://bit.ly/3S9Wsg5
Pan Pastel- https://liketk.it/5T0Fc
Acrylic Markers- https://bit.ly/4i9gH80
Wire Cutter + Plier + Poking Tool- https://bit.ly/4rnx9WJ
Floral Tape- https://bit.ly/3sv1O8m
Curling Tool & Mat- https://bit.ly/3yw1KZD
Hot Glue- https://bit.ly/3M61tk8
Printer- https://bit.ly/39JsHyG
Cricut Maker- https://bit.ly/4oIxBgu
Silhouette Cameo (use discount code “SARAKIM”)- https://www.silhouetteamerica.com/silhouette-cameo-5-alpha
Electrostatic Mat (use discount code “SARAKIM”)- https://www.silhouetteamerica.com/CUT-MAT-ES-WHT-12

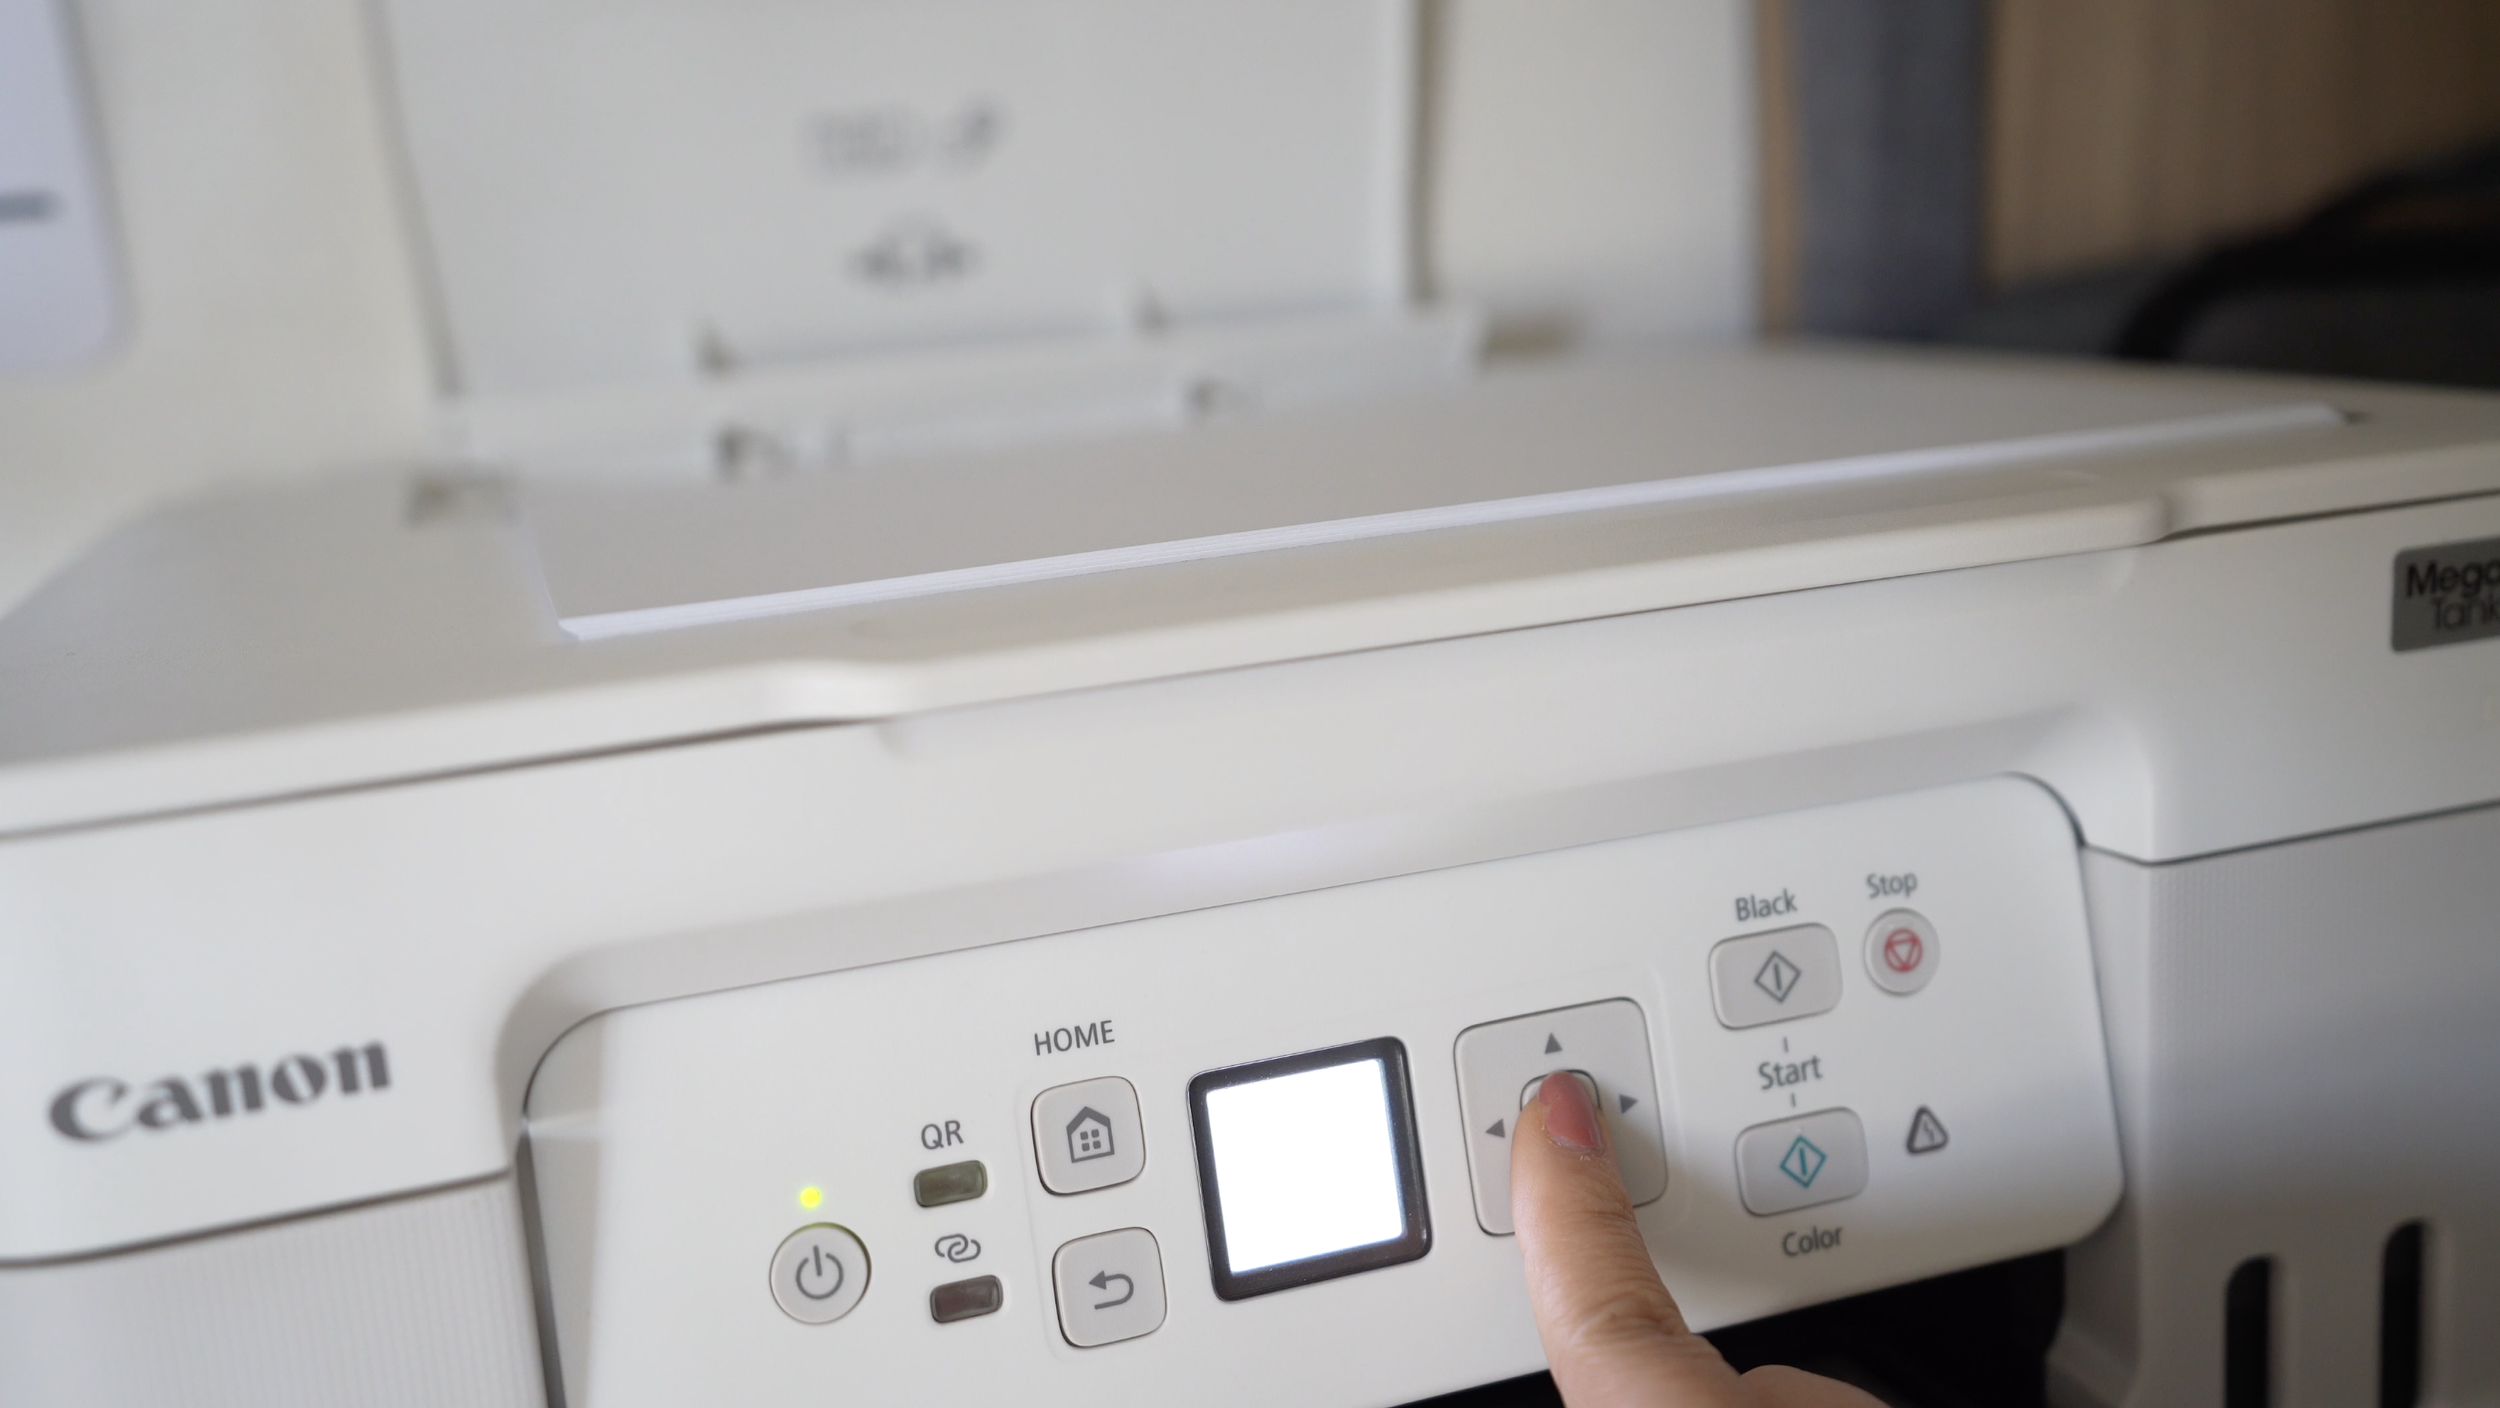
Step 1: Print and Align Your Template
Start by printing the front and back of your pattern on white or blush cardstock. I used a Canon G3270 printer.
One of the most common questions I get is about aligning the front and back on print-and-cut templates and it's such an important one! This tulip isn't the only design where it matters; my paper orchid template also requires accurate front-and-back alignment, so this is something worth getting right across many of your projects.
My biggest advice is to get familiar with your printer's alignment settings and run maintenance regularly. Most printers have a print head alignment tool built into the settings and check it often. My printer prints an alignment page that I then scan back in, and doing this periodically really does prevent a lot of frustrating mismatches. Taking the time to understand your specific printer's alignment process will save you so much trouble in the long run.
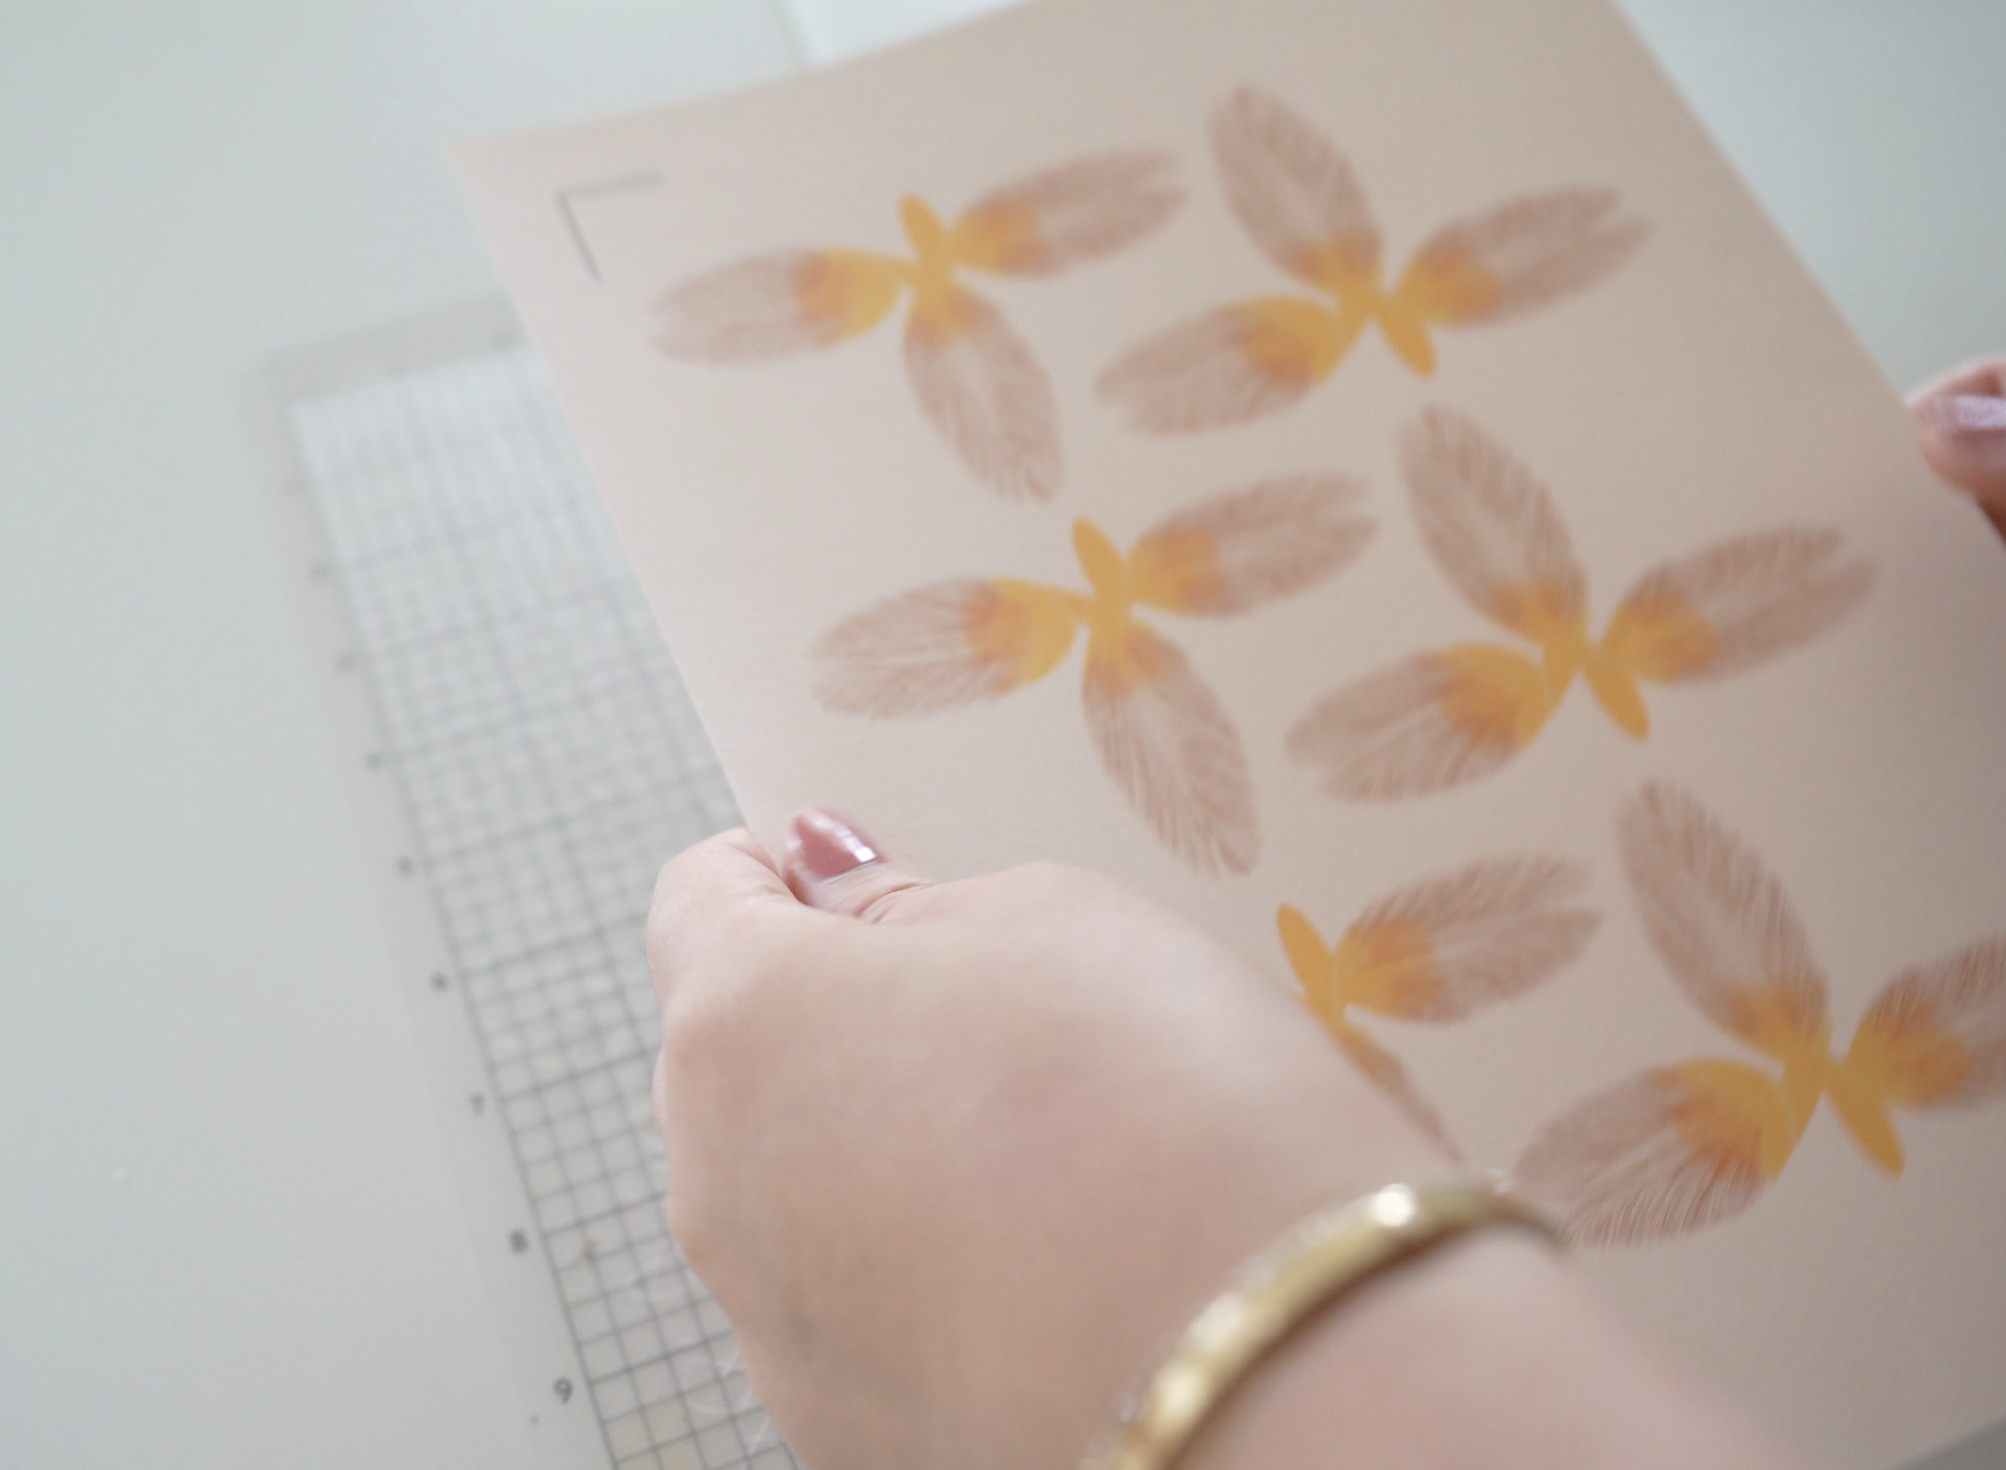
That said, the good news with this tulip brownie design is that it actually looks great with just the front printed so if your printer is being uncooperative, it's perfectly fine to skip the back side and print only the front. No need to stress over it!
As for the file itself, I've included both a front and a back version but you can also simply use the front file twice and enable the mirror option when printing the second side. Either approach works.
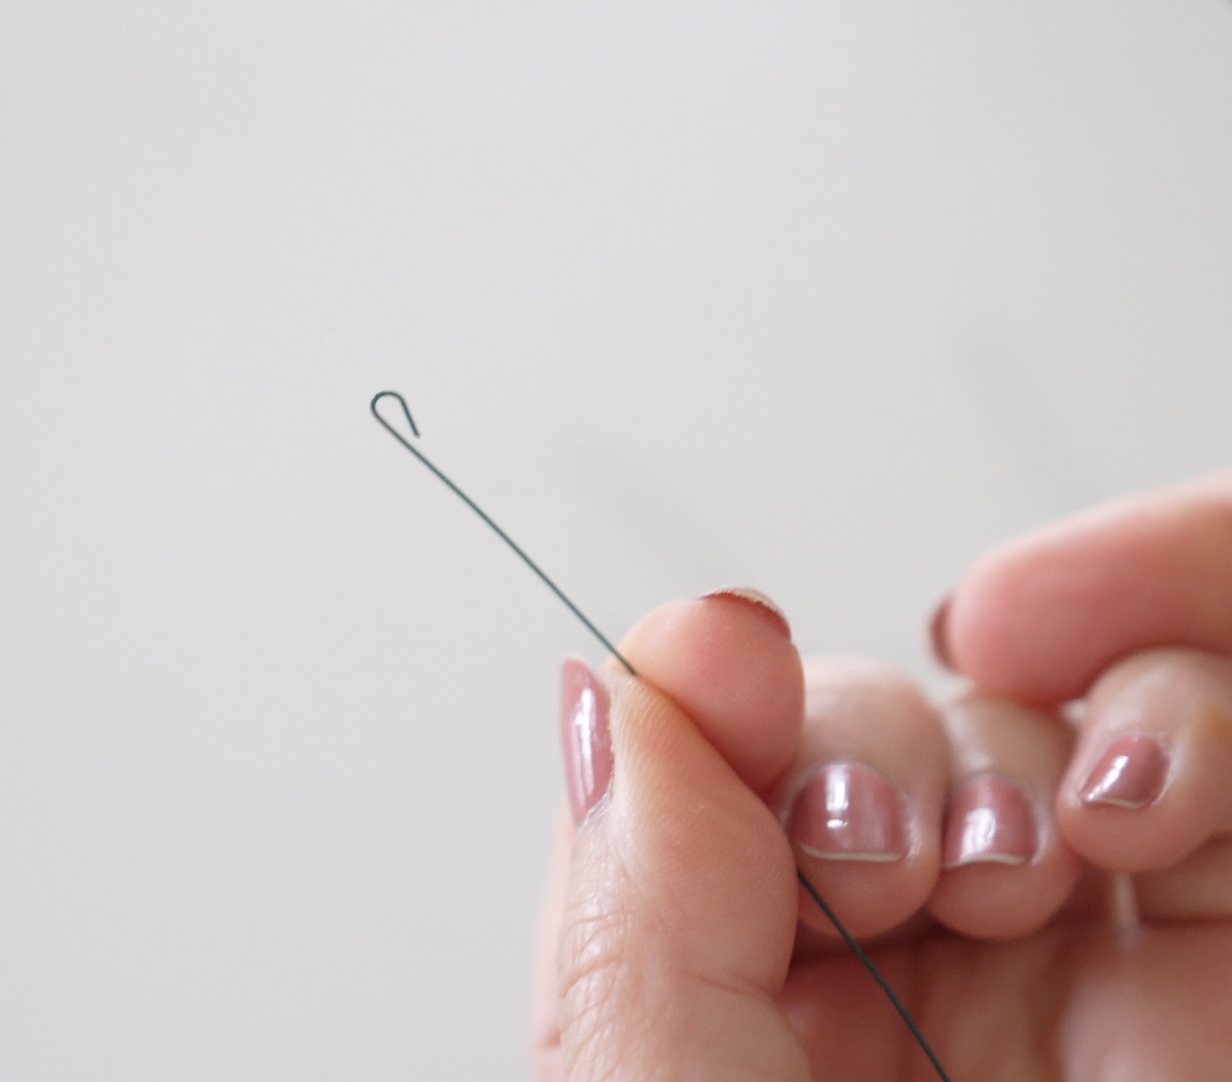
Step 2: Prepare the Wire Center
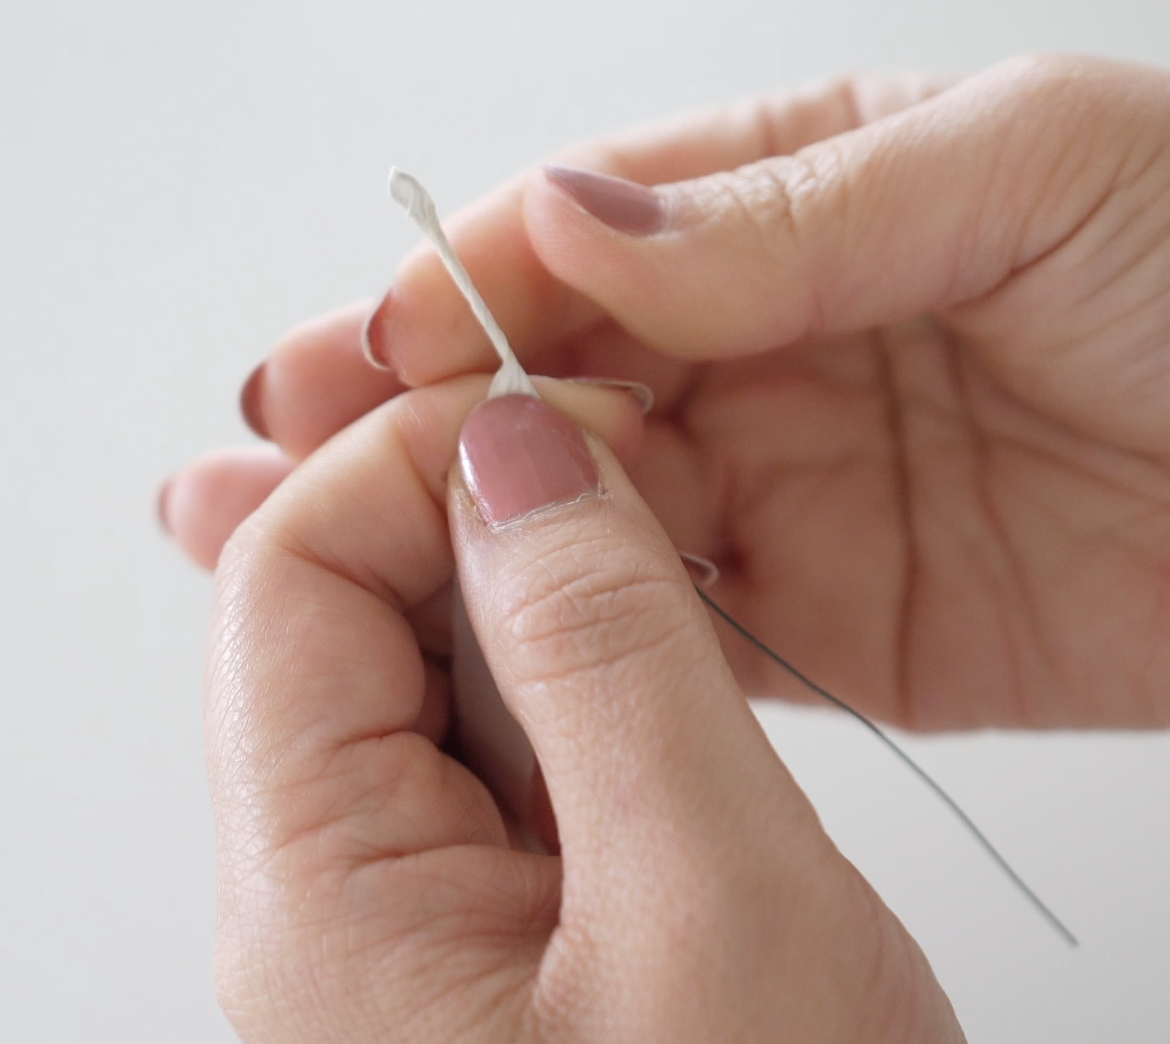
Cut 6 pieces of 24-gauge floral wire, each about 3–4 inches long. Using your pliers, loop one end of each wire to create a small closed loop at the top. Then, take white floral tape and wrap each loop, covering it plus about an inch below. Repeat for all 6 wire pieces.
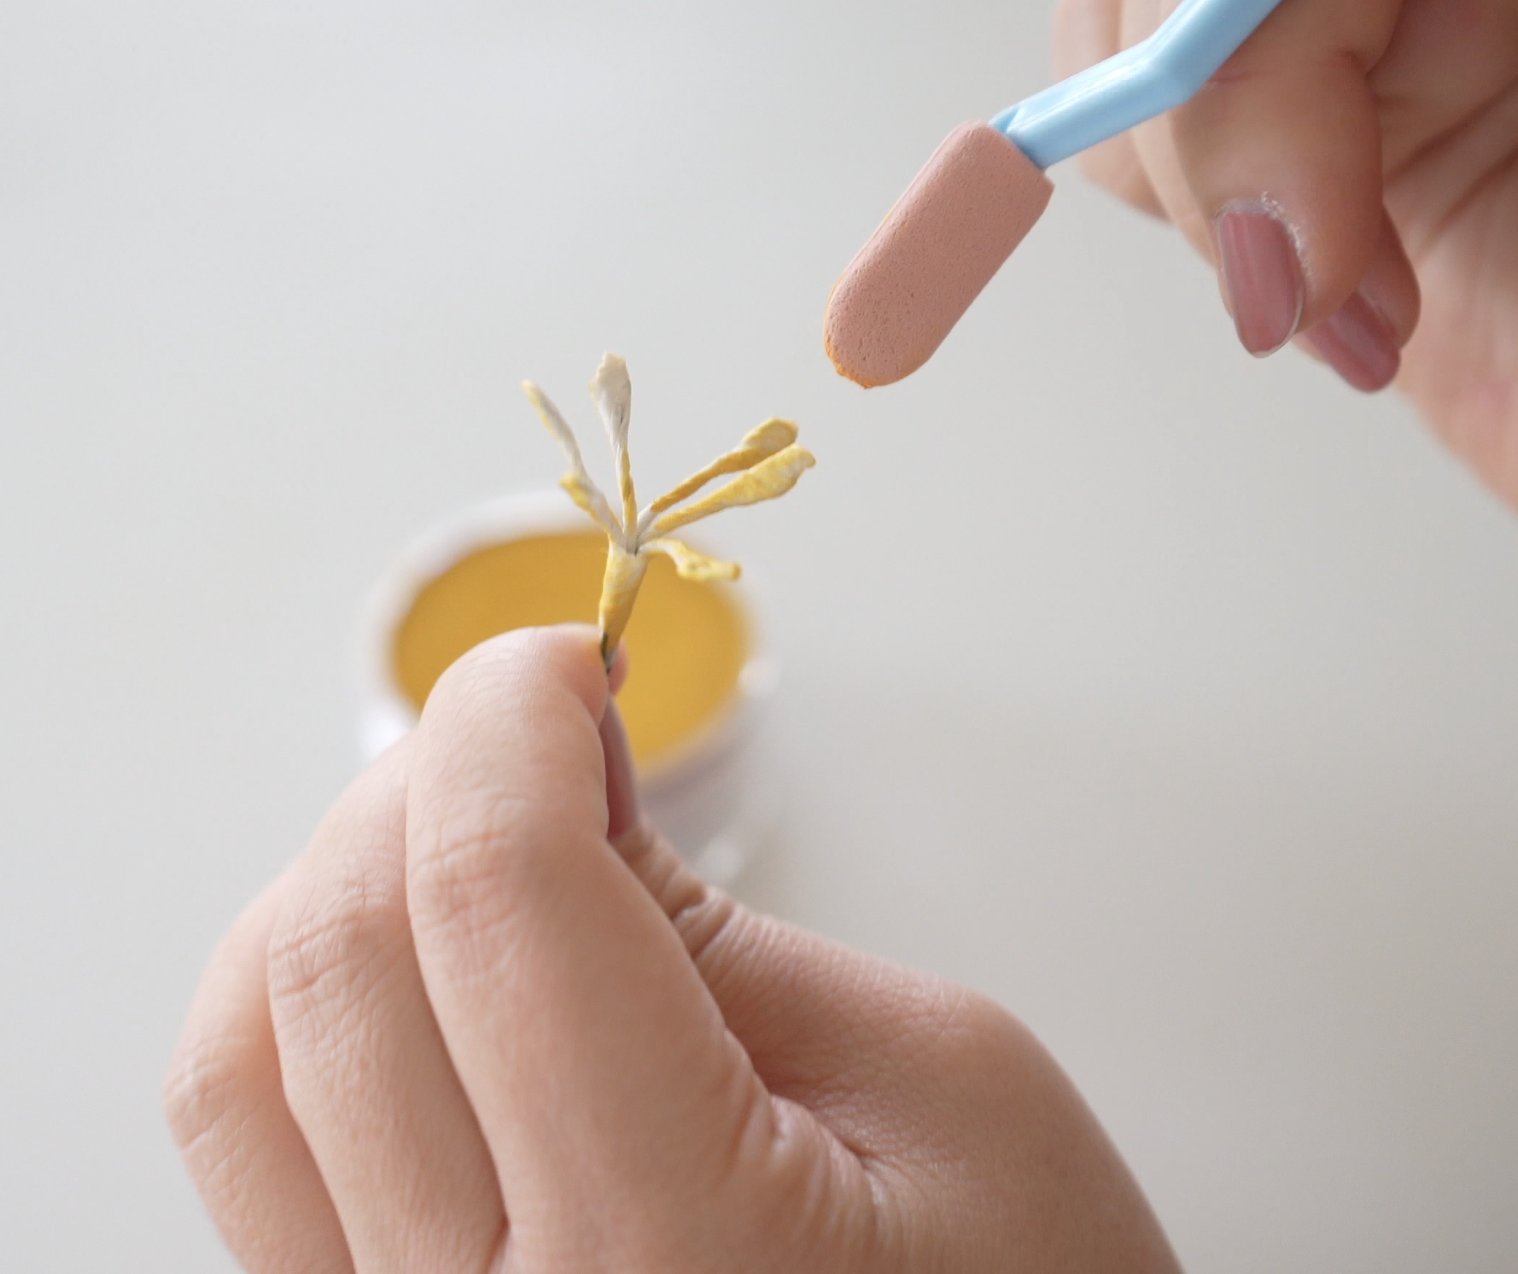
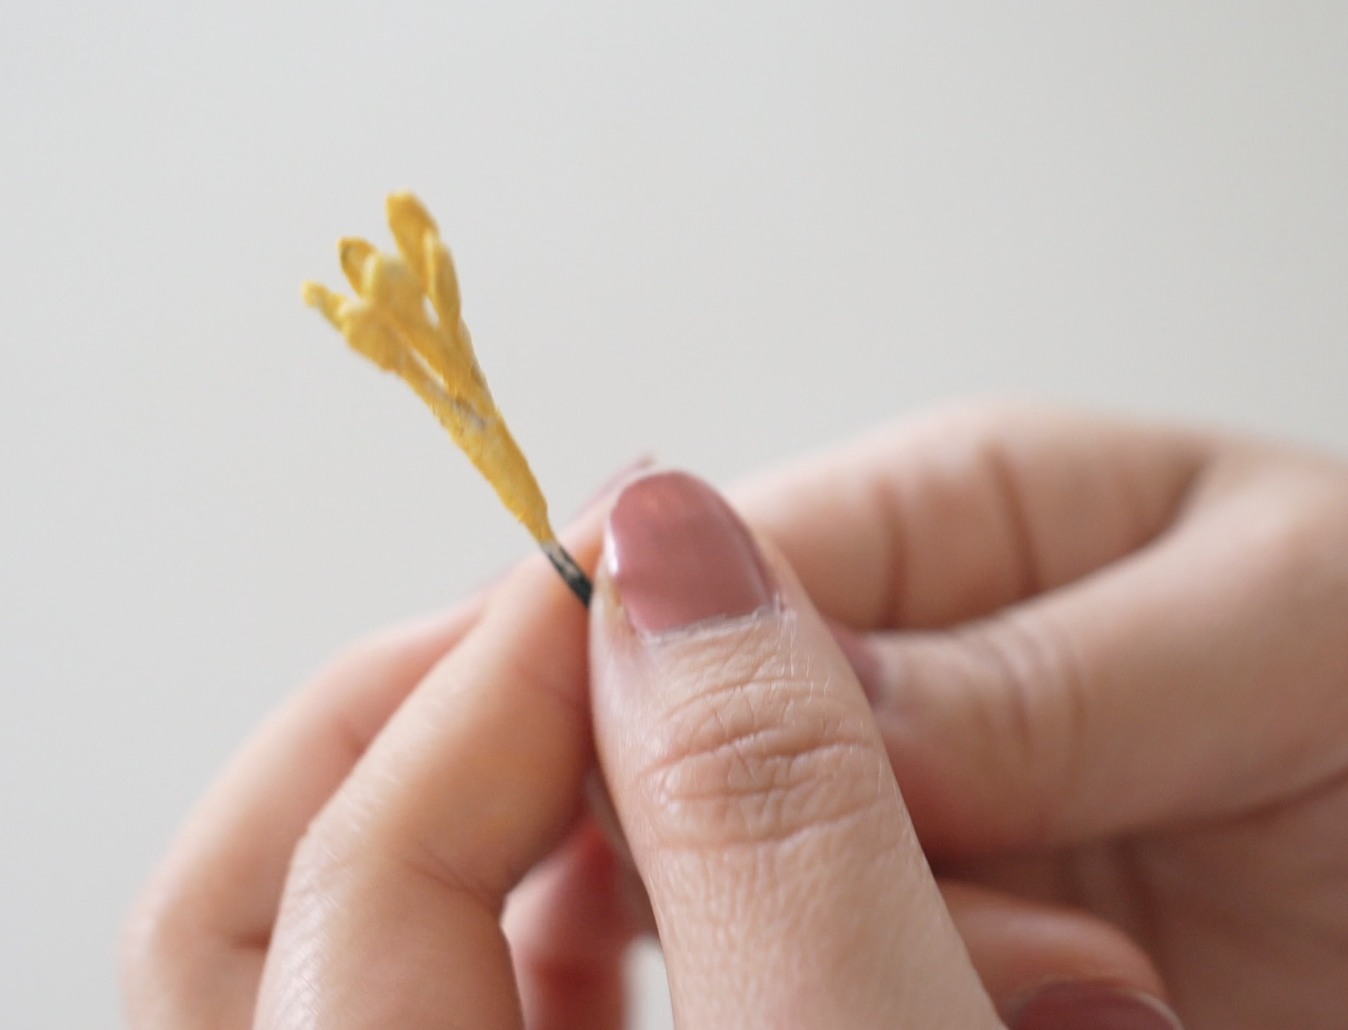
Once all 6 are individually taped, gather them together and floral tape just at the base of the taped area to bundle them. Open them up a bit and use yellow pan pastel or a yellow acrylic marker to color the white tape yellow. If you can find yellow floral tape, that's even easier but this workaround looks just as great!
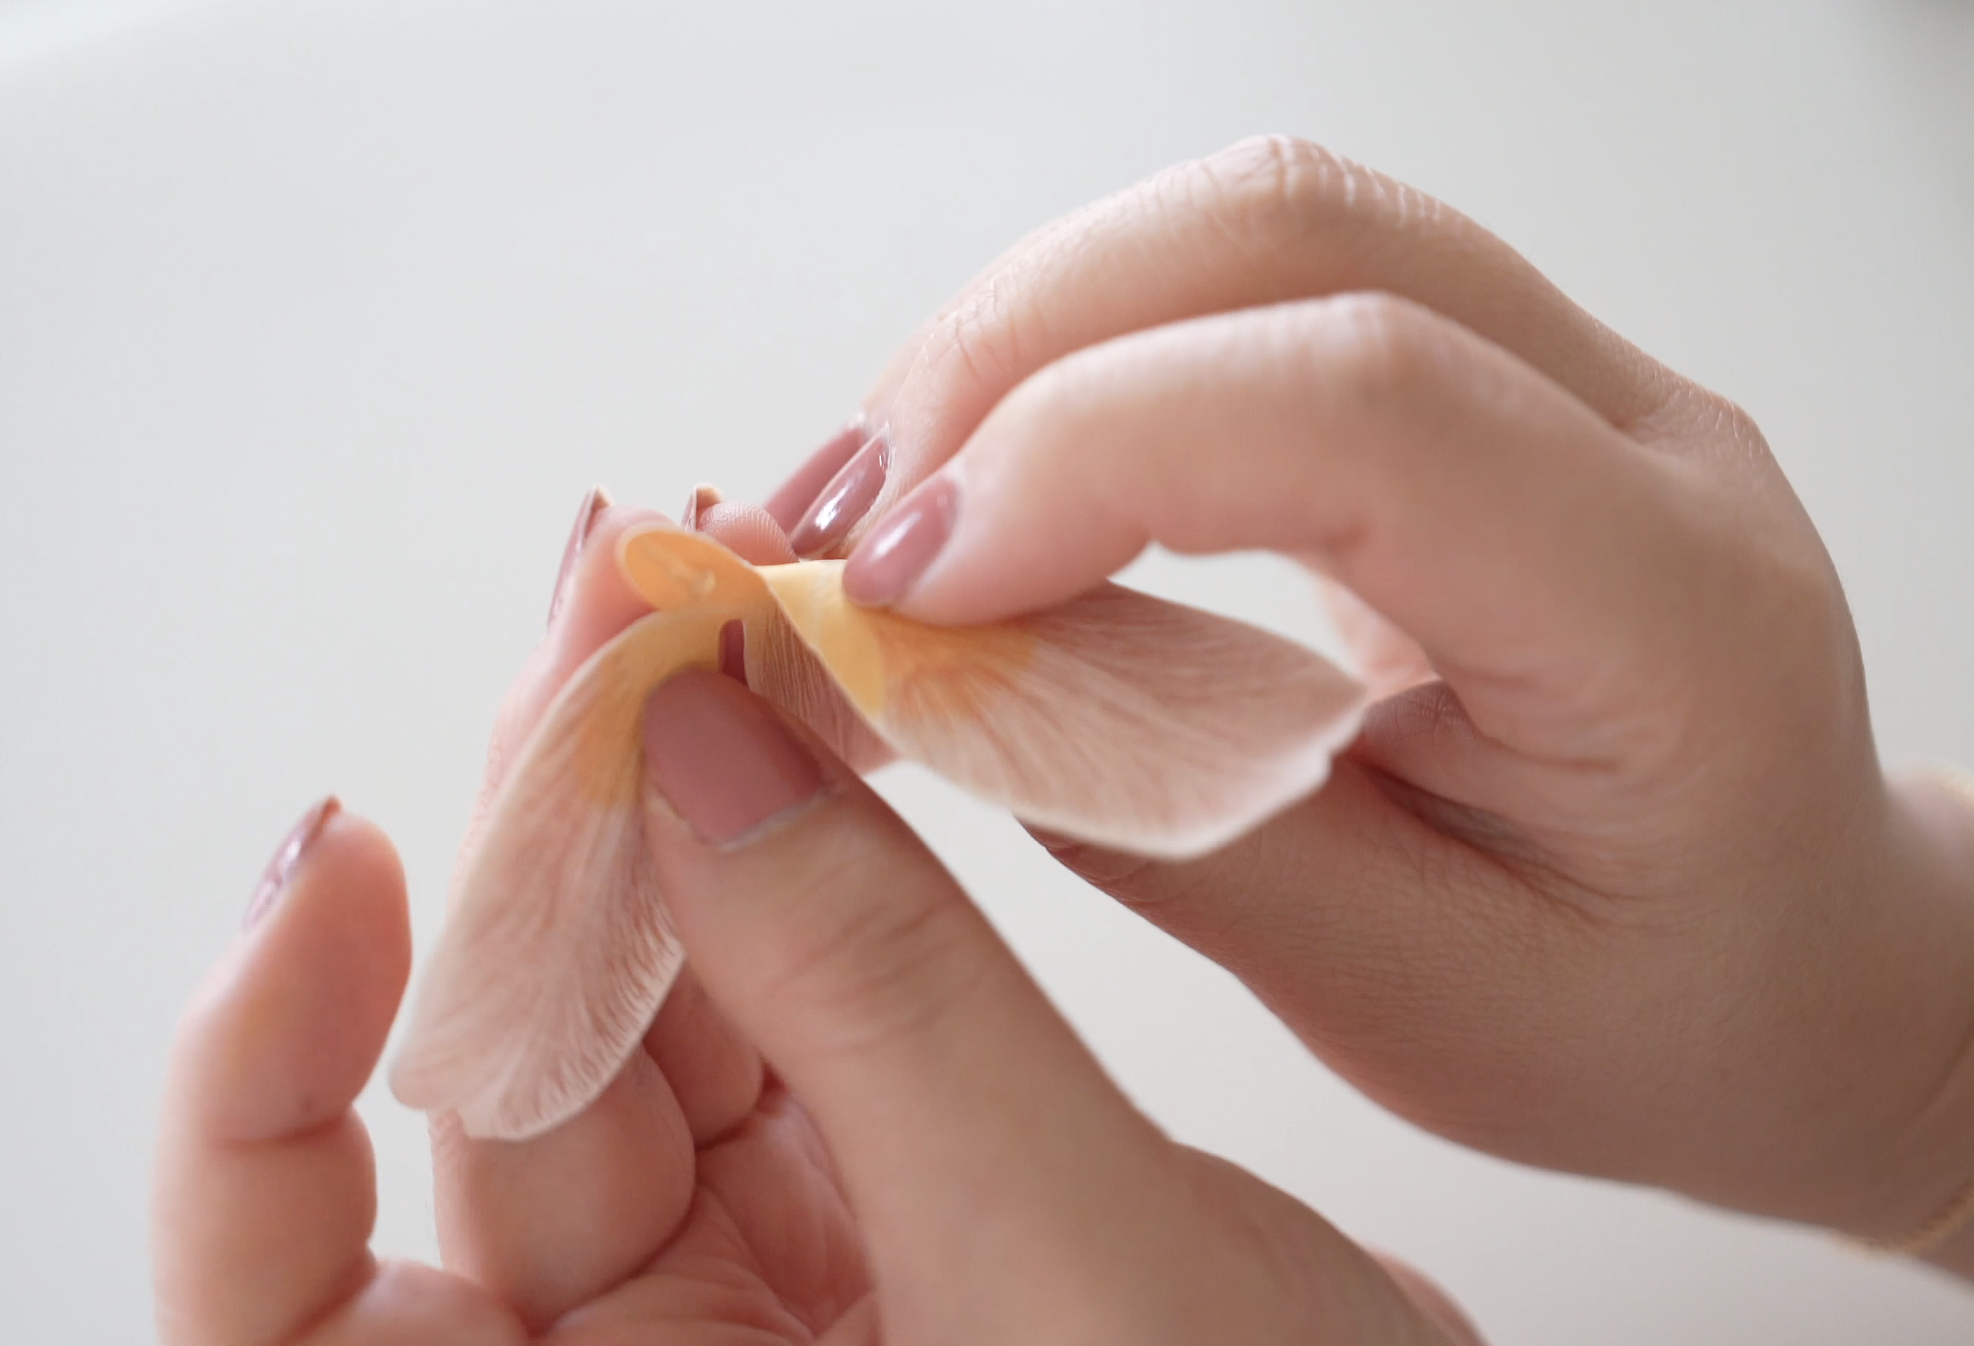
Step 3: Cut and Curl Your Petals
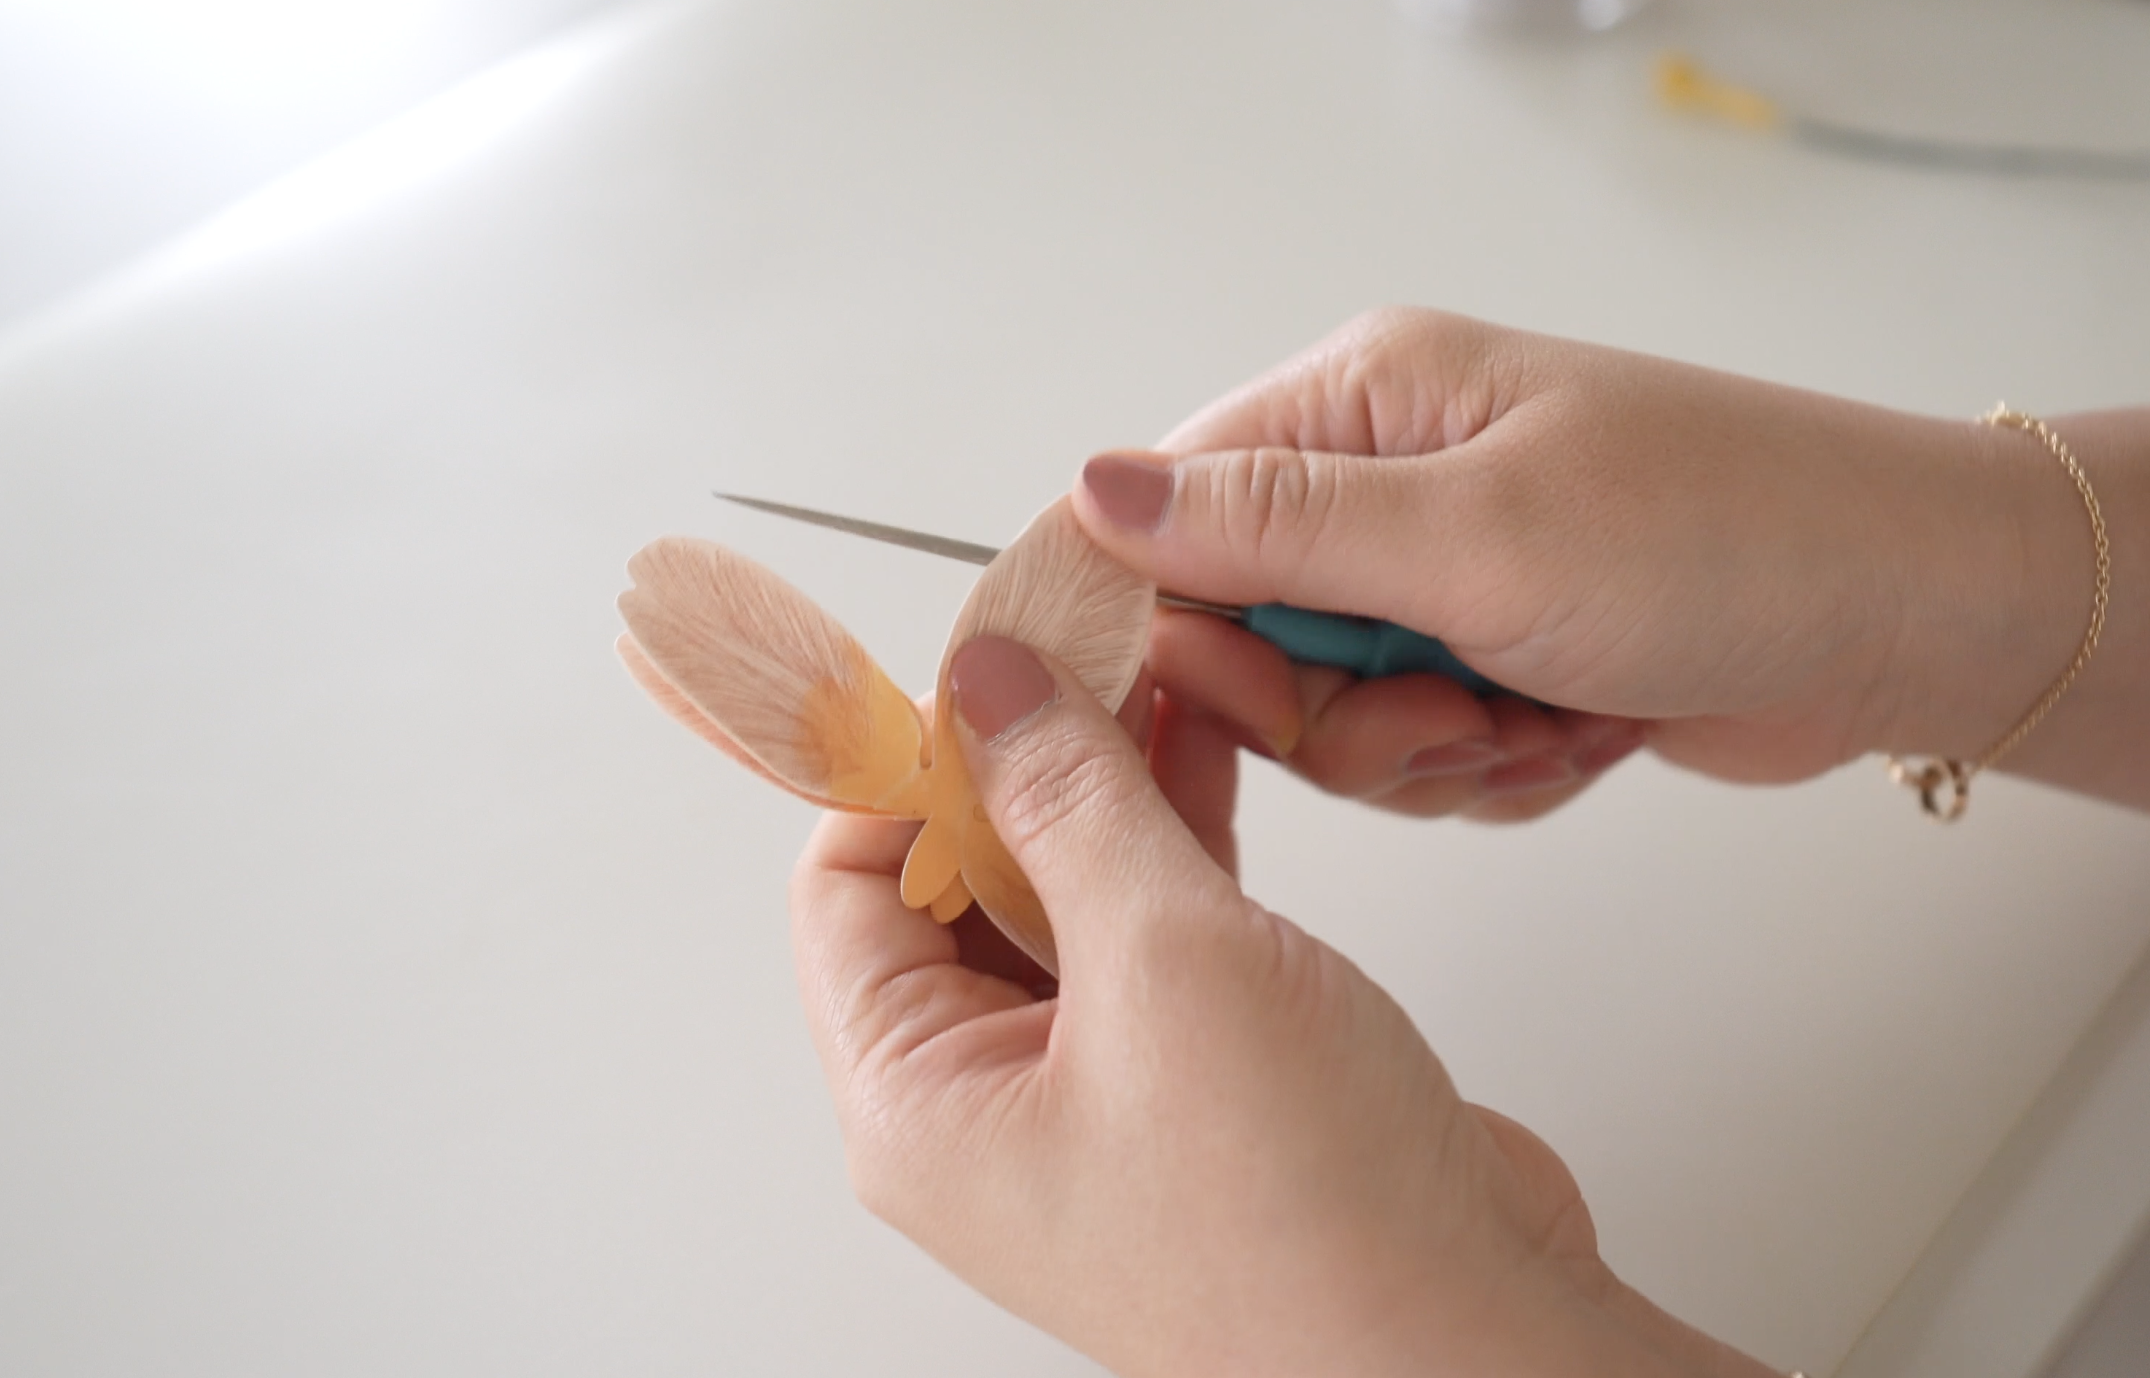
With your two petal pattern pieces stacked, curl each petal using a curling tool or your fingers. This tulip brownie is designed to look open, unlike a traditional closed tulip so curl the sides of each petal toward you, and curl the tips at the top of the petals away from you.
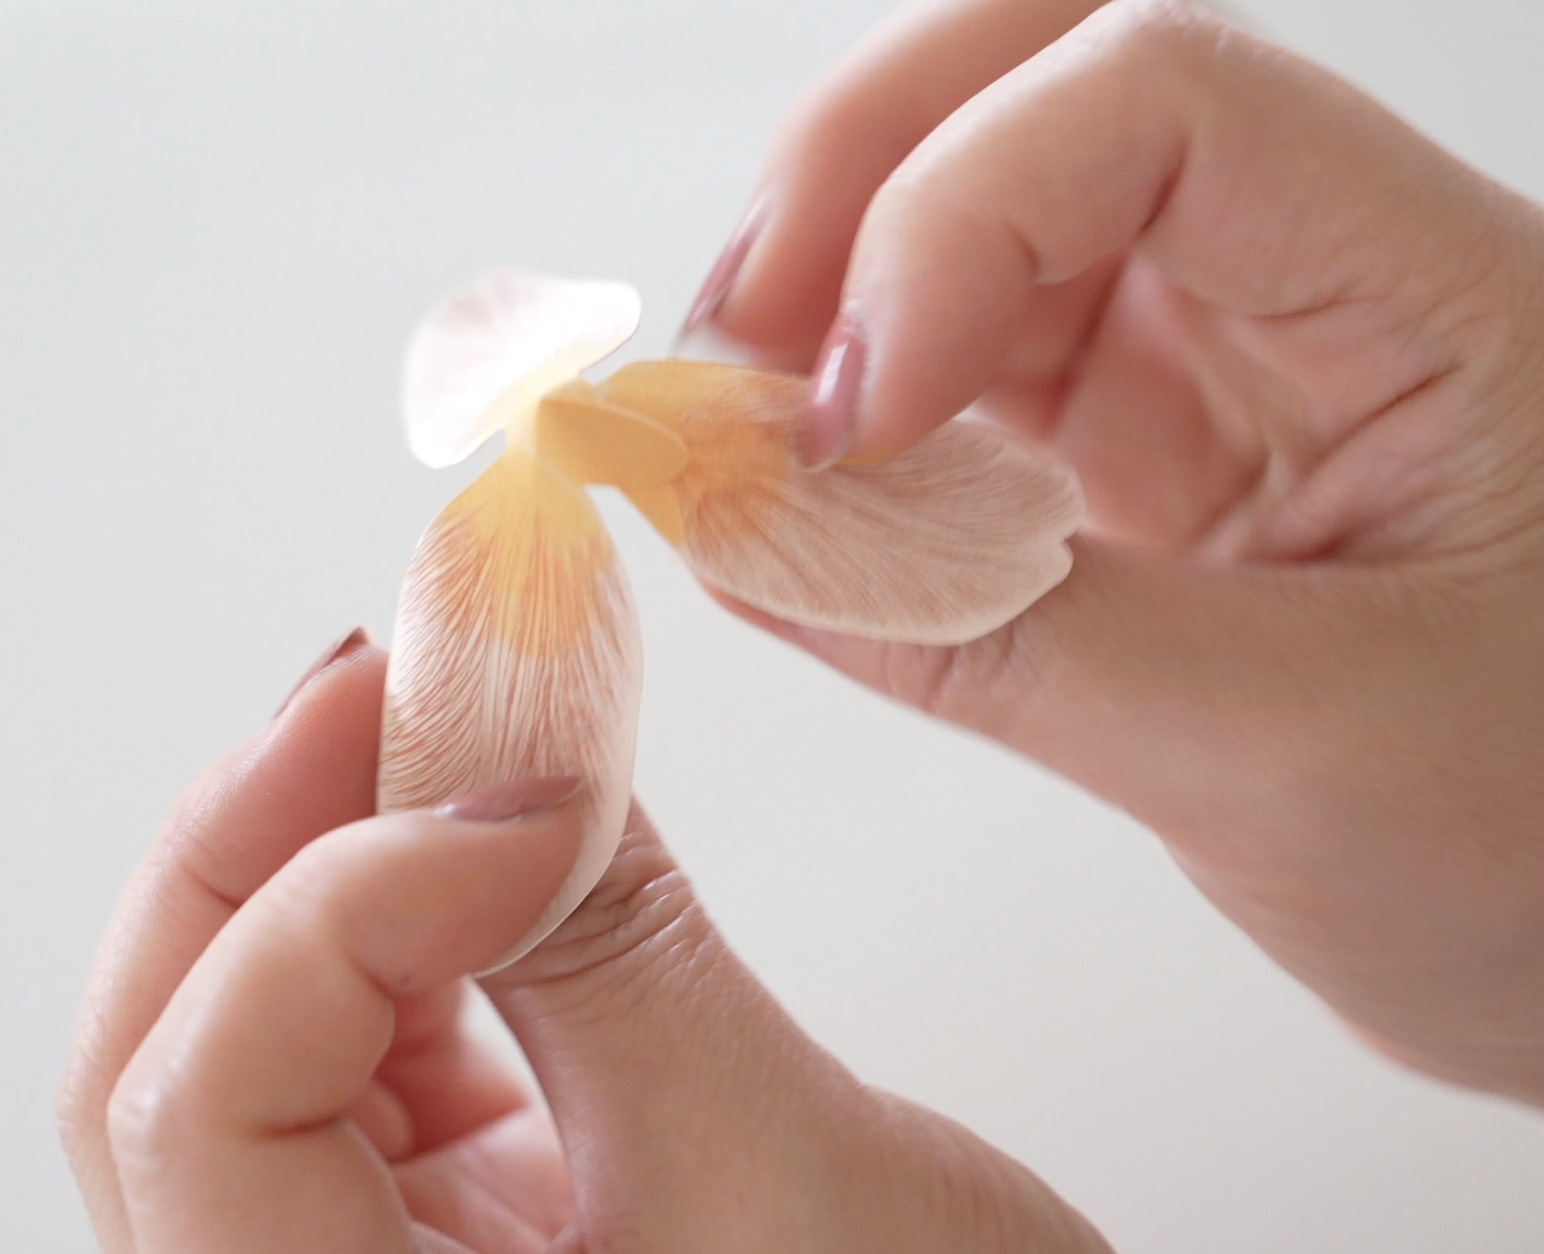
Step 4: Assemble the First Layer
Take one of your petal pieces. Make sure the sides are curled toward you and the tips away. Apply a small amount of hot glue to the little tab on the front facing side, then attach it to the back of the next petal. Work your way around, ensuring the petals are evenly spaced.
Once the first one is assembled, poke a small hole in the center. Gather all 6 of your yellow wire pieces, close them together, and push them through the center hole of the first petal layer.

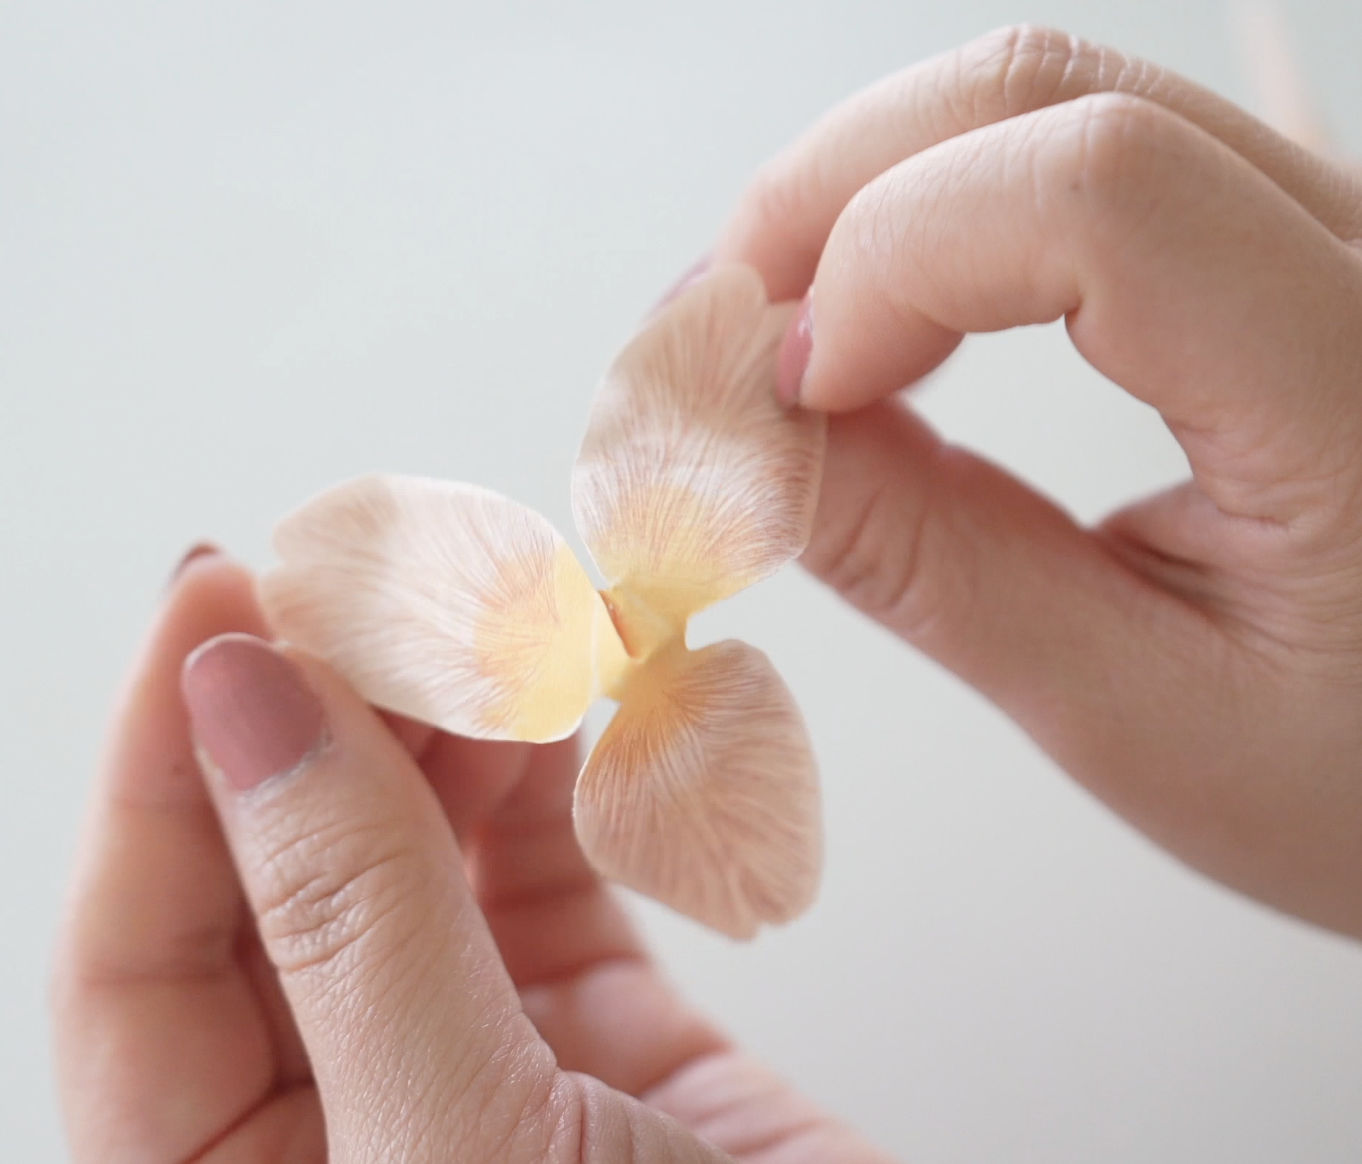
Step 5: Add the Second Layer
Flip your second petal piece around. Apply glue to the back of its tab this time, the tab will cross to the inside of the adjacent petal. This is your final layer, so the bottom of the flower will be clean with no visible glued tabs. Poke a hole through the center of this second layer and thread the wire center through so the first layer's petals crisscross in between the second layer's petals.
Apply hot glue to the bottom of the first layer and press the second layer onto it.

Step 6: Finish the Stem
Take a thicker floral wire and insert it in between all the thin center wires. Then use green floral tape to gather and wrap all the wires together, forming a smooth, sturdy stem.
Tips & Notes
If you purchased the old handcut only version of this template that was also known as “tulip print”, you can go back to the original order confirmation email and request for new digital download and it will give you this updated Cricut/Silhouette compatible version or email me directly!
The traditional closed tulip tutorial is also available and linked HERE if you prefer a more classic look.
These paper tulip brownies are absolutely perfect for spring arrangements, teacher gifts, wedding décor, or any time you want to add a handmade touch.
Watch the full video tutorial above and grab the template and supplies on my website, and don't forget to share your finished tulips I love seeing your creations! 🌷