DIY Valentine’s Day Candles
If you’re looking for an easy DIY Valentine’s Day gift that feels thoughtful, creative, and customizable, these DIY Valentine’s Day candles are the perfect project. Using Cricut temporary tattoo paper and the Print Then Cut feature, you can decorate candles with bows, hearts, flowers, names, or messages in just a few simple steps.
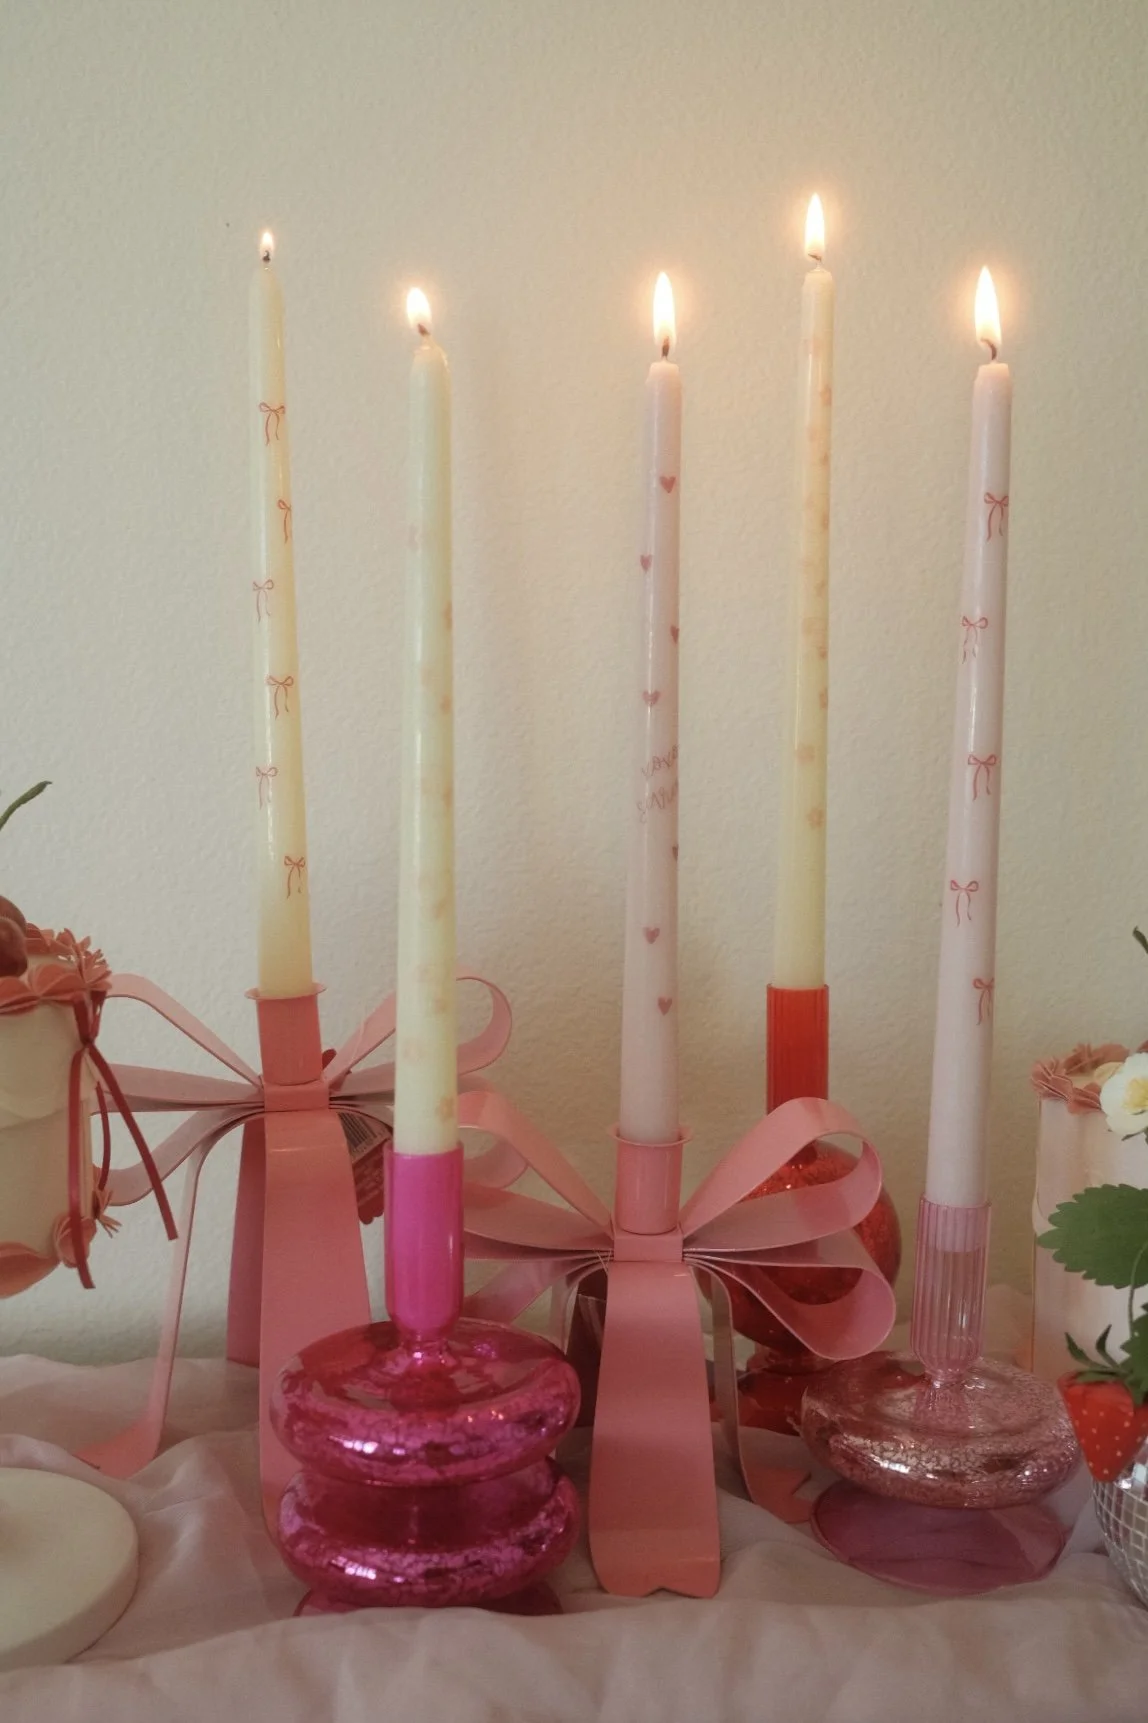
These candles make great Valentine’s Day gifts for friends or teachers, party favors for kids or Galentine’s celebrations, or decorative candles for shelves, desks, or offices.
The best part? Once you learn the technique, you can use it for any holiday or season, just by changing the designs.

Supplies Needed
Temporary tattoo paper (I used Cricut brand, but other brands work too)
Water spray bottle or wet paper towel
👉 You can find all the supplies I used linked above.
Step 1: Choose and Prepare Your Designs
Open Cricut Design Space and choose simple designs such as bows, hearts, flowers, minimal shapes or icons
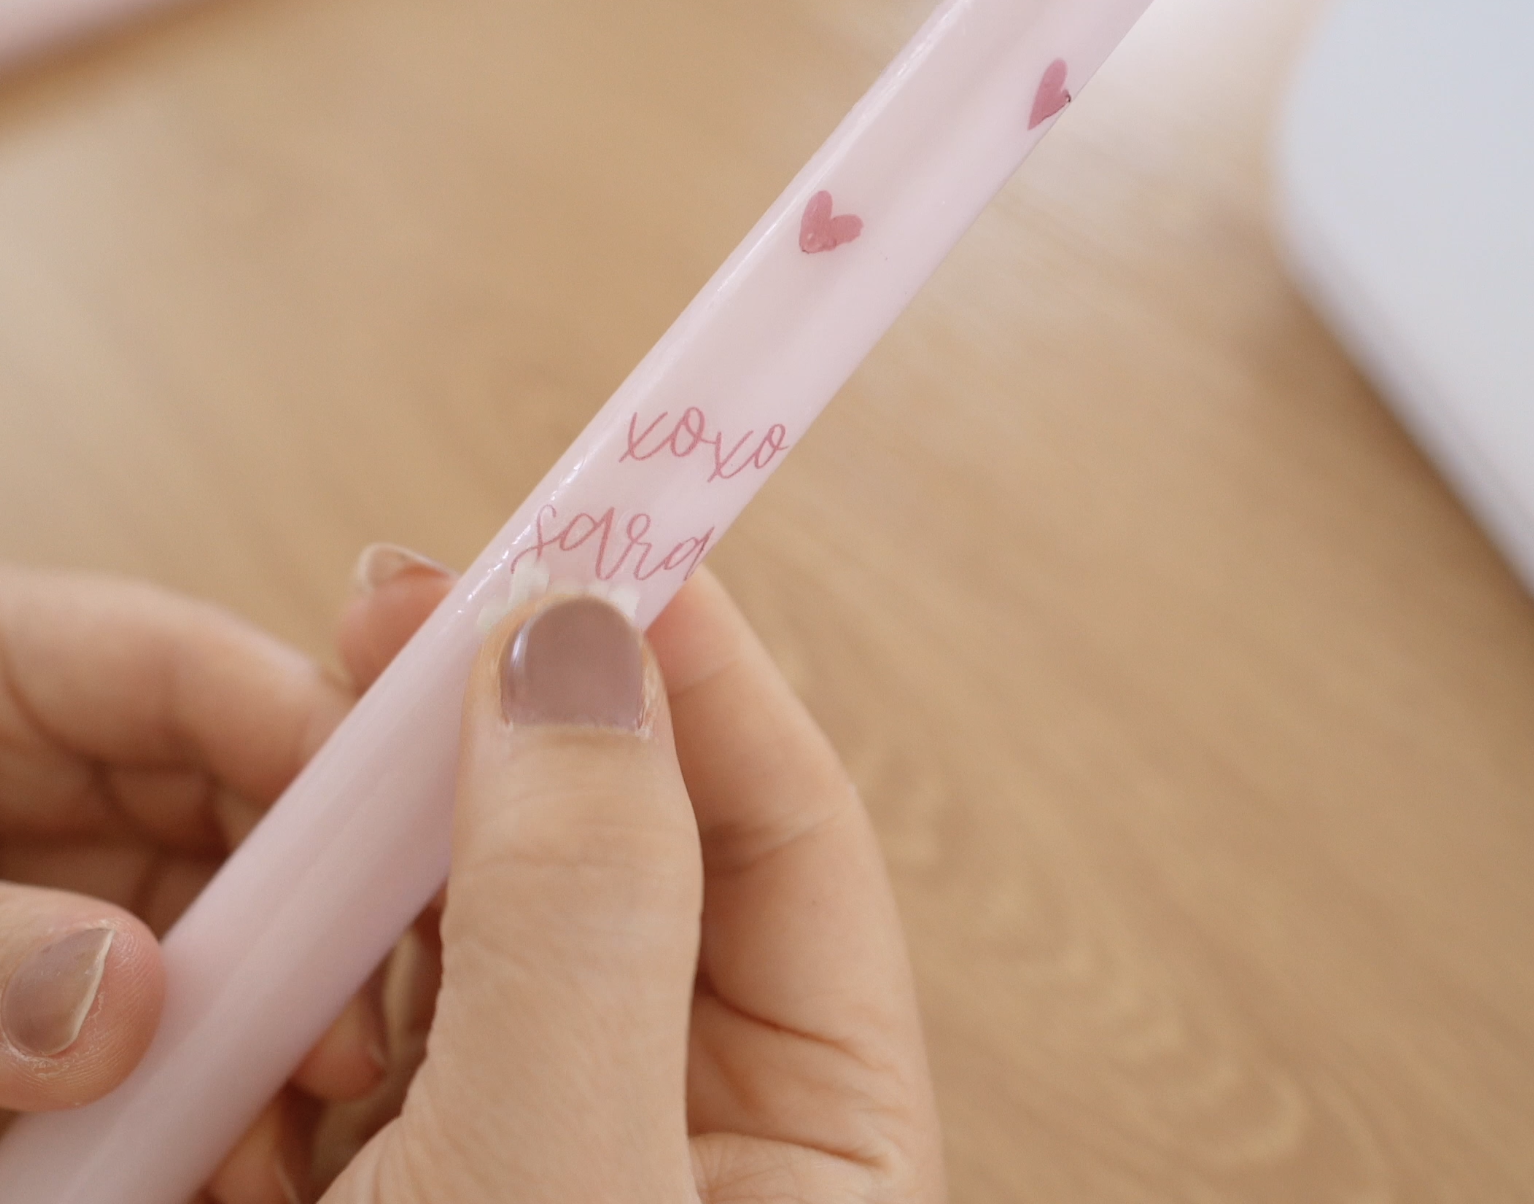
You can also personalize your candles by adding a name or short message in calligraphy-style text
Many of these designs are available directly in Cricut Design Space, including some free options. Simple shapes work especially well for this project.
Once your designs are ready, size them to fit your candle surface and arrange them on the canvas.
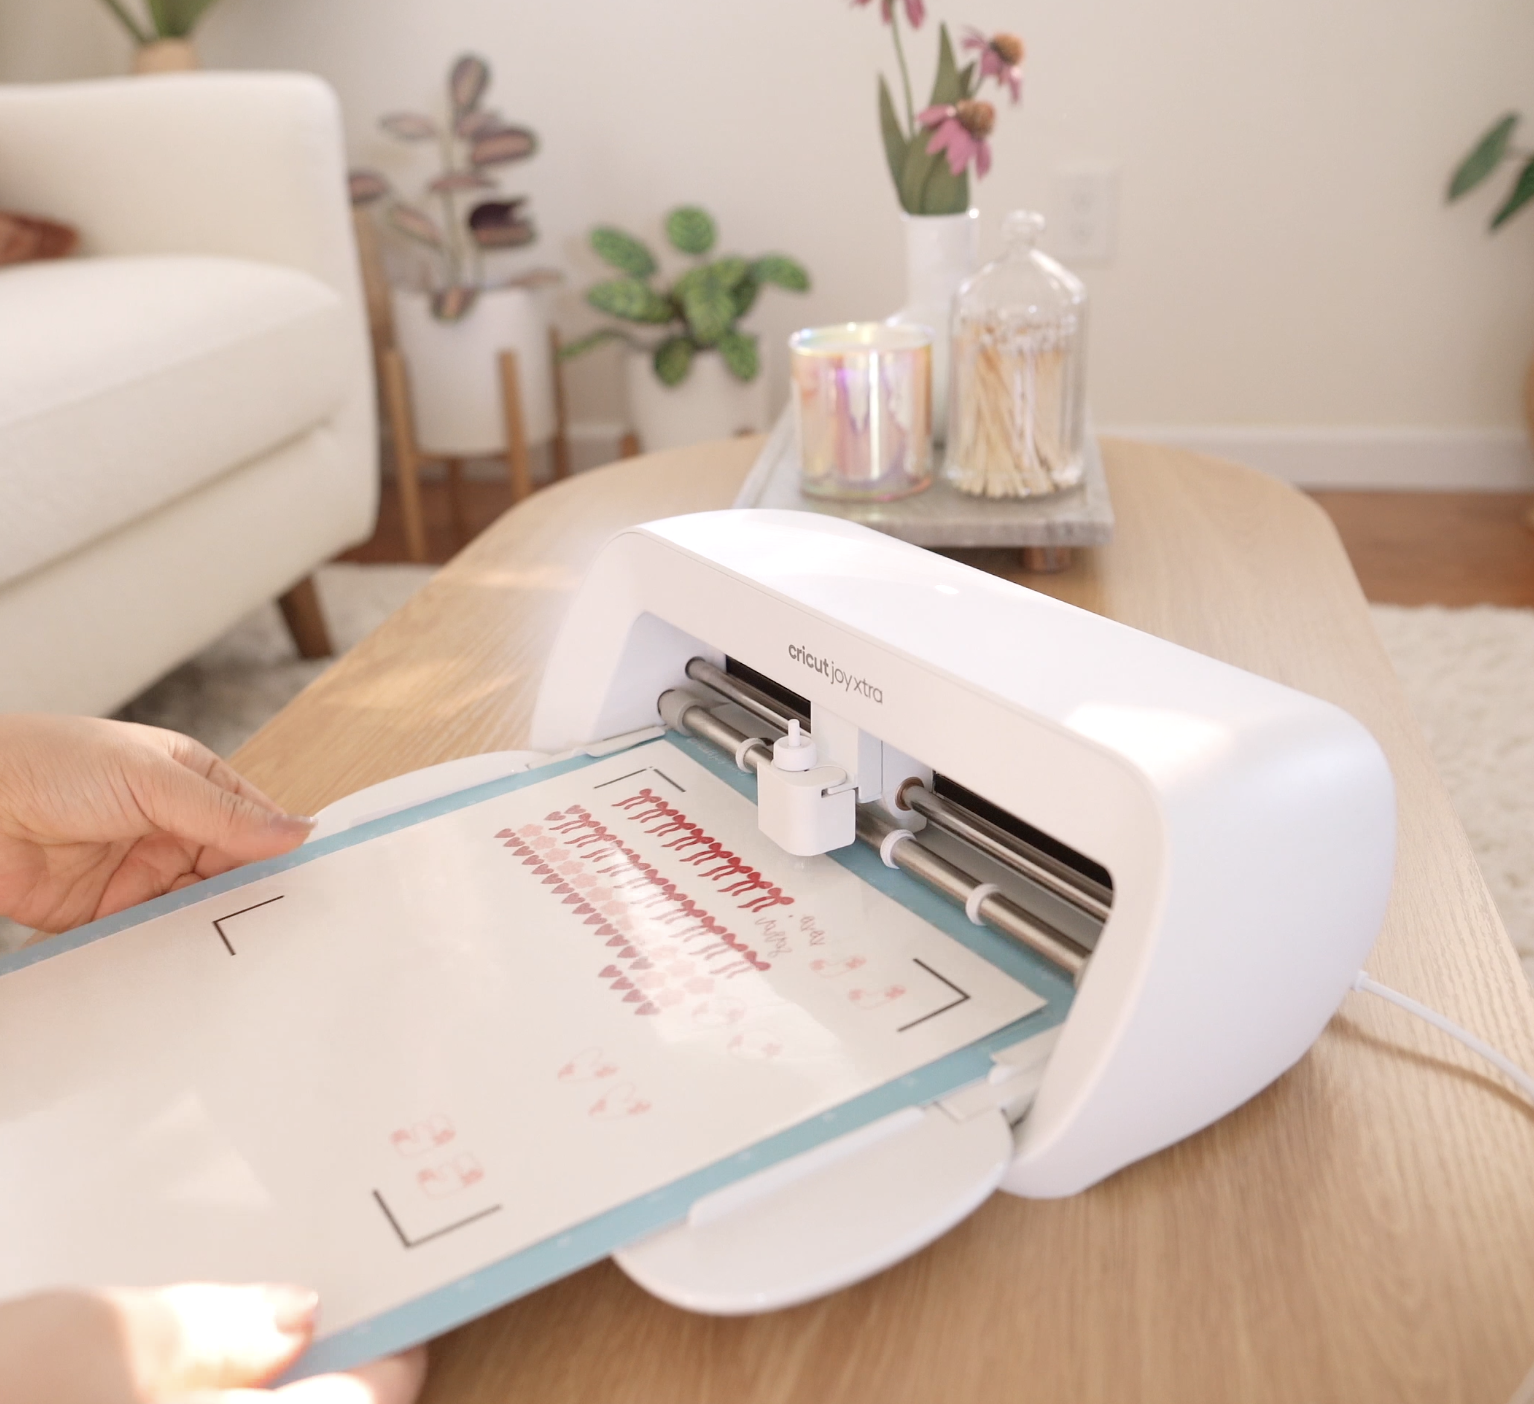

Step 2: Print Using Cricut Print Then Cut
Load your temporary tattoo paper into your printer and select Print Then Cut in Cricut Design Space.
Because tattoo paper is clear, you do not need to add bleed eventhough I did above.
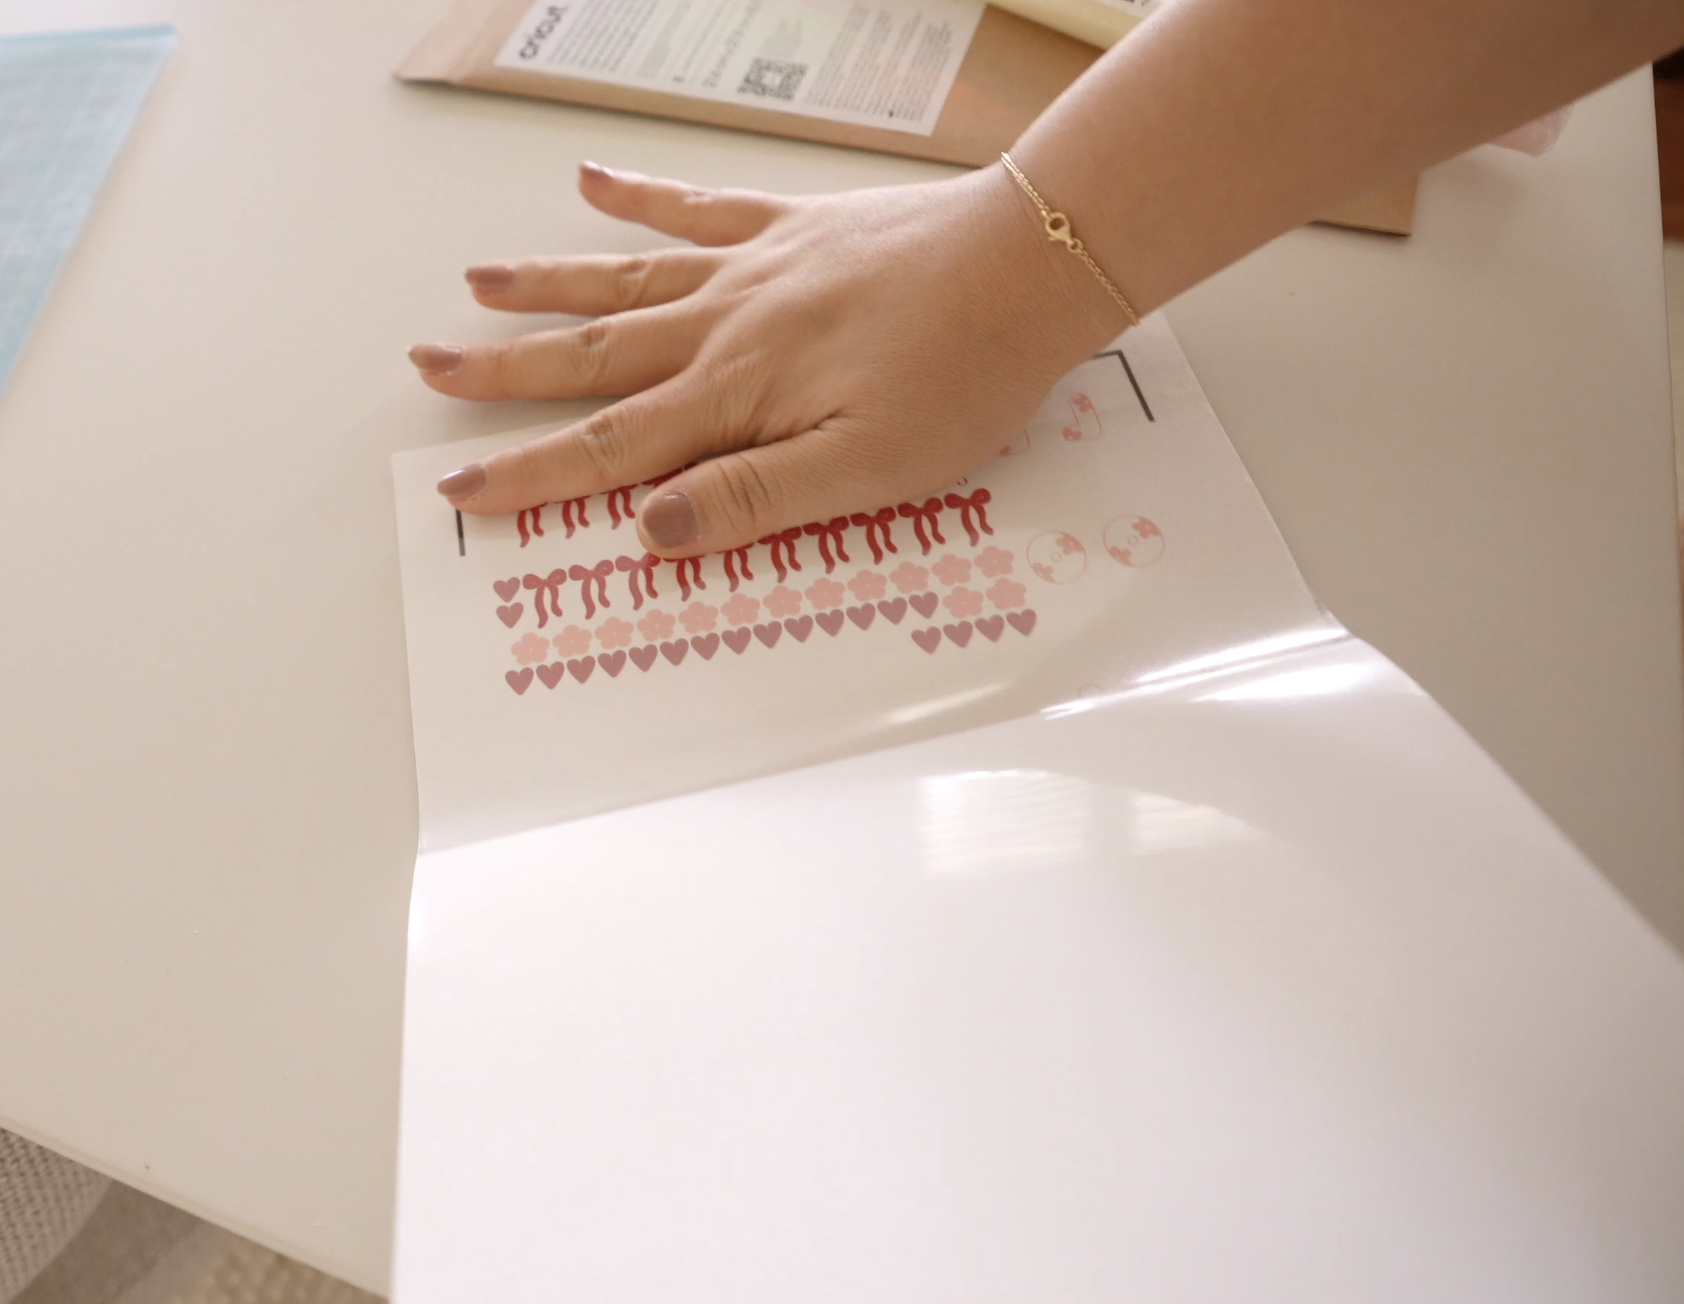
After printing, most temporary tattoo papers come with a clear adhesive sheet. Carefully peel and place this clear layer on top of your printed designs, smoothing out any bubbles.
Once applied, your printed sheet will go on your Cricut mat and cut as usual.

Step 3: Apply the Design to the Candle
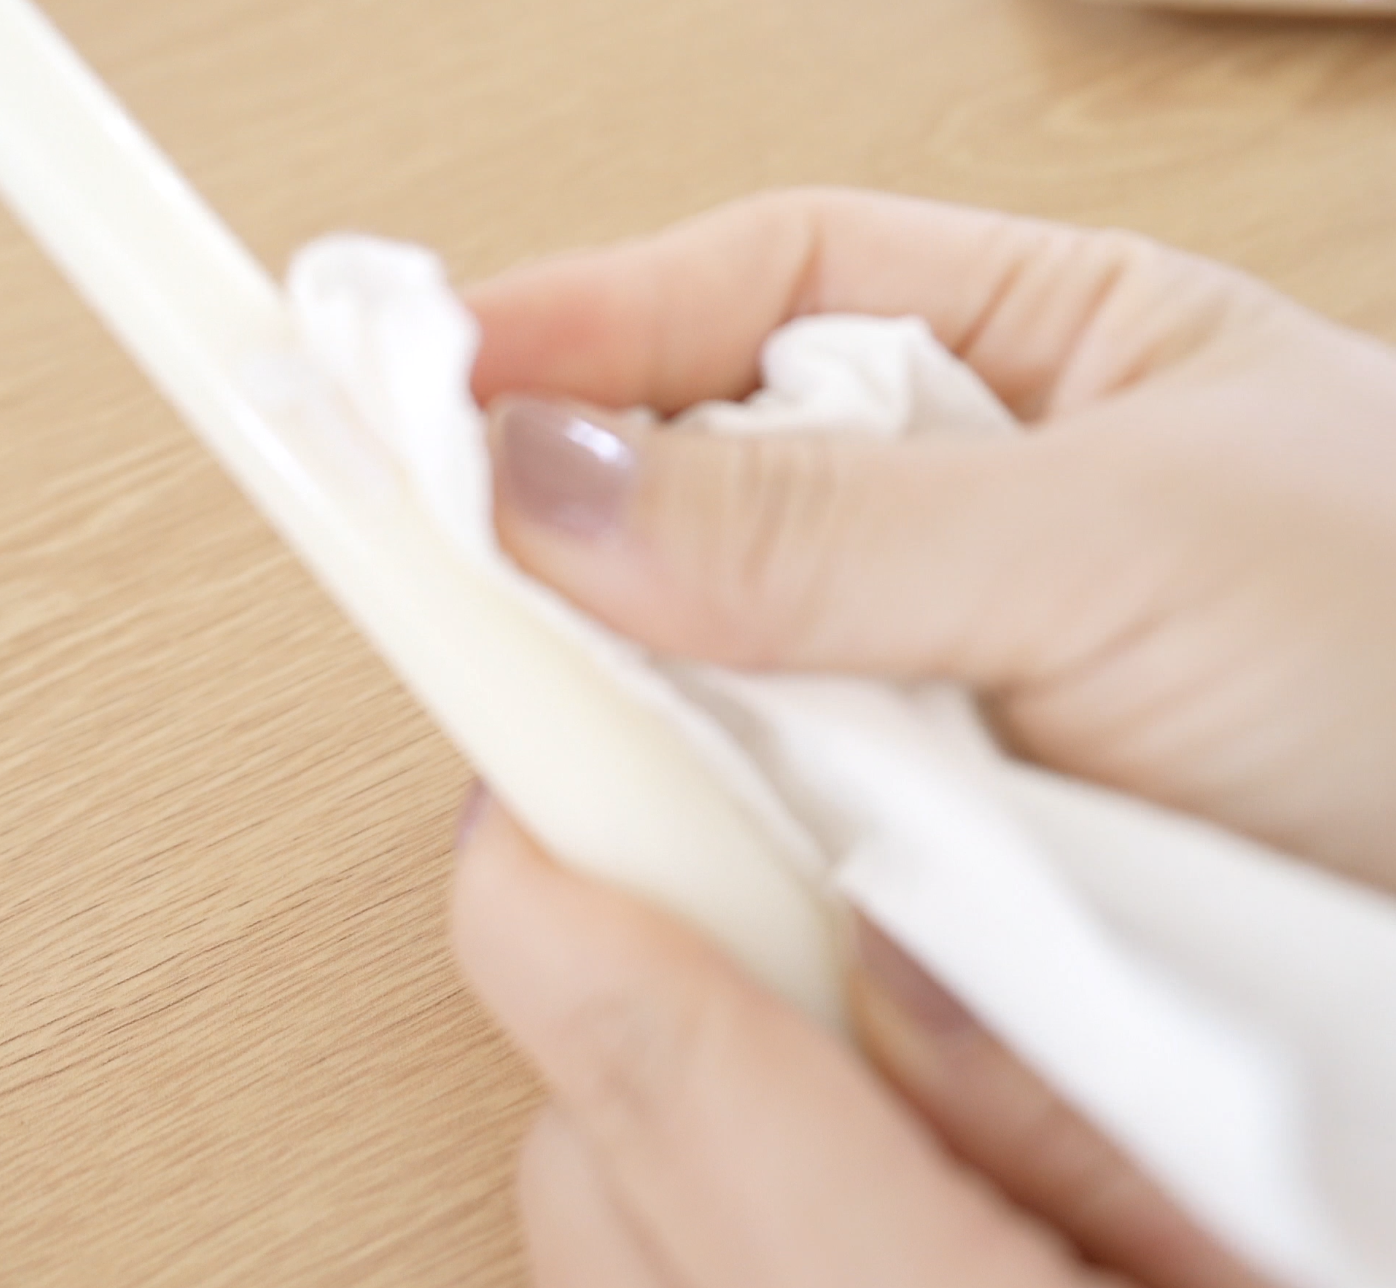
Peel the clear adhesive off your design and place the printed side face-down onto the candle where you want it.
Lightly spray water on top of the paper or press a wet paper towel over it like your typical temporary tattoo stickers. Hold for a few seconds, then gently peel away the backing paper.
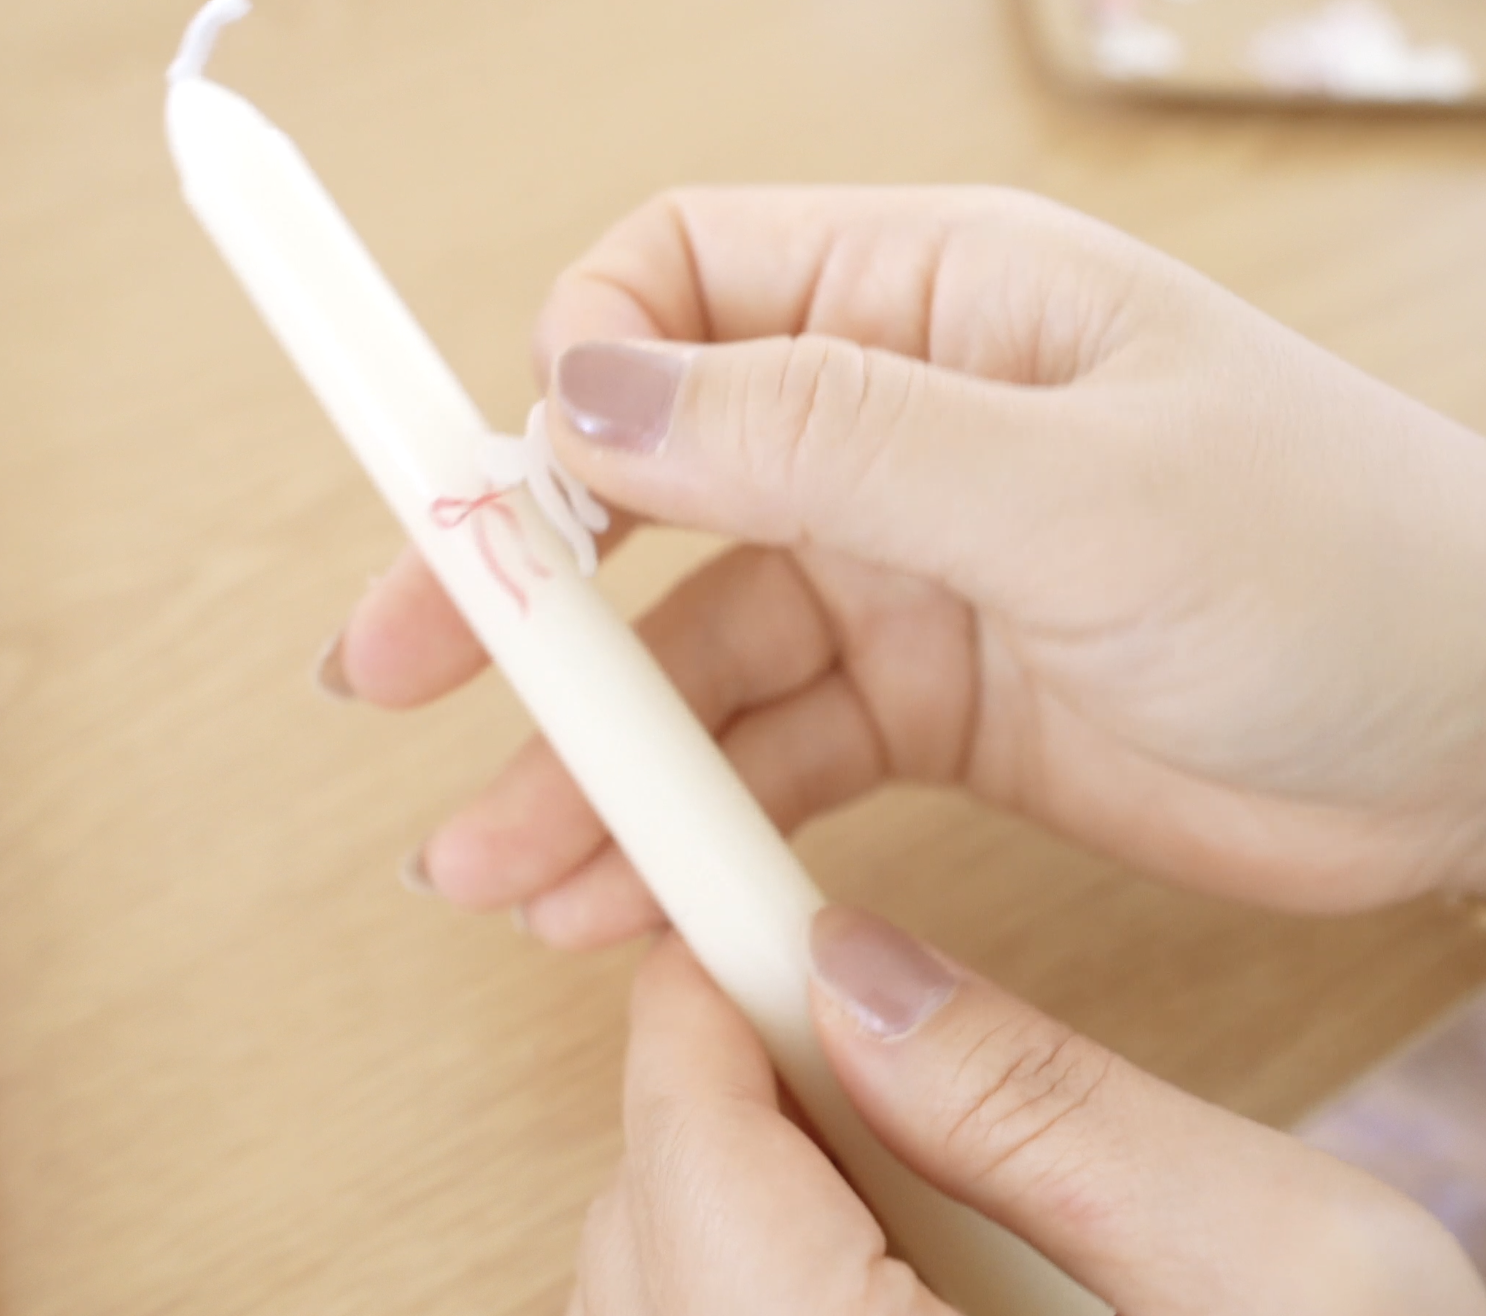
The design should now be transferred cleanly onto the candle surface.
Step 4: Repeat and Customize
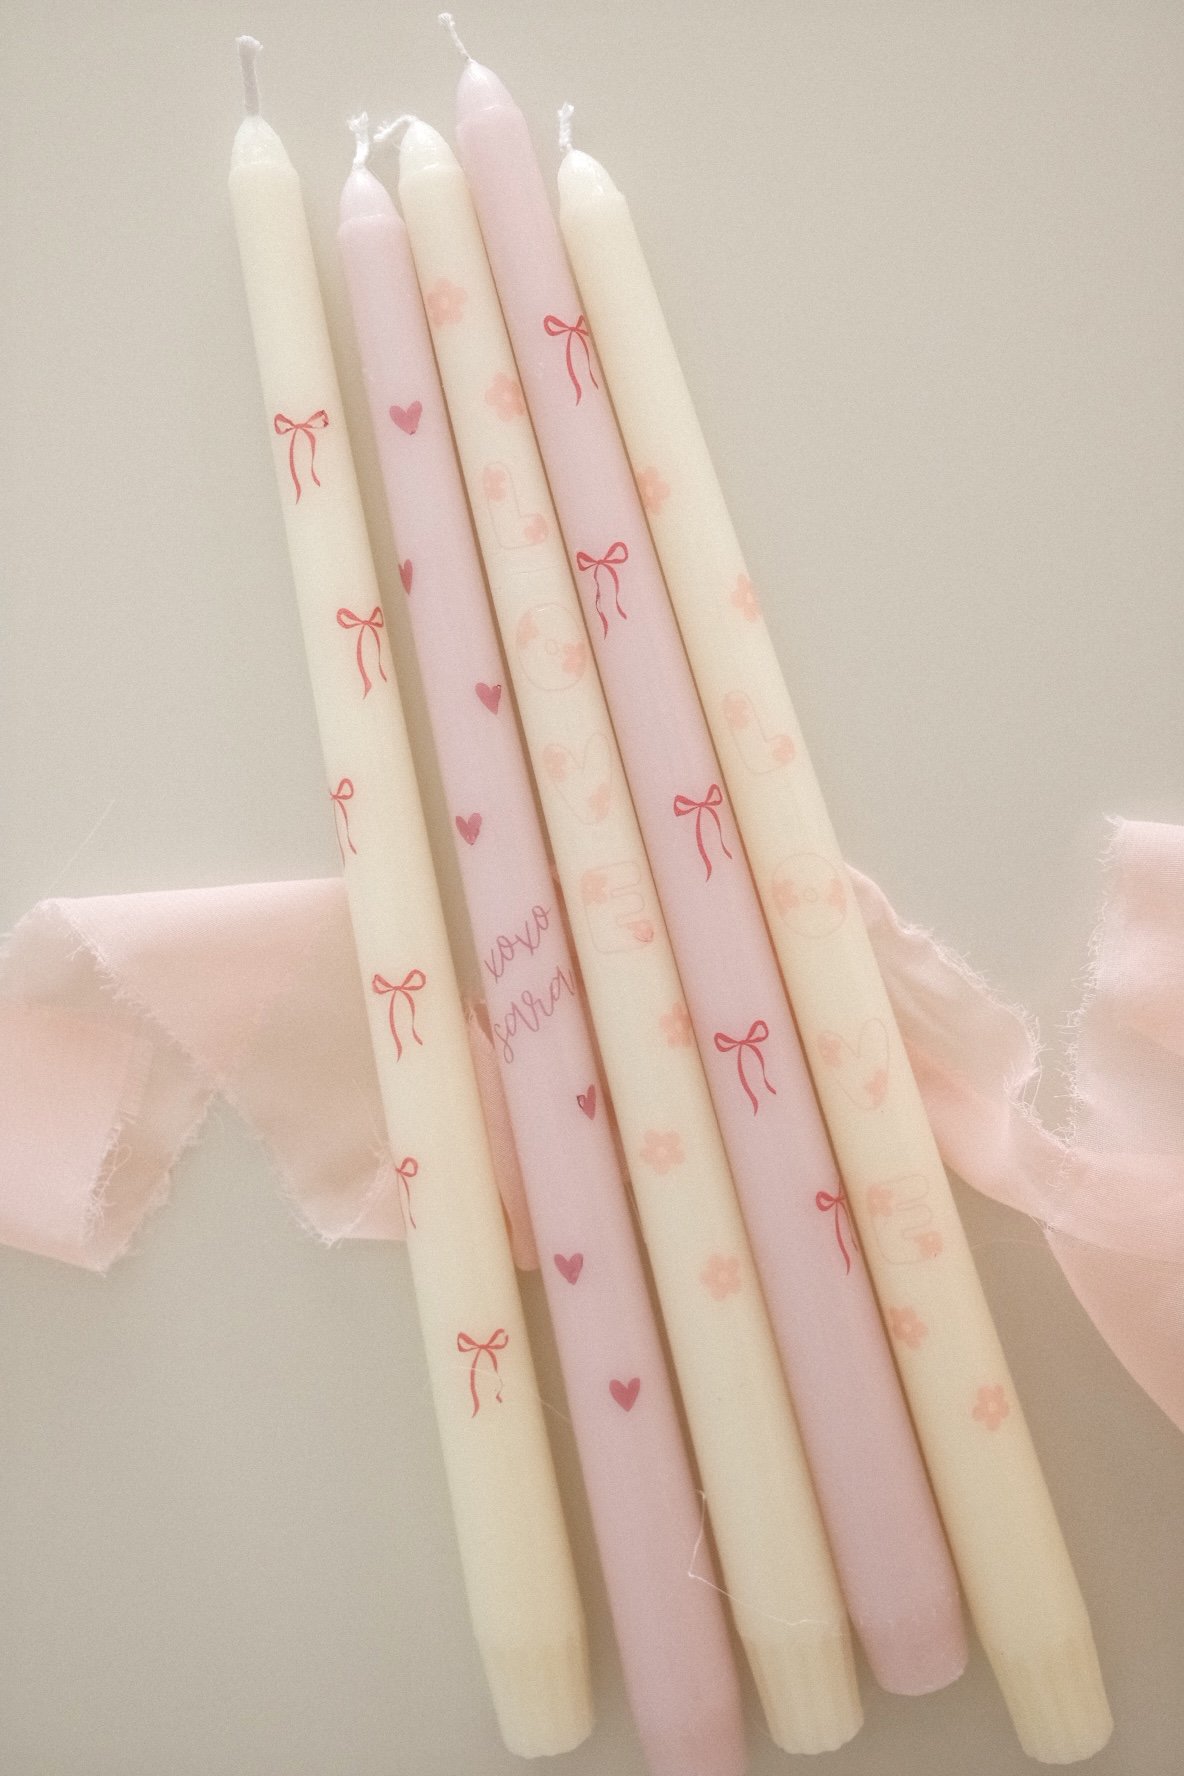
Continue adding designs until your candle is fully decorated. I made a candle covered in bows, heart designs with my name in calligraphy, and lastly floral-themed candles.
You can mix and match styles or keep them simple for a minimalist aesthetic.
Important Candle Safety Note
I tested these candles by burning them for about 20-30 minutes. They held up well for short burns, but I recommend using them primarily for decorative purposes, gifts, or display pieces.
If you’re considering selling candles, I would test longer burn times and materials thoroughly first.
Creative Ideas & Variations
Try this technique for other holidays like Easter, Christmas, or birthdays
Use thicker pillar candles for and add a logo or signature design for an office or studio display
Create sets as gift bundles or party favors
This is such a versatile Cricut project once you learn the basics.
Find the full video tutorial above. These DIY Valentine’s Day candles are a fun way to combine Cricut crafting, personalization, and seasonal decor. They’re quick to make, budget-friendly, and perfect for gifting for Galentine’s, friends, kids, or loved ones.