Inside My Paper Flower Process
Every paper flower I create starts with lots of studying and sketching and lots of scraps. This one began at Trader Joe’s, where I spotted a bundle of gladiolus and knew I had to try making it out of paper. This has been on my list for a while and finally I bought them and started my paper flower process.

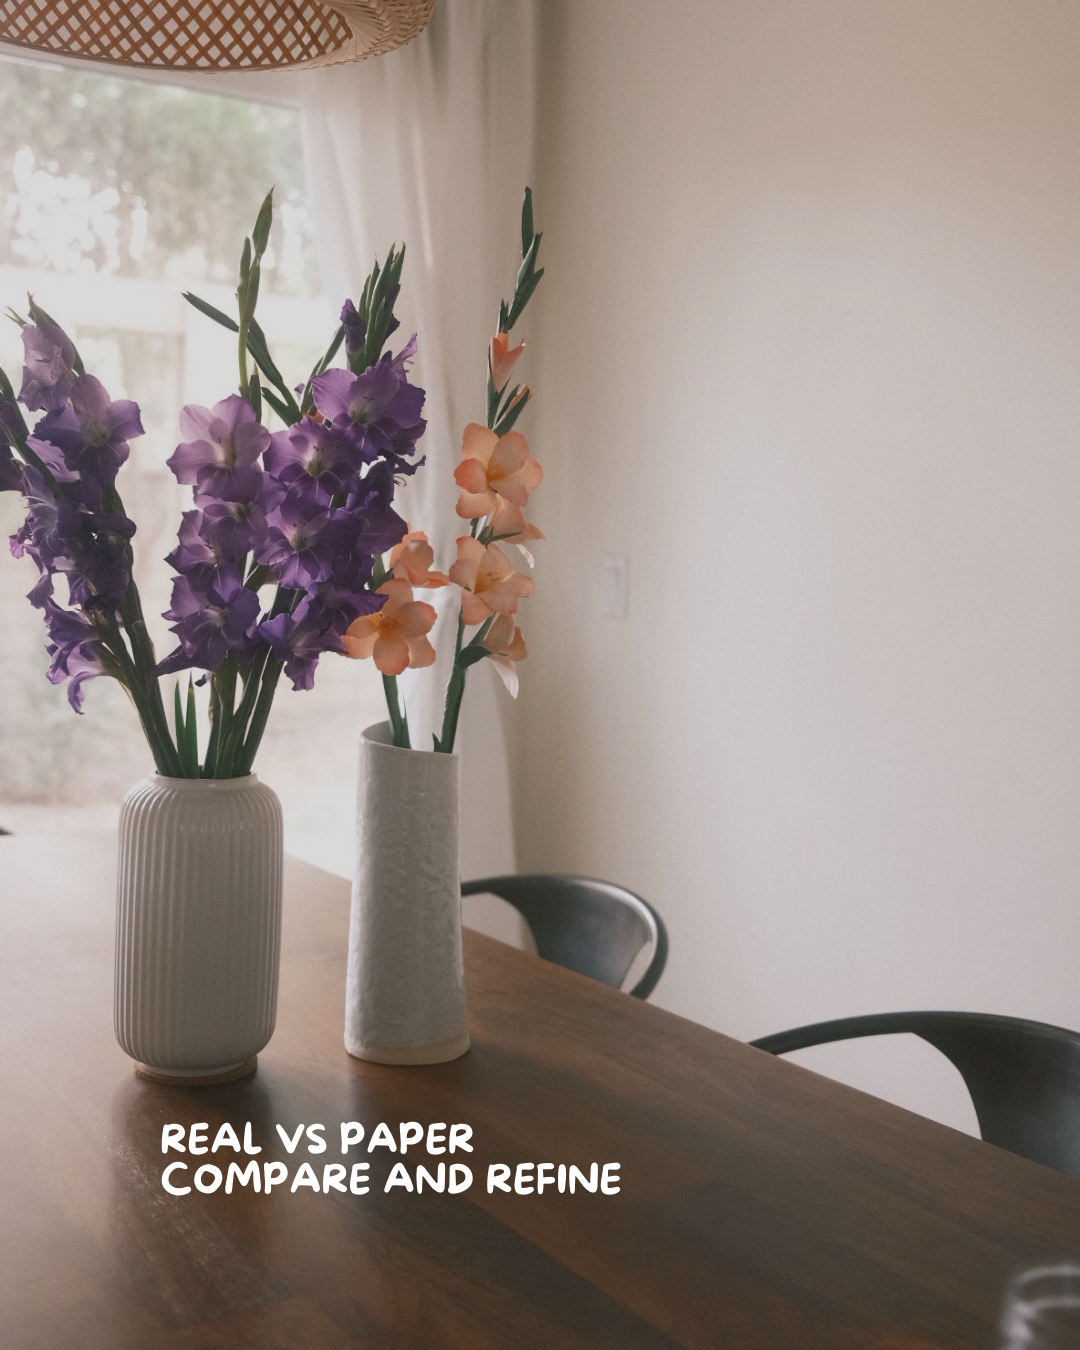
For this gladiolus, I knew I wanted to focus on the shaping and movement of the petals and the thickness and structure of the stem. There are lots of doodles, notes scribbled, random measurements, and plenty of “what if I try this?” moments. I even took apart one of the real flowers to understand how it was built, while keeping others nearby to compare side by side as I worked.
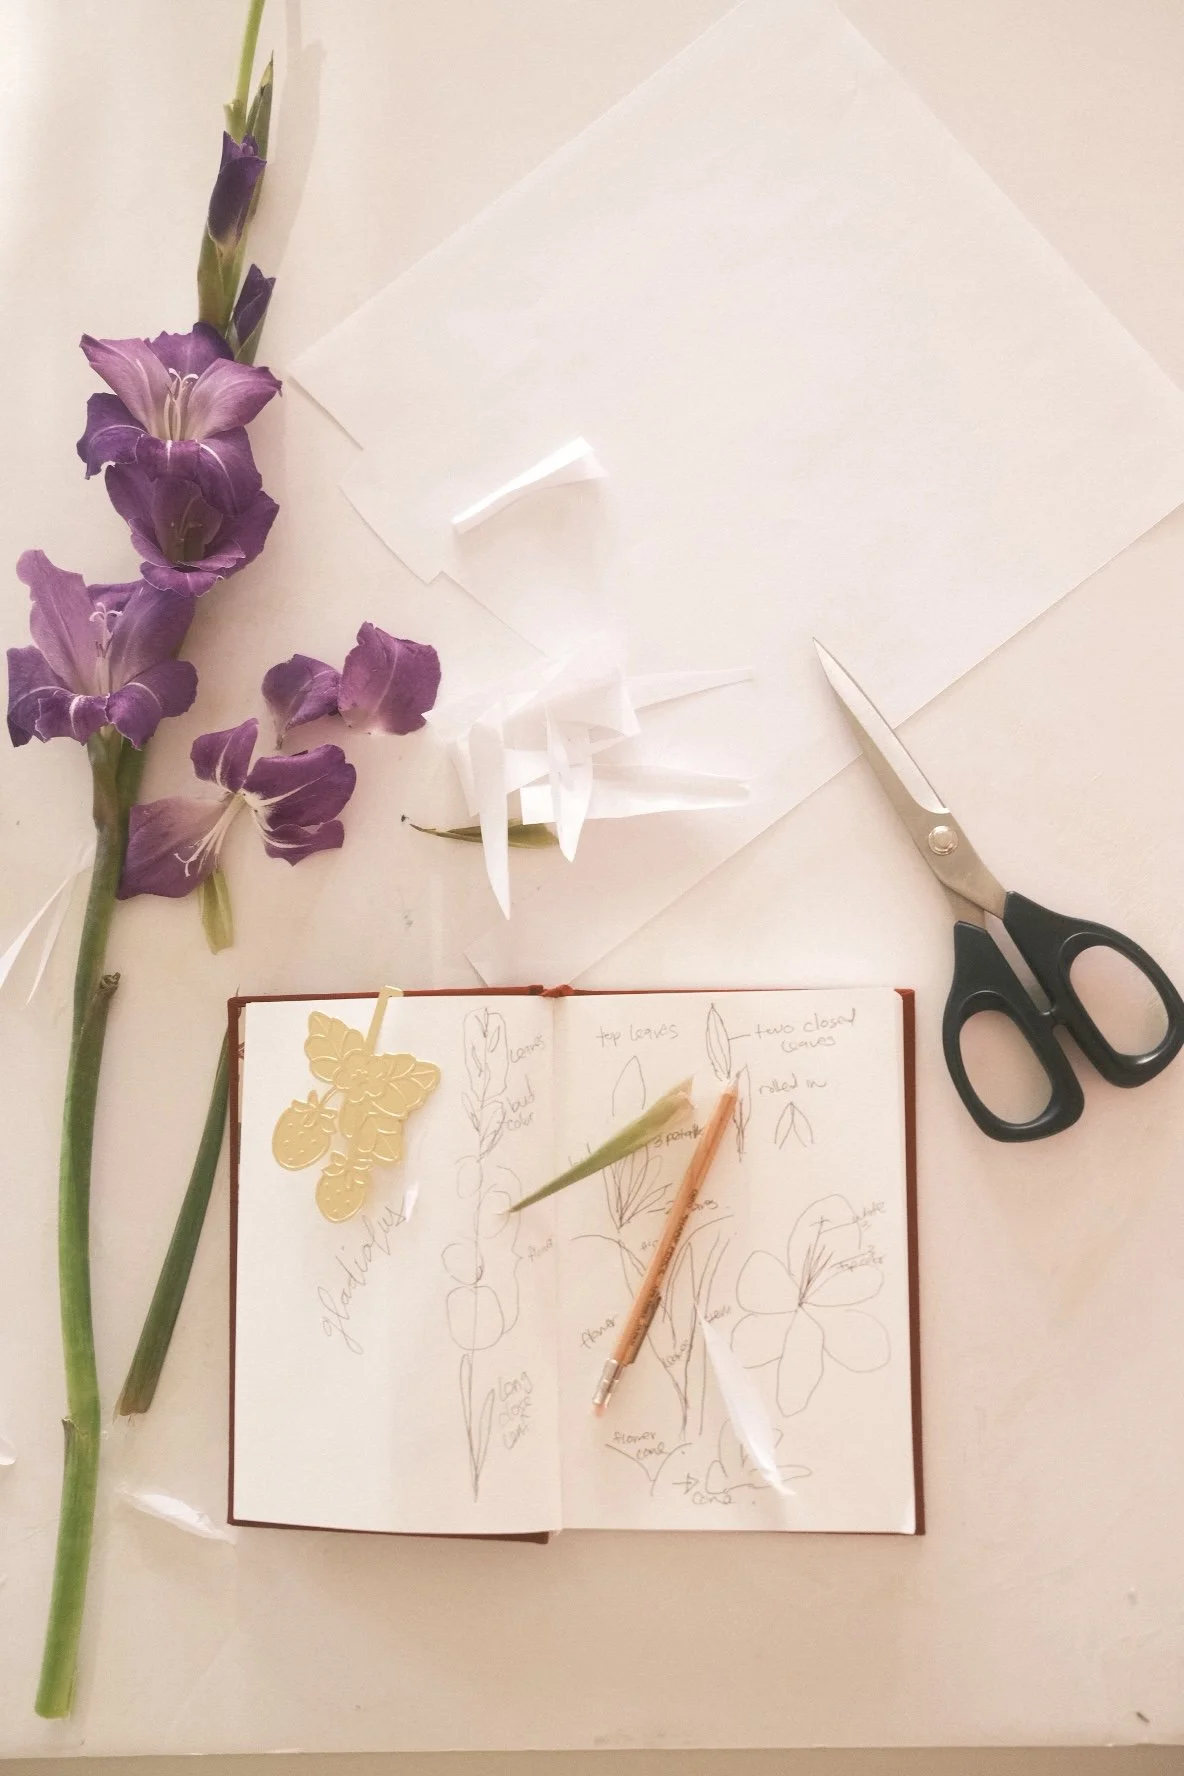
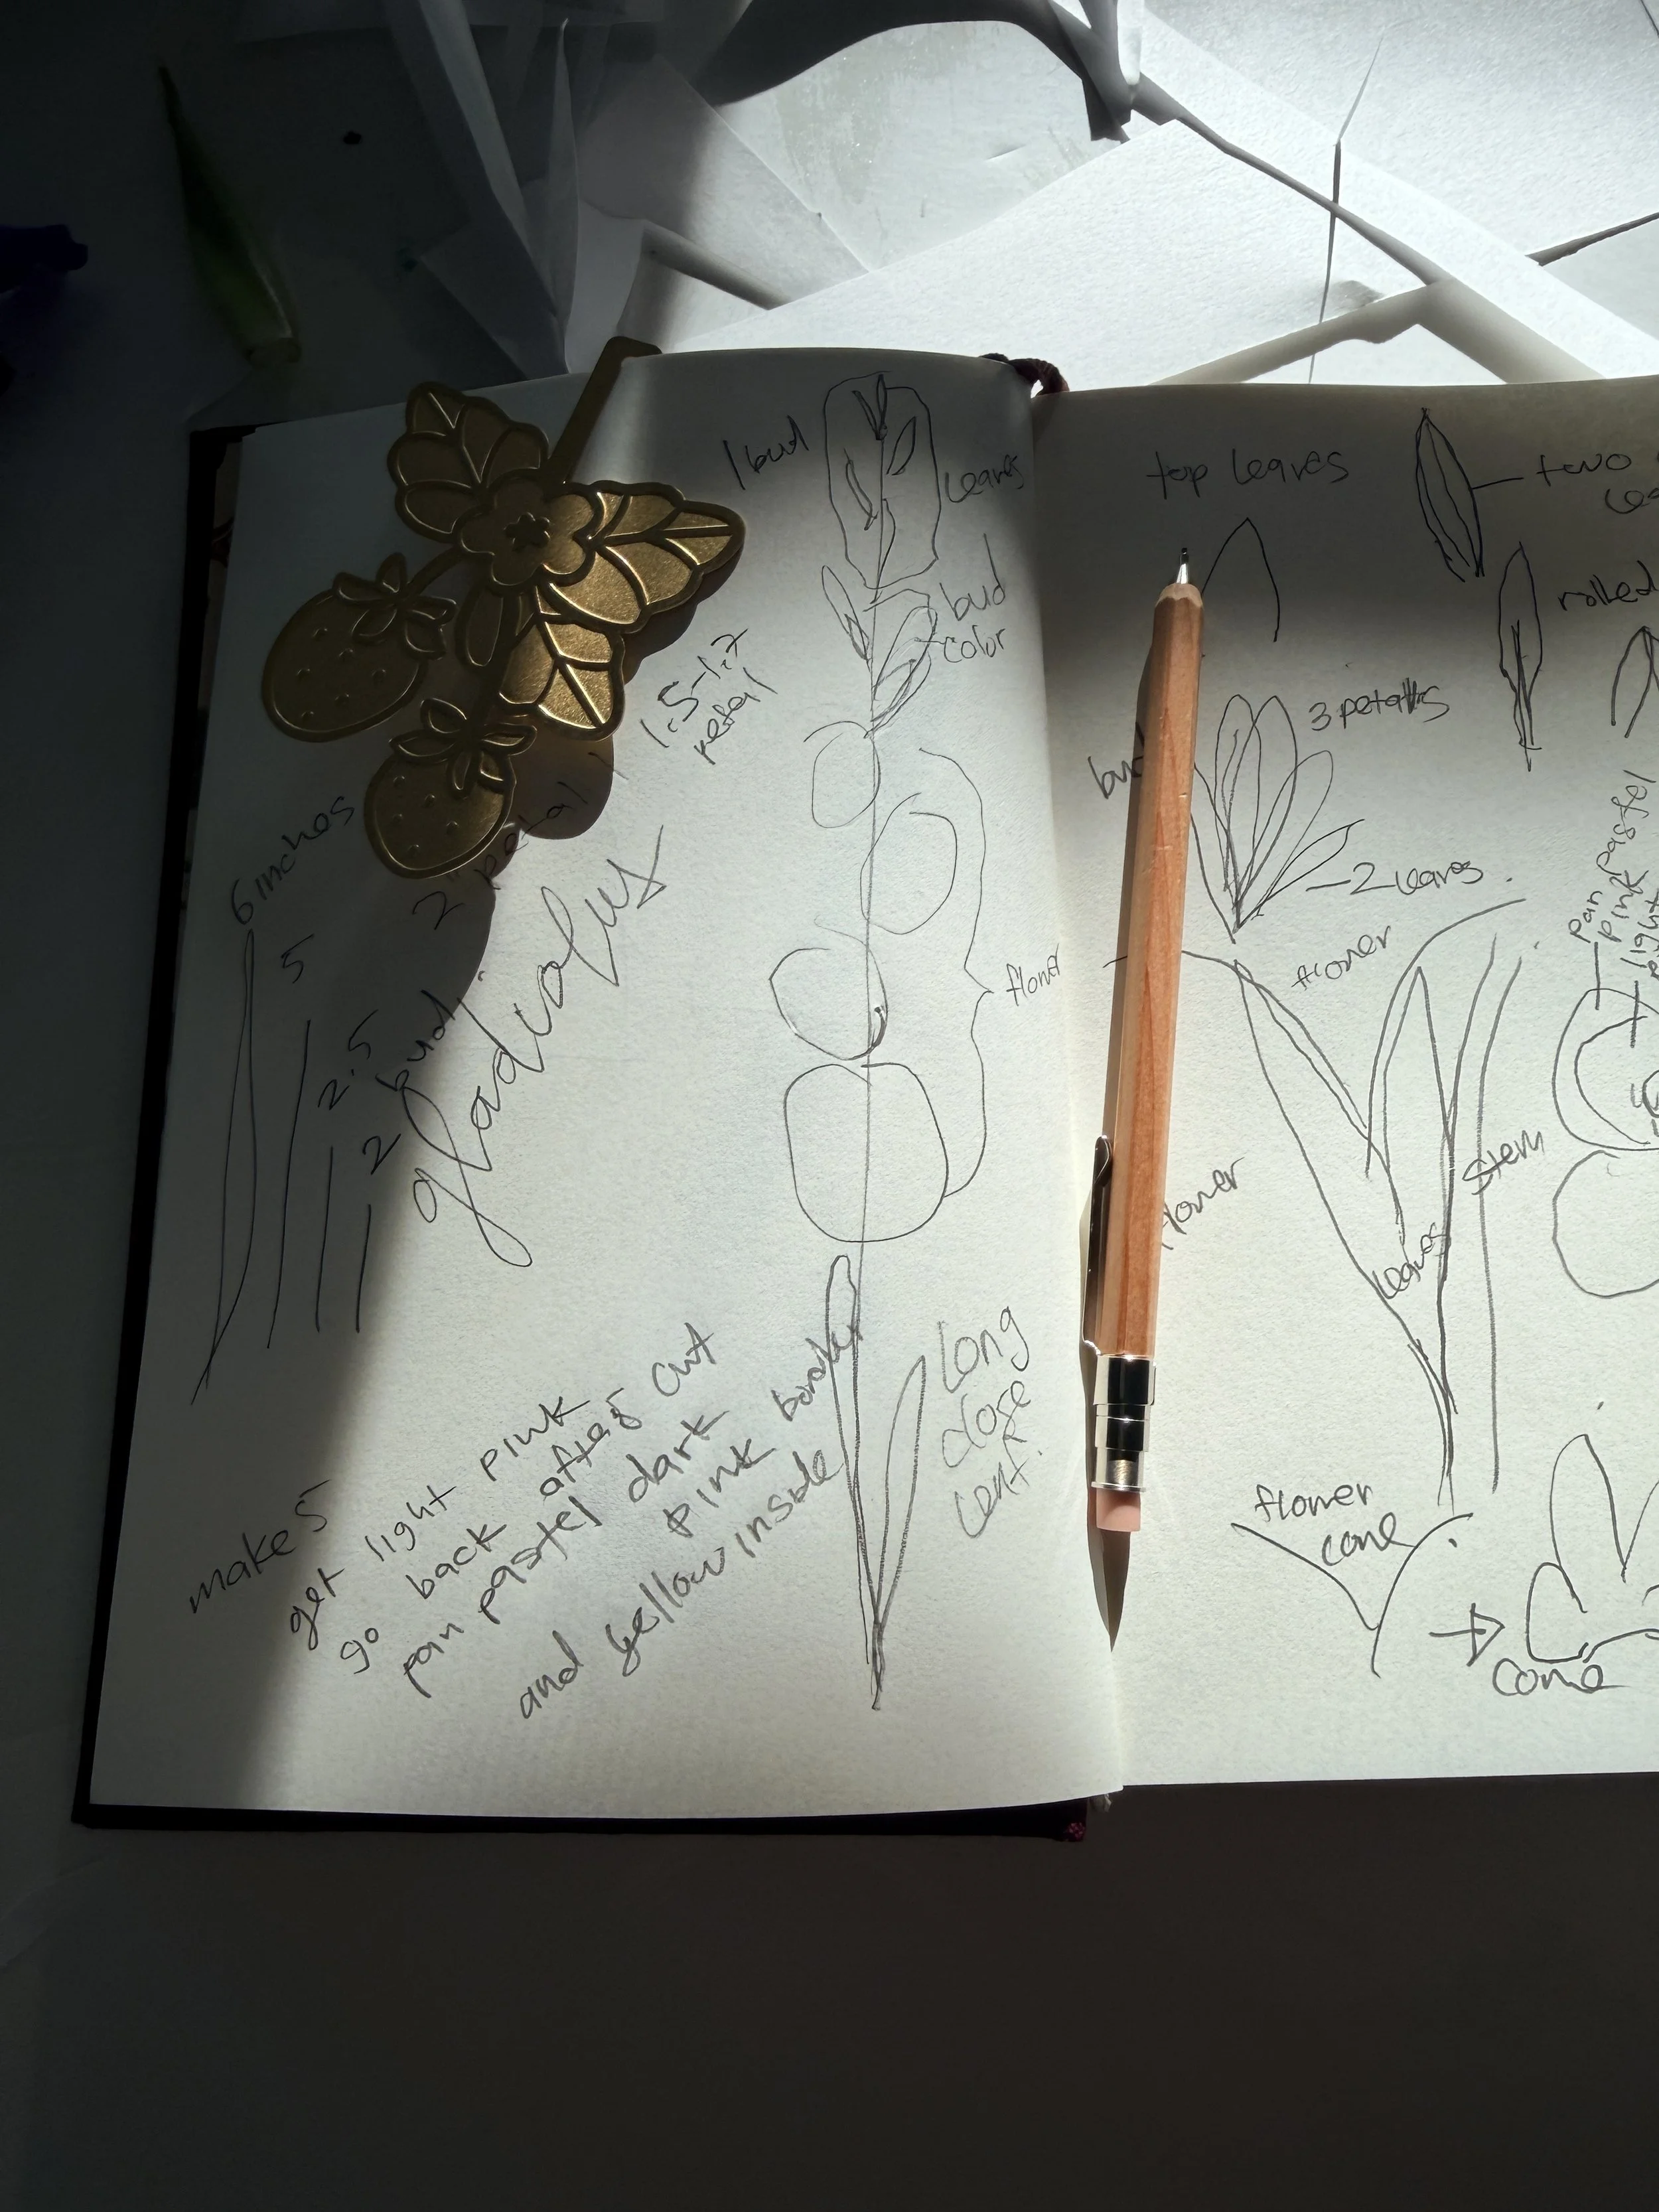

Sketching is a huge part of my design process. I keep multiple sketchbooks in different sizes some for big ideas, some for quick doodles, and some just for working through details. The sketchbook I used here is especially cute (it has flowers on the cover, of course), and I love having blank pages so I’m not boxed into lines or structure.
If you’re curious,
My sketchbook linked here- https://bit.ly/46n9tJG
My tiny pencil linked here- https://www.mlovewell.com/products/ohto-0-5-mechanical-pencil-natural?_pos=176&_sid=26b563a40&_ss=r
My process is rarely neat. There are stacks of scraps, pieces I randomly cut just to test an idea, and versions that don’t quite work. Trial and error is a big part of designing paper flower templates, and honestly, it’s one of my favorite parts. I’ll cut, shape, adjust, and repeat, comparing paper to the real thing, refining as I go until it finally feels right. When everything starts to come together, that’s the moment I know I’m close.
Color & Texture
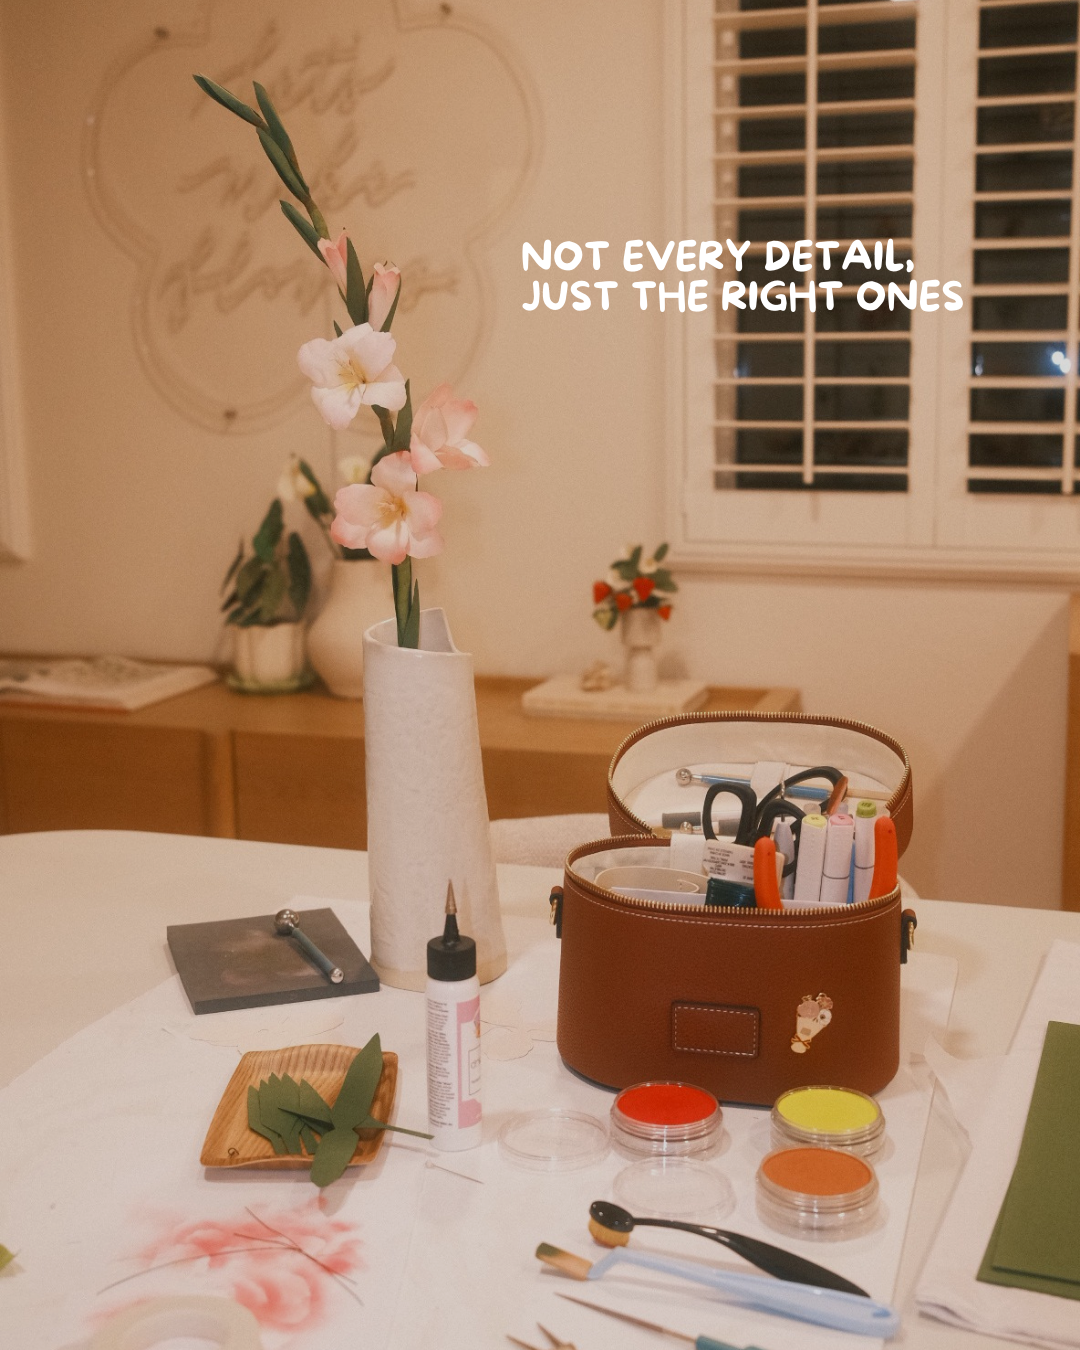
For adding color to paper flowers, I usually gravitate toward watercolor or gouache. I love how organic and soft they feel on cardstock, especially for petals. That said, getting the right gradient can sometimes be tricky. That’s when I reach for pan pastels. I don’t use them all the time because they do get messy (fair warning). For this project, I actually placed a paper towel over my shaping mat because pan pastel dust tends to travel everywhere. But when it comes to blending? They’re unbeatable. Using a soft blending brush very similar to how you’d blend eyeshadow creates the most natural gradient. I will link the pan pastels and the blending brush I used for this gladiolus below.
Plus My Craft Tool Bag
One of my favorite finds is actually a makeup bag. I originally bought it to use as a toiletries bag, but the moment I saw the built-in dividers, I knew it would be perfect for crafting tools. I ended up getting a second one just for my paper flower supplies, and now it lives on my desk. The dividers keep everything organized, it’s easy to grab when I move around my workspace, and honestly it’s just really cute. I love when functional tools also add a little joy to my creative space.
I keep a running list of the supplies I use most often on my website, and you can find that linked here. Since I don’t always include pan pastels on that page, I wanted to make sure to link the exact ones I used for this project directly in this post.
Pan Pastels- https://bit.ly/4sLQhz6 (Intro) or https://bit.ly/4r6glUj Diarylide Yellow
Pan Pastel Brush- https://bit.ly/3M8W1Cq
Tool Bag- https://bit.ly/3MlfUGi
My Supplies List- https://www.handmadebysarakim.com/materials

When It Clicks
It’s a lot of trial and error, refining shapes, testing structure, comparing paper to real life until it clicks.
Until it surprises me and I could say this is my new favorite… truly my favorite part of my job
That moment never gets old.
Whether you’re here for the art, the paper flowers, or the creative journey, I hope this peek behind the scenes encourages you to trust your own process. Beautiful things don’t happen all at once, they’re built through observation, patience, and a whole lot of trying.