How to Make Paper Calla Lilies
There’s something timeless and elegant about calla lilies and their graceful curves and minimalist beauty make them perfect for any occasion, from weddings to home décor. In this tutorial, I’ll walk you through how to create your own paper calla lilies using cardstock, my downloadable template, and a few simple tools.
Materials:
Template- https://www.handmadebysarakim.com/digital-templates/callalily
Green, White Cardstock Paper (use discount code “SARAKIM10”)- https://www.12x12cardstock.shop/?p=BkRvWGQ5n
Thicker Floral Wire- https://bit.ly/3S9Wsg5
Pan Pastels Intro- https://bit.ly/3WwR202
Pan Pastel Blending Brush- https://bit.ly/4oguOvj
Mod Podge- https://bit.ly/4qFMXV6
Scoring Tool- https://bit.ly/3afiBWz
Wire Cutter + Poking/Shaping Tool- https://bit.ly/3uv7QEI
White glue- https://bit.ly/3PAi42t
White and Green Floral Tape- https://bit.ly/3U98JAS
Cricut Maker- https://bit.ly/4oIxBgu
Cricut Joy Xtra- https://bit.ly/3LgtvOr
Silhouette Cameo (use discount code “SARAKIM”)- https://www.silhouetteamerica.com/silhouette-cameo-5-alpha
Electrostatic Mat (use discount code “SARAKIM”)- https://www.silhouetteamerica.com/CUT-MAT-ES-WHT-12


Step 1: Cut and Score the Petals
Start by cutting your petals on white cardstock. Using a fine detail scoring tool, add soft curved lines starting from the center point of the petal toward the pointed tip. These lines don’t need to be perfect—they simply add realistic texture. Continue scoring in gentle curved patterns across each piece.
Step 2: Curl and Shape the Tabs
Each petal piece has subtle tabs on the edges. Use your curling tool to curl the tabs inward, alternating sides as you move through the pieces. The goal is to create a soft, natural curl that mimics the calla lily’s signature shape.
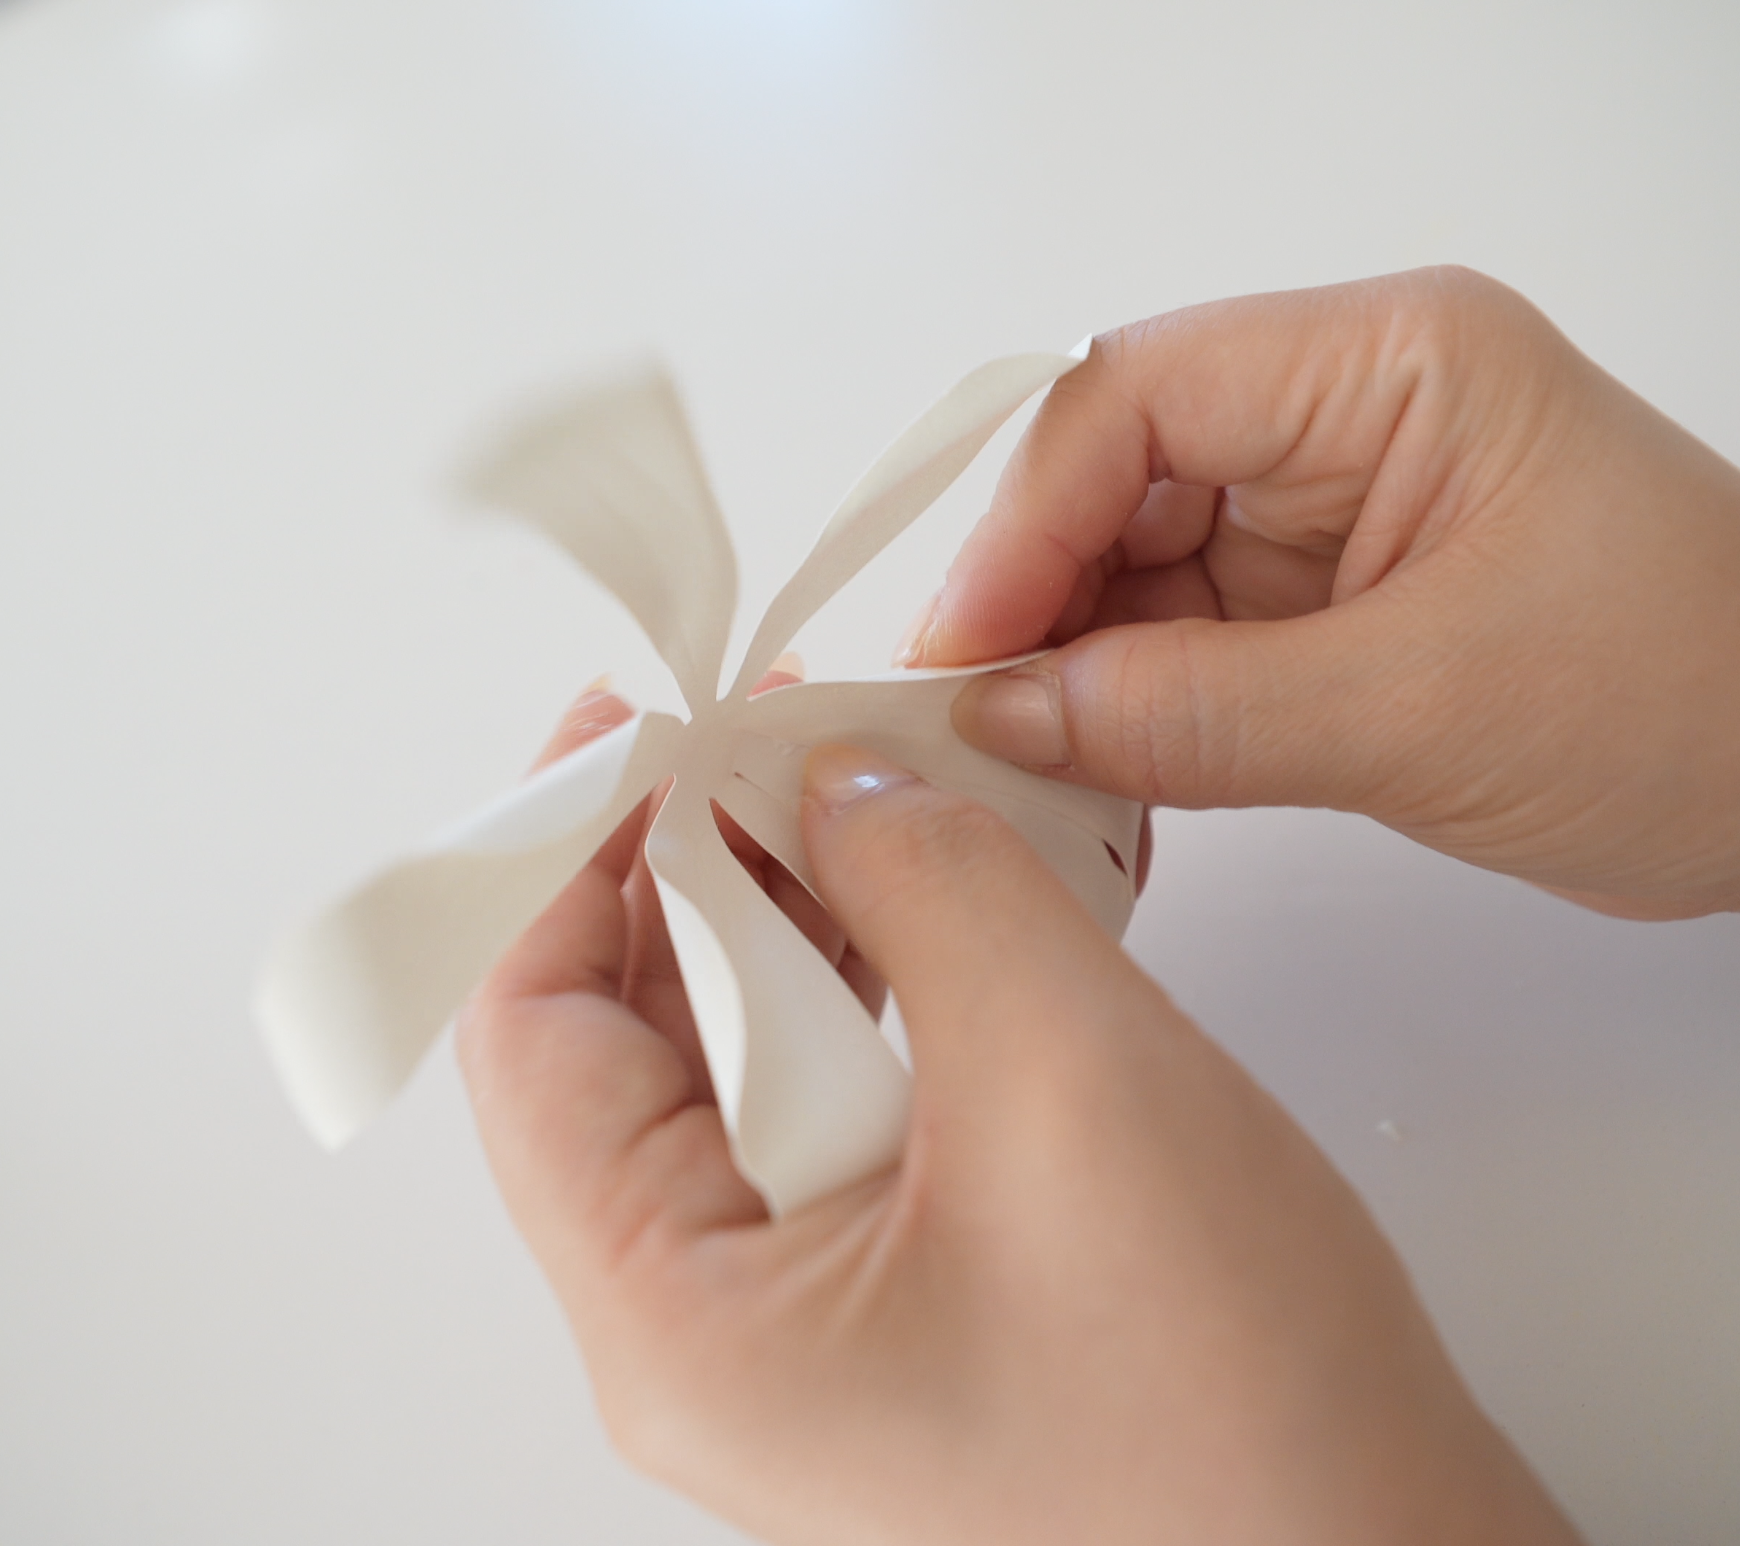
Step 3: Assemble the Flower
Using white craft glue, attach the curled edges together one by one. Apply glue near the edge, connect the next piece about an inch below the pointed tip, and hold until it sets. Once all pieces are connected, push the tip slightly backward to form that beautiful curved center.
If edges don’t align perfectly, no worries—trim them at the end for a smooth finish.

Step 4: Add Color and Shine
Use PanPastels or soft chalks to blend yellow or green tones at the base of the flower, fading upward for a natural look. Then brush on a layer of satin Mod Podge to seal and add a subtle sheen. Allow 10–15 minutes to dry.
Step 5: Make the Flower Center
Wrap yellow tissue paper around a thick floral wire, securing with glue and white floral tape. Add a bit of yellow pastel for dimension.

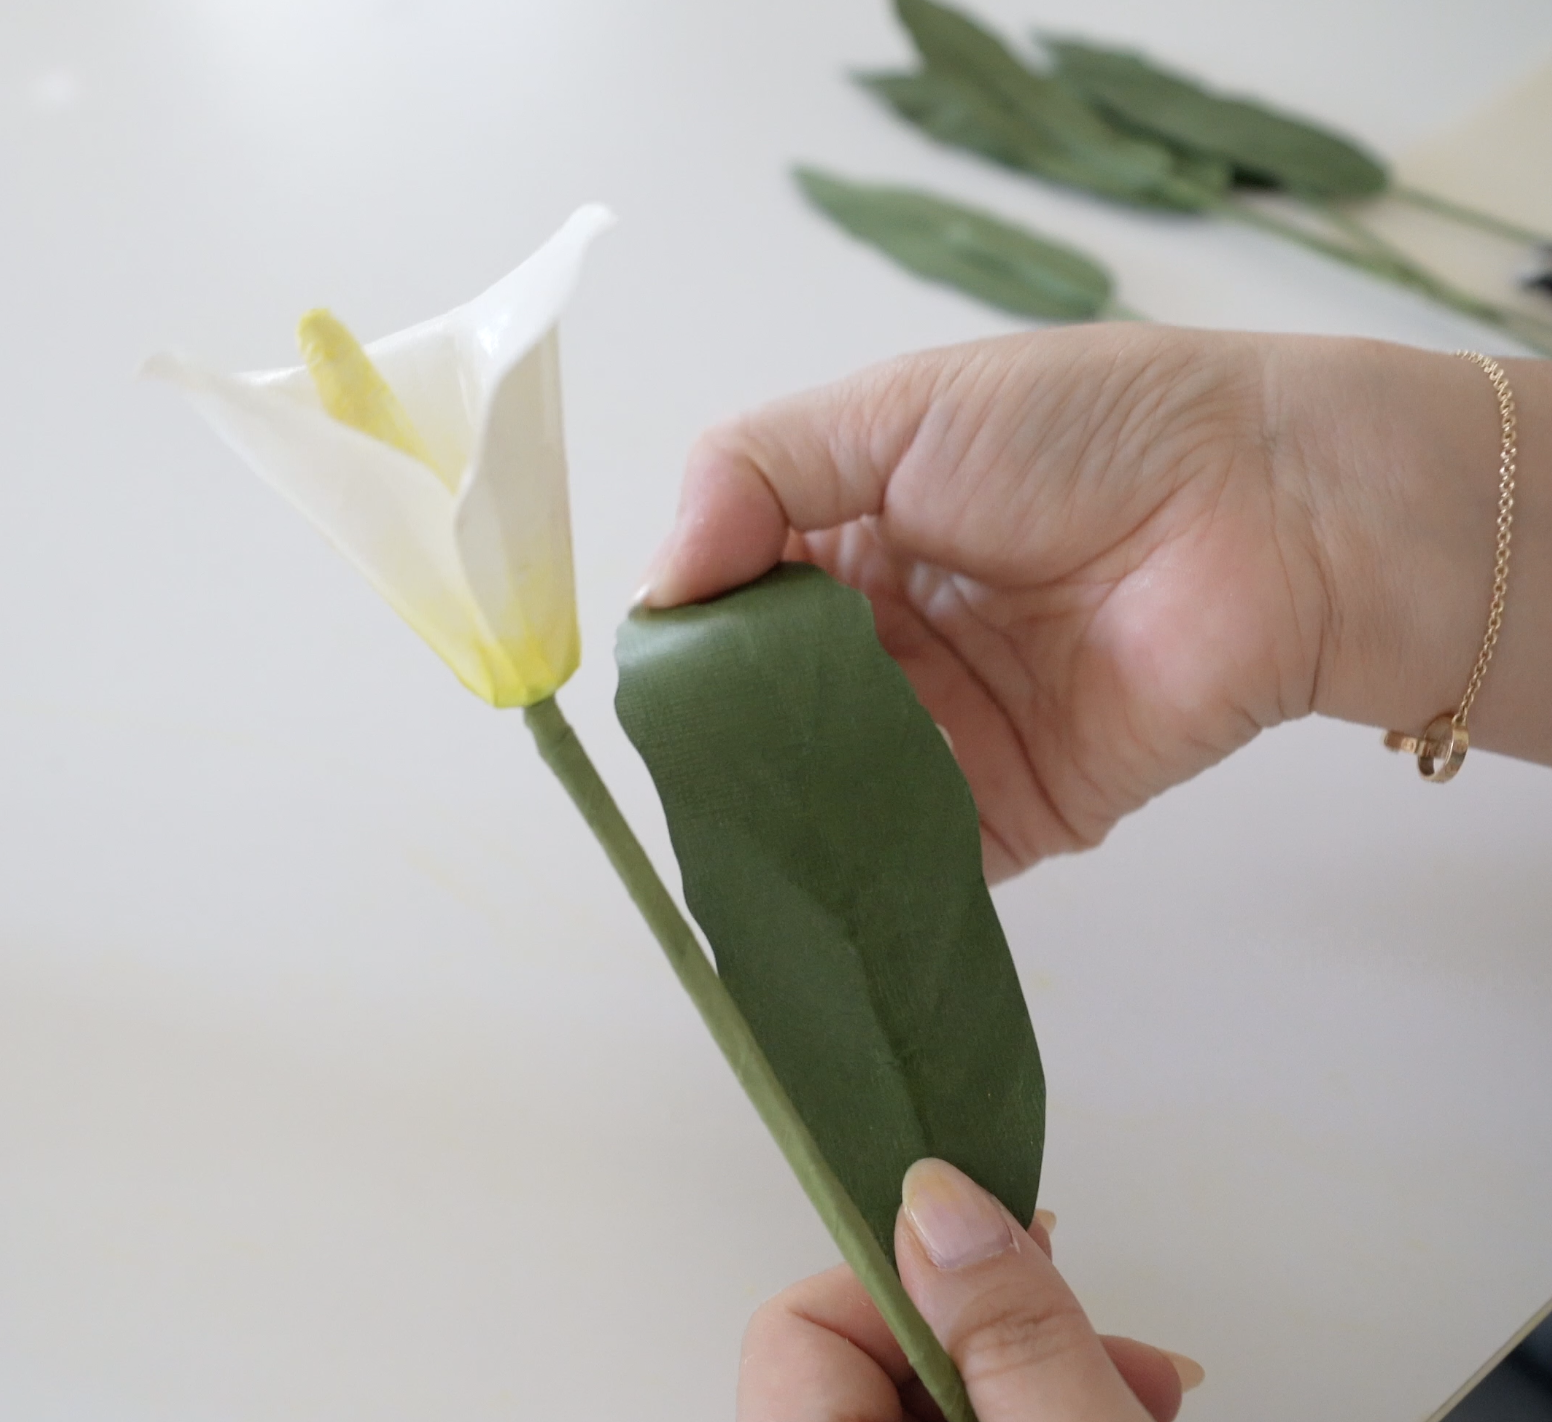
Step 6: Create and Attach Leaves
Fold green cardstock diagonally in a fan pattern to form realistic veins. Add a floral wire stem with glue and seal with Mod Podge. Once dry, attach to your calla lily stem using floral tape and shape as desired.
Step 7: Final Assembly
Poke a small hole into the center of your flower, insert the yellow center, and secure with hot glue. You can adjust how open or closed the flower looks by overlapping the petals more or less.
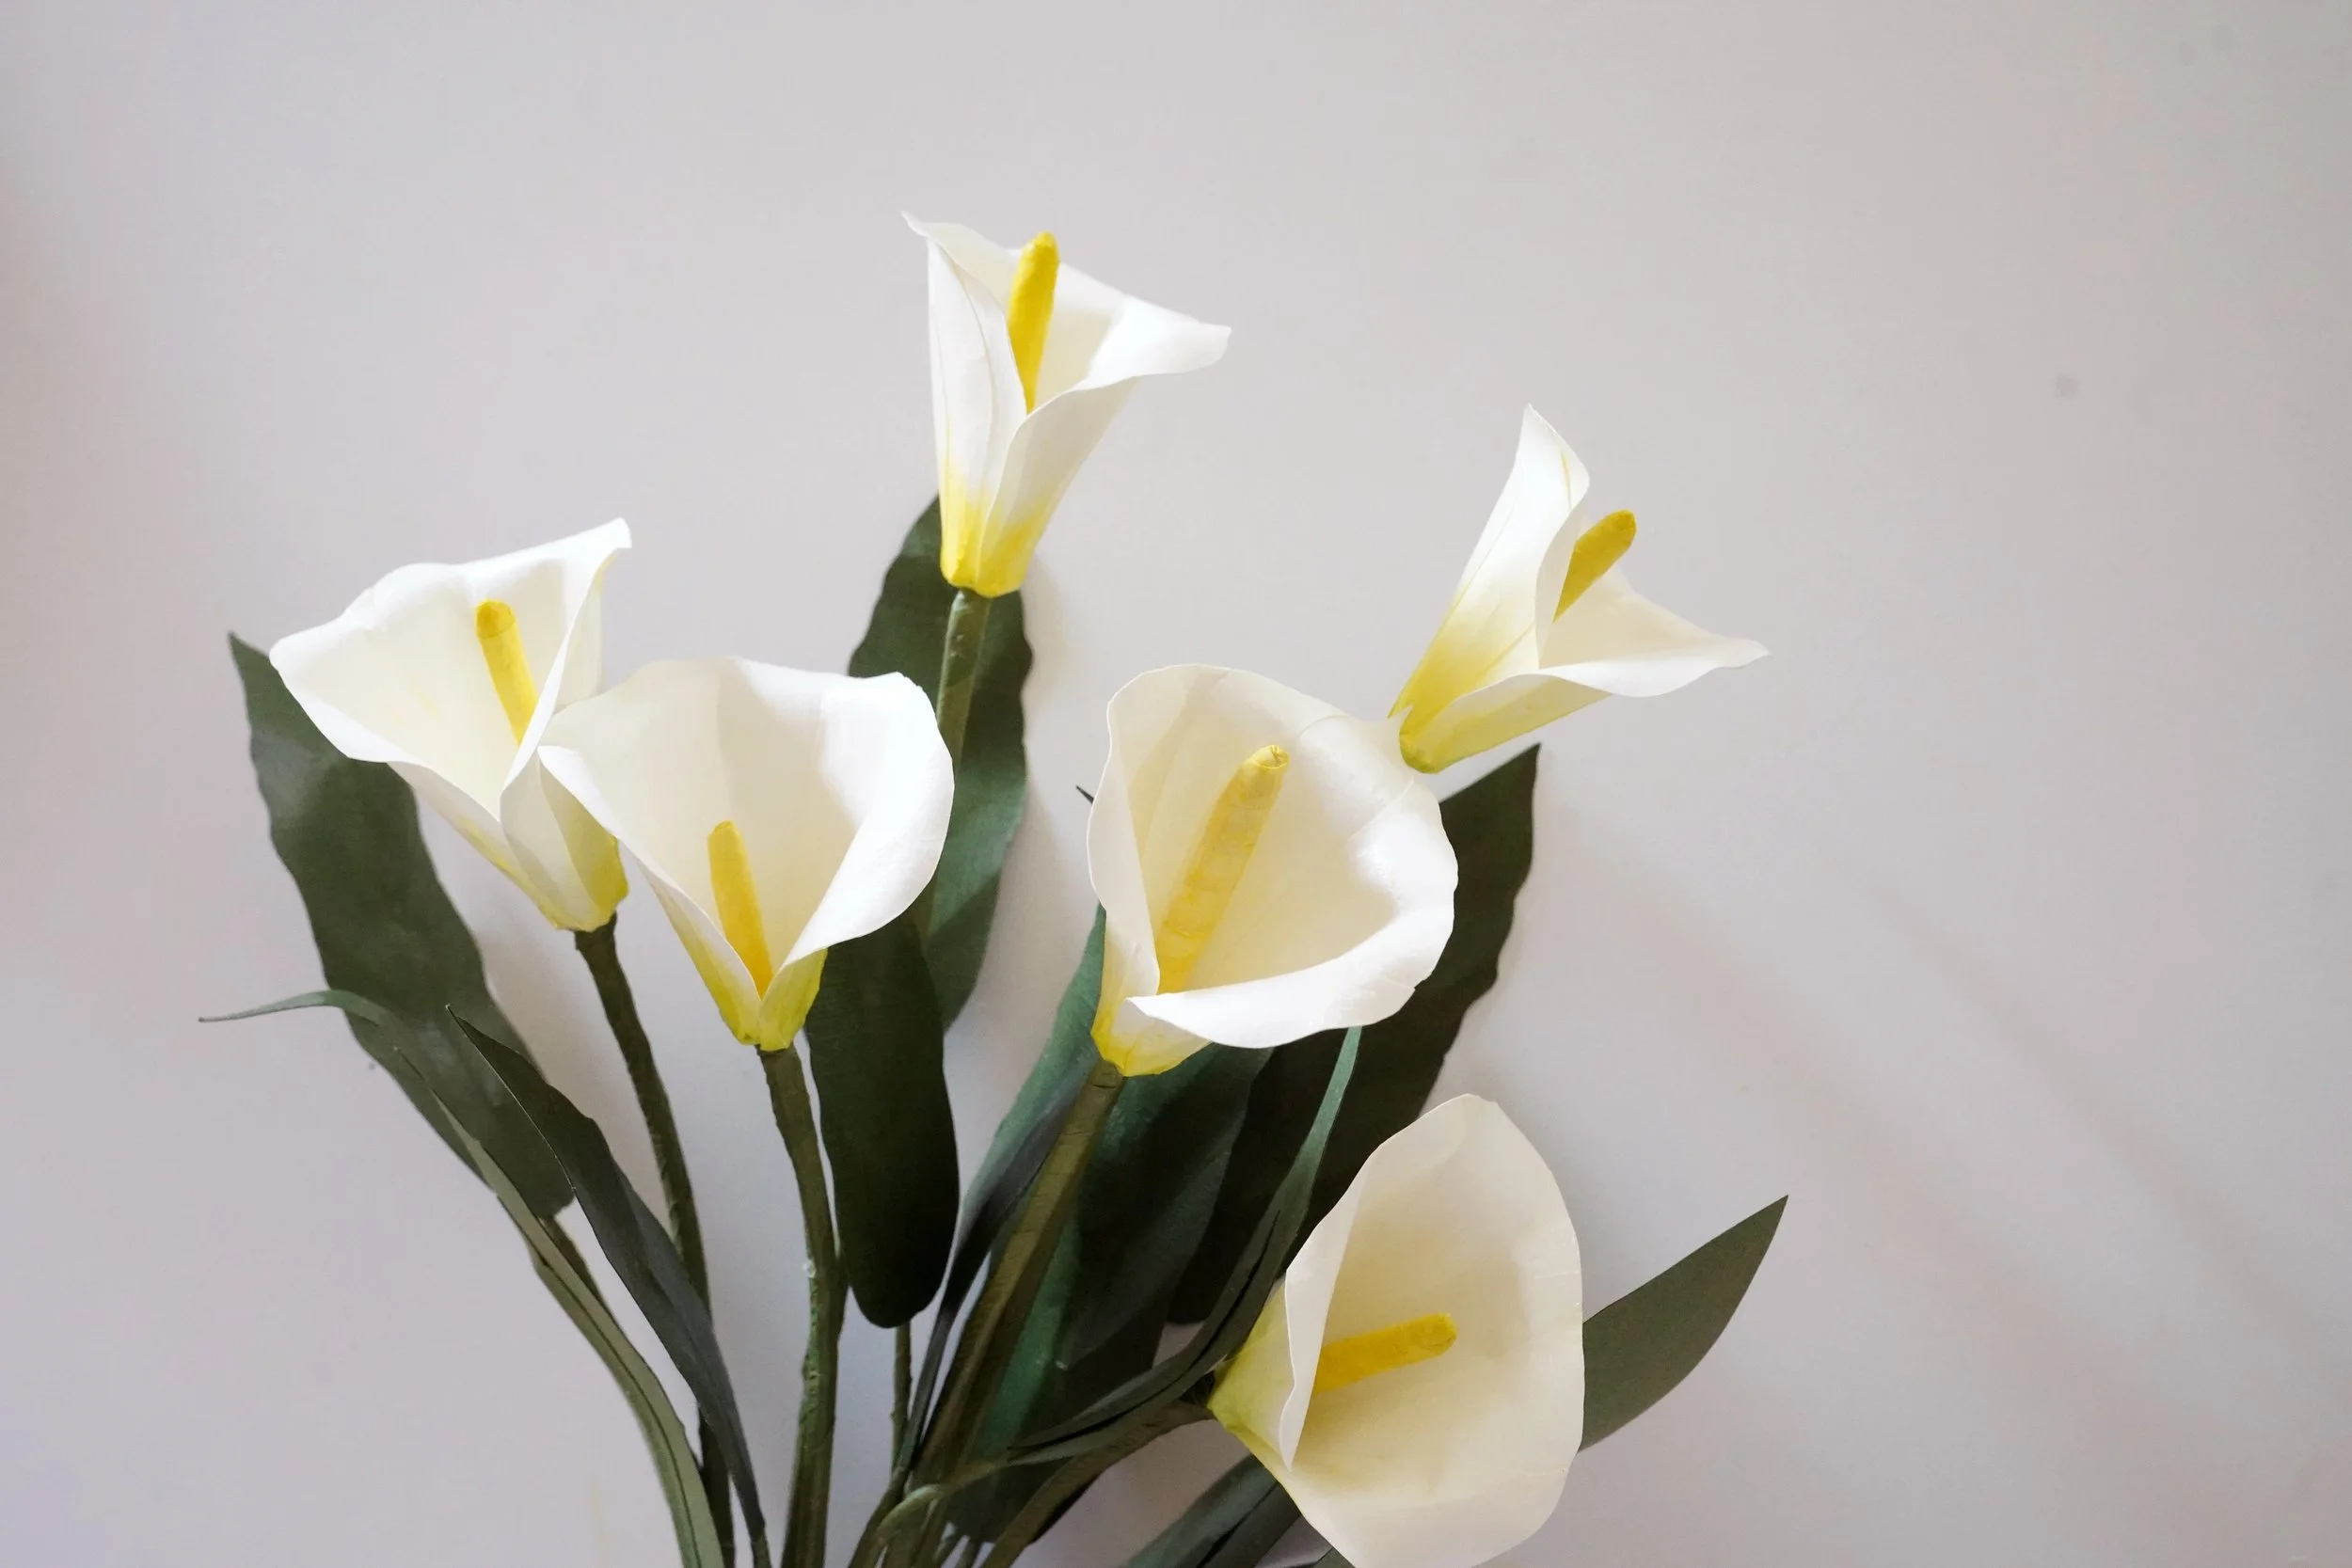
These paper calla lilies can be displayed on their own, paired with other paper flowers, or bundled together for a paper bridal bouquet.
Each bloom takes a bit of patience, but the results are worth it, delicate, lifelike, and completely handmade. Whether for gifts, centerpieces, or keepsakes, your paper calla lilies will add a timeless touch of elegance.
-Sara Kim