Japanese Sourdough Bagels
This was my very first time making Sourdough Japanese Bagels, and I’ll be honest: I made this recipe a few times before I felt confident calling it mine. Each bake taught me something new about timing, fermentation, and that perfect balance between crunchy on the outside and soft, buttery on the inside.
If you’ve ever thought bagels were intimidating, I hope this recipe shows you that if I can make them, you absolutely can too.
Why Japanese-Style Sourdough Bagels?
These bagels are a little different from classic New York–style bagels. They’re:
Slightly softer and more pillowy inside
Gently sweet from sugar and honey
Finished with salted butter tucked into the dough
Still wonderfully chewy and crisp on the outside
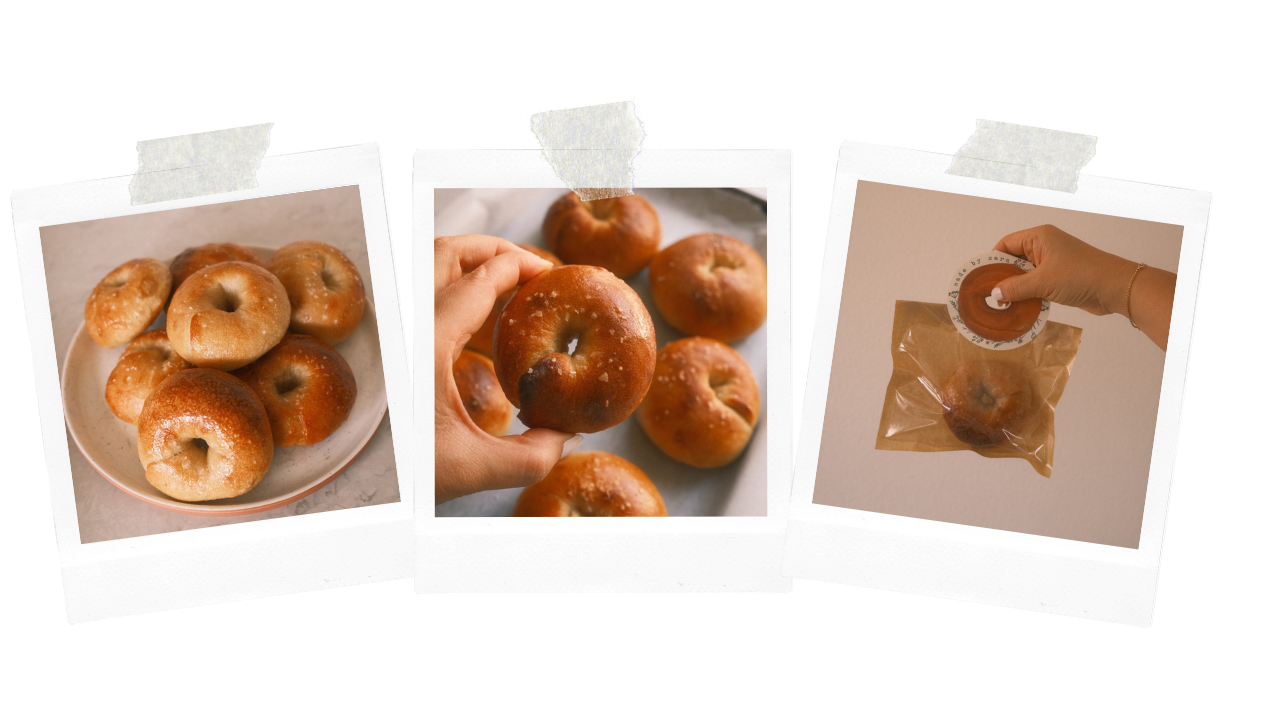
They’re perfect plain, toasted, or gifted to friends, which I couldn’t resist doing with a handmade bagel tag and handle, of course.

Ingredients (Makes 4 Bagels)
64g active sourdough starter (doubled and bubbly)
125g water
8g sugar
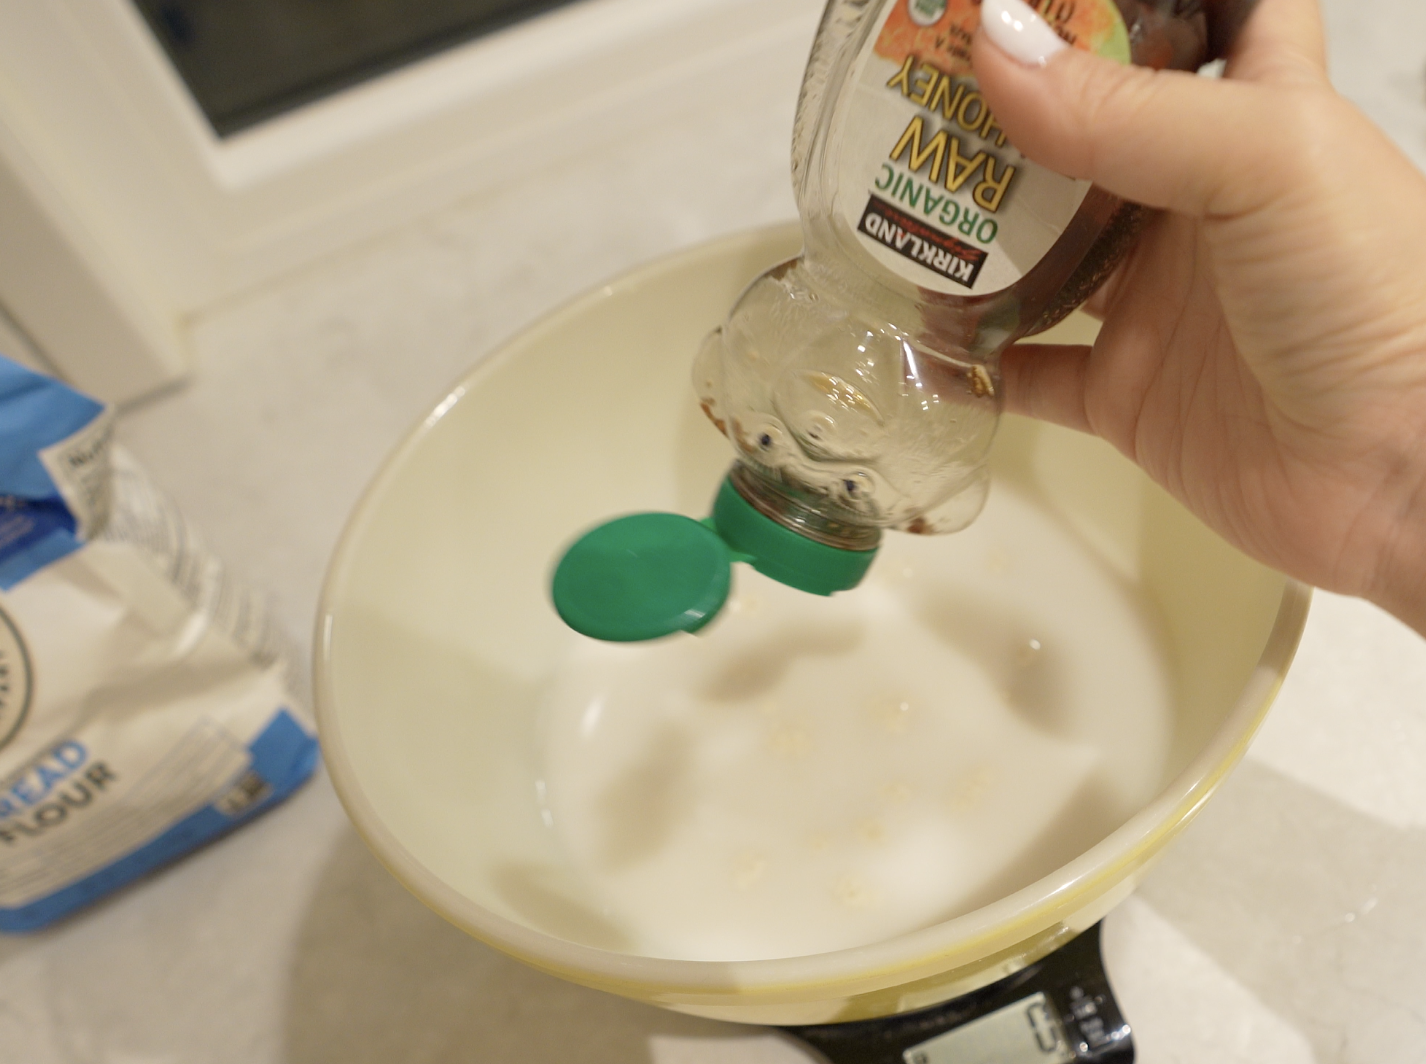
12g honey
240g bread flour
5g salt
Salted butter, cut into small cubes (about 6 small cubes per bagel)
Coarse salt, for topping at the end
My Timeline
9:00 PM — Feed Your Starter
Before bed, I fed my sourdough starter and left it out overnight. By morning, it had doubled in size and was active, bubbly, and ready to use.
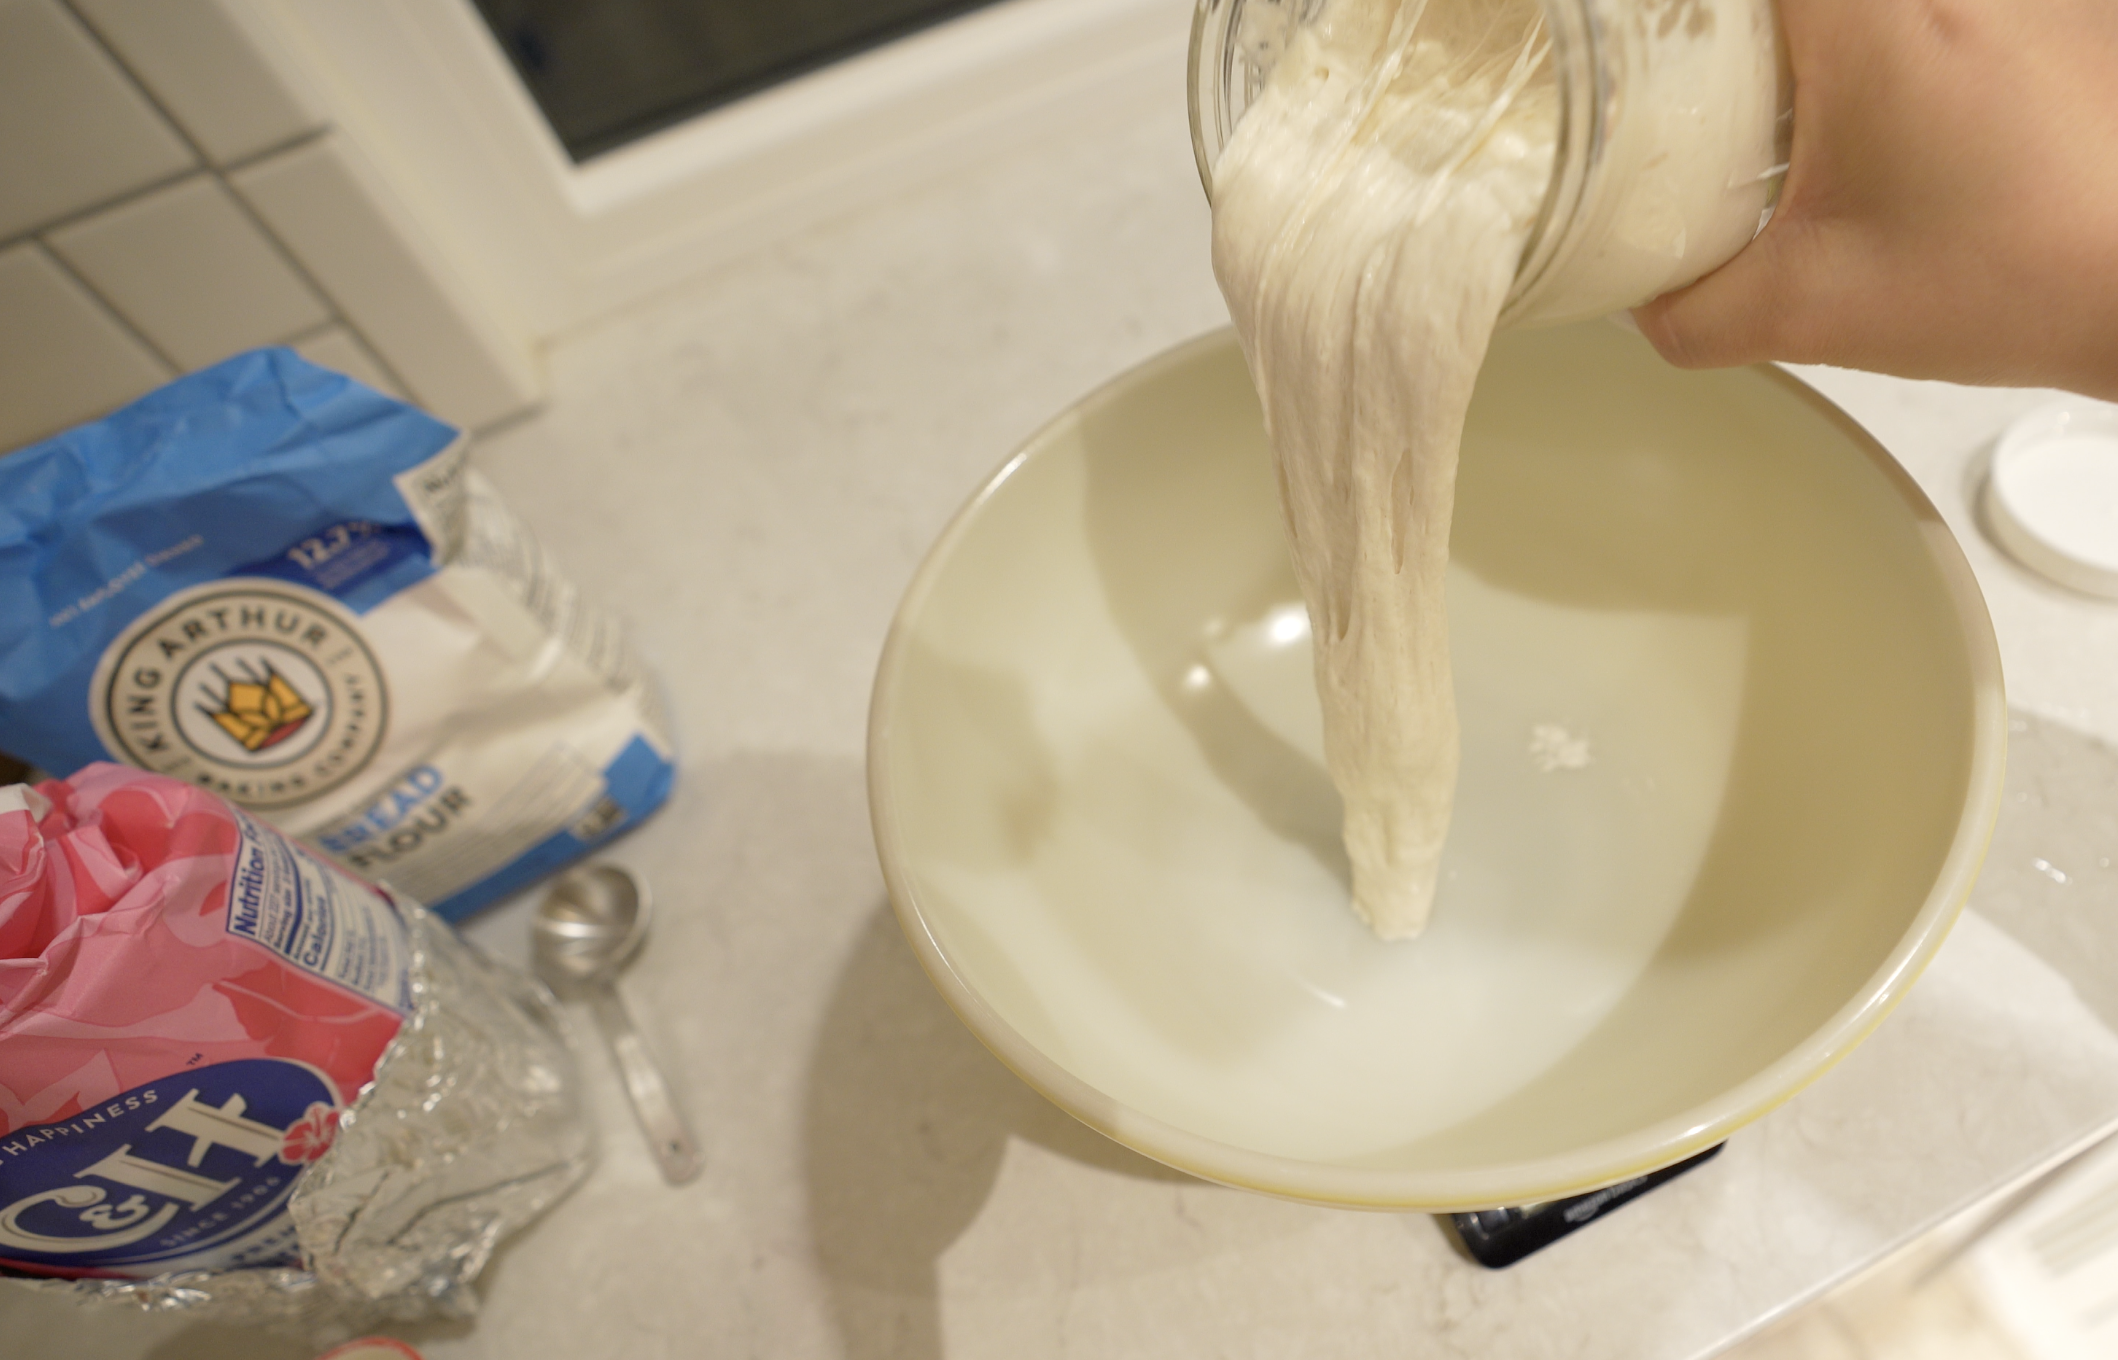
6:00 AM — Mix & Knead
In the morning, I combined:
64g Active starter
125g Water
8g Sugar
12g Honey
240g Bread flour
5g Salt
I mixed until a rough dough formed, then kneaded for a few minutes until smooth.
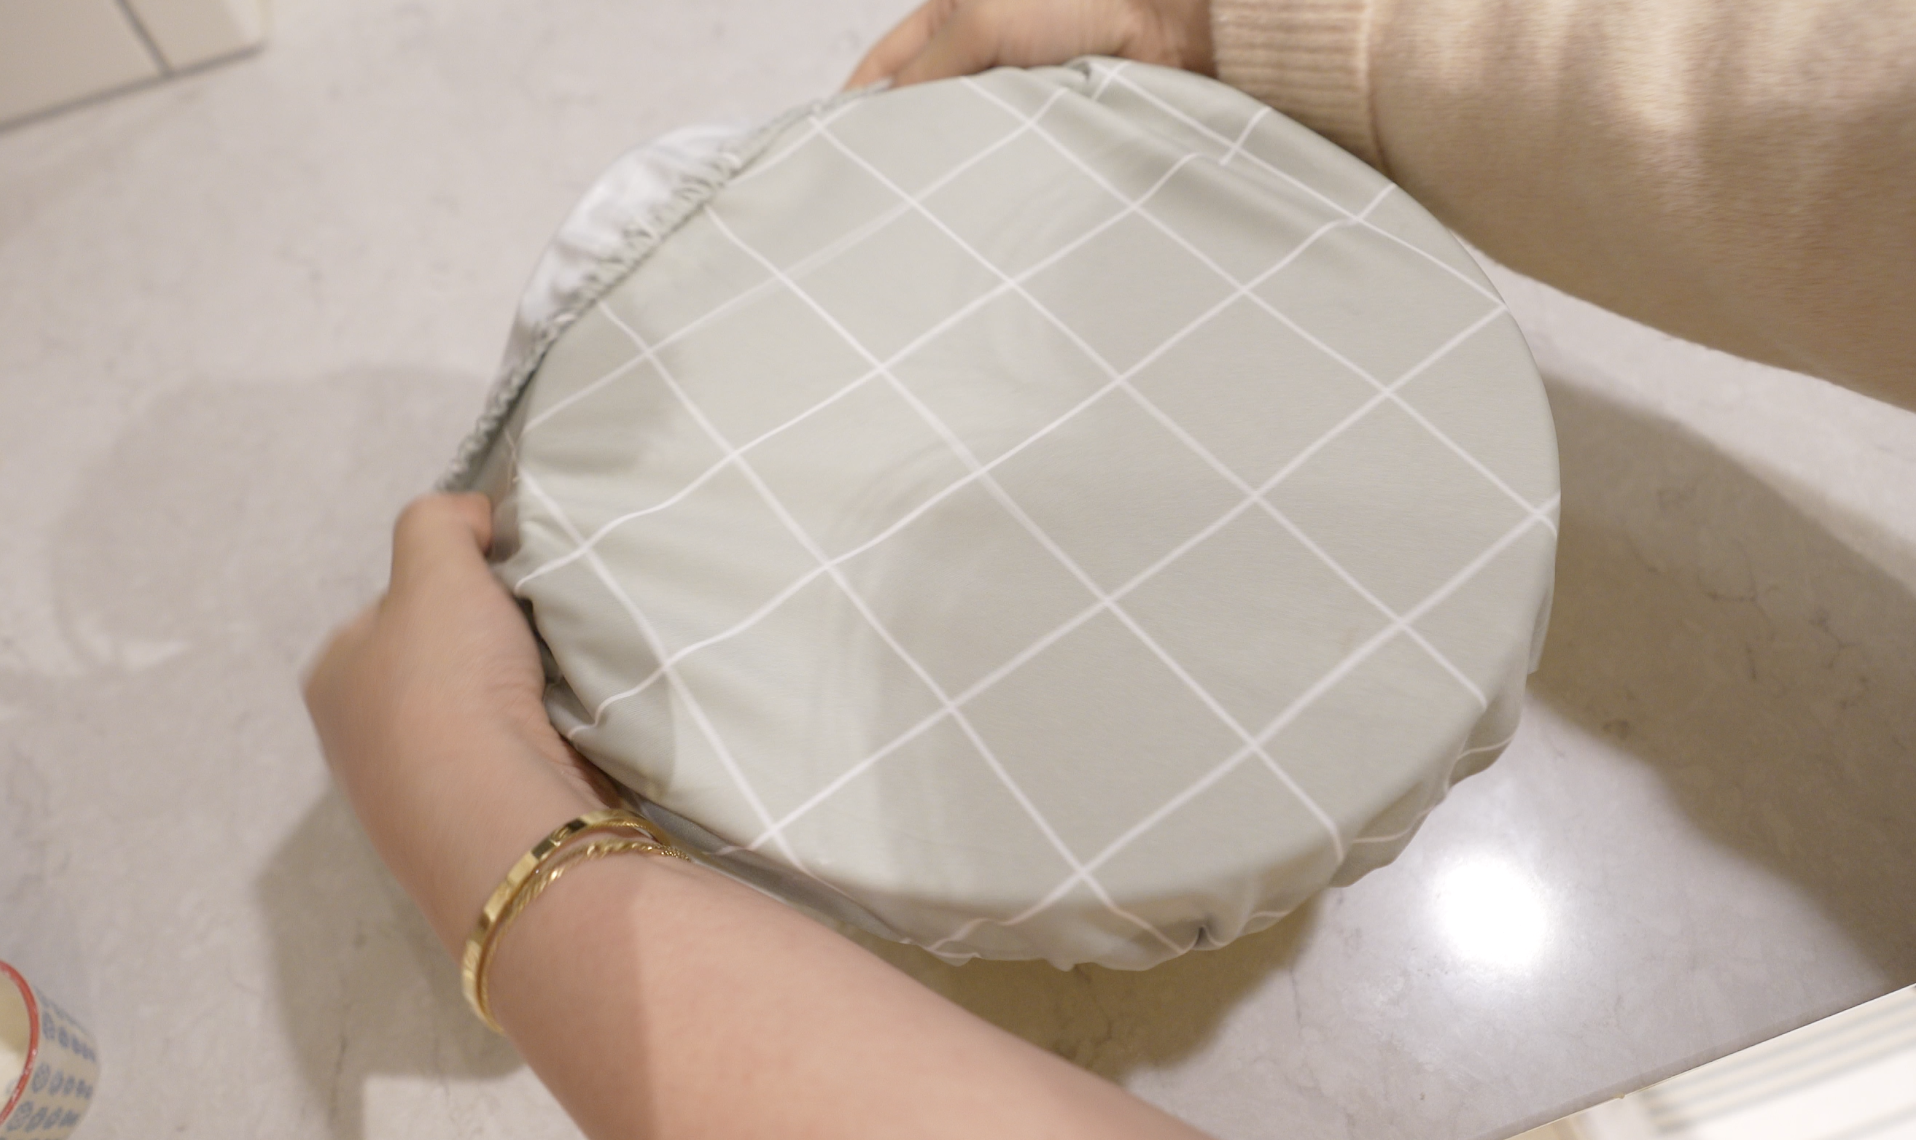
Love these bowl covers, click on the image ⬆️
Proofing Tip (Especially for Winter)
My oven has a proofing mode, but it runs too hot for this dough. Instead, I turn the proofing mode on, but place my dough on top of the oven, not inside.
This creates a gentle, warm environment that’s perfect for slow, even fermentation, especially during colder months.
I let the dough rise for 4–5 hours, until doubled in size.
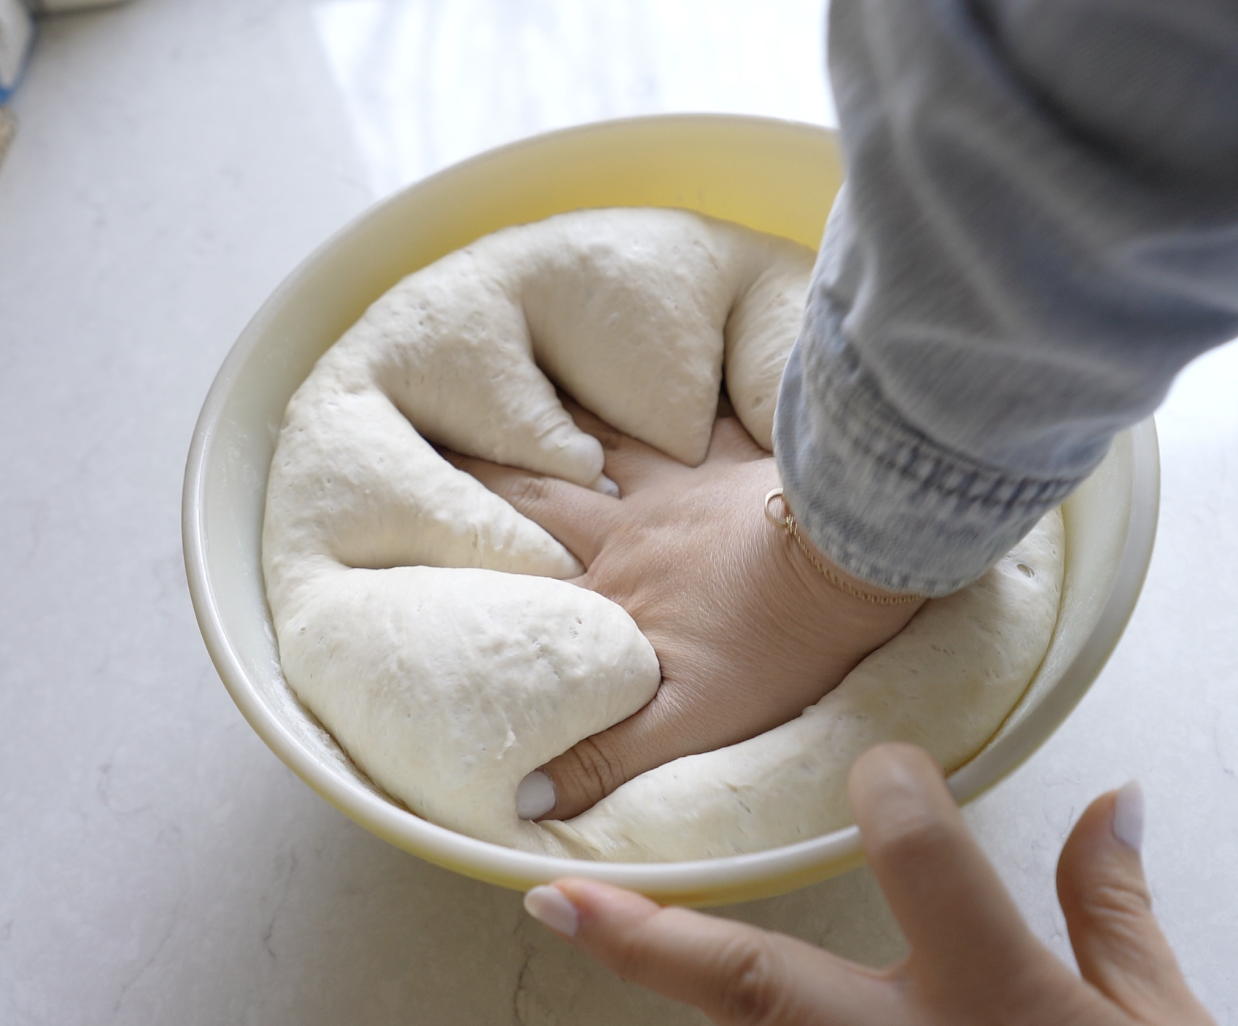
11:00 AM — Divide & Shape
Once doubled, I gently pressed down the dough to release excess gas.
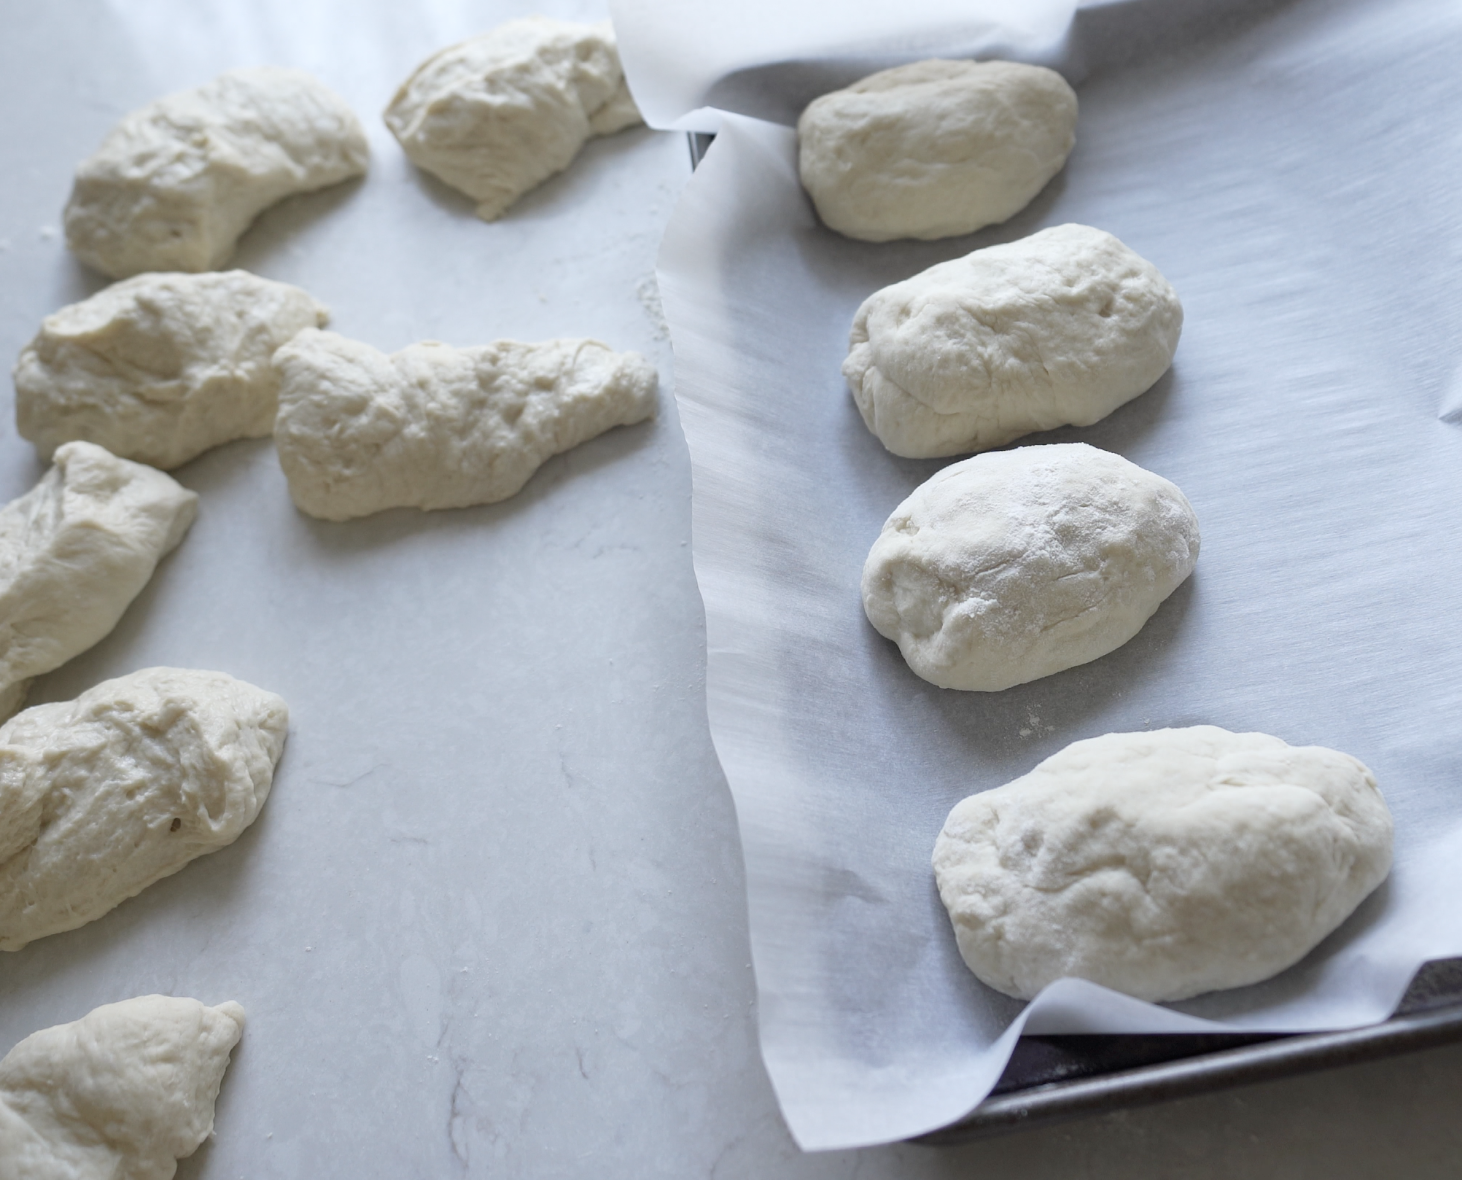
Divided the dough into 4 equal pieces (I made another set of 4)
Shaped each piece into a round
Gently rolled each round into a short cylinder
During this time, I also:
Cut parchment paper into squares about the size of each bagel
Cut salted butter into small cubes
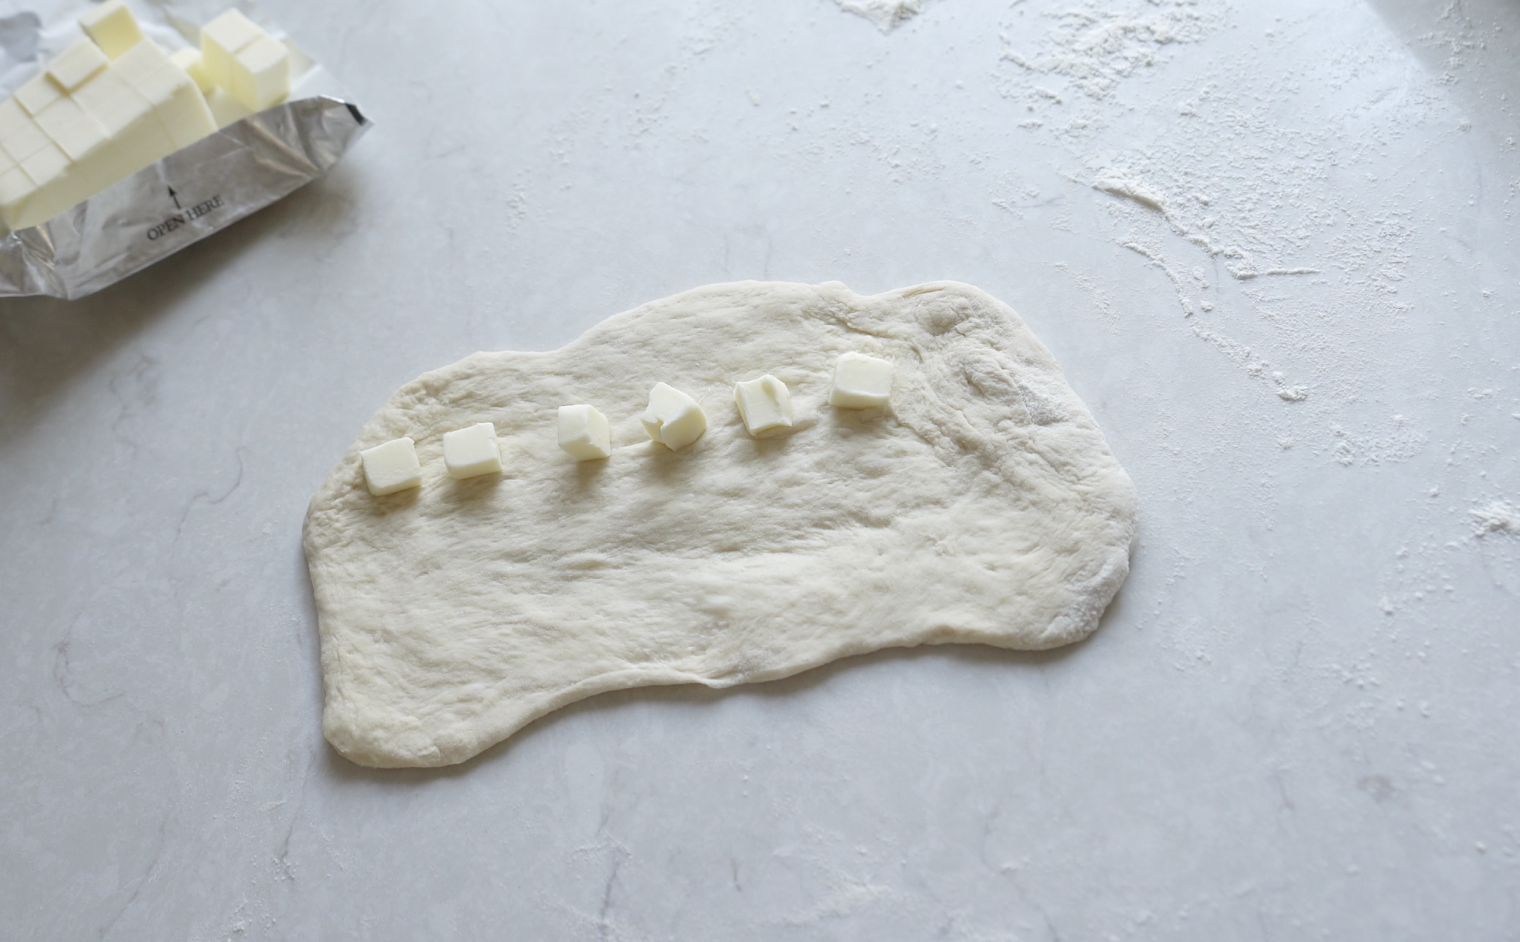
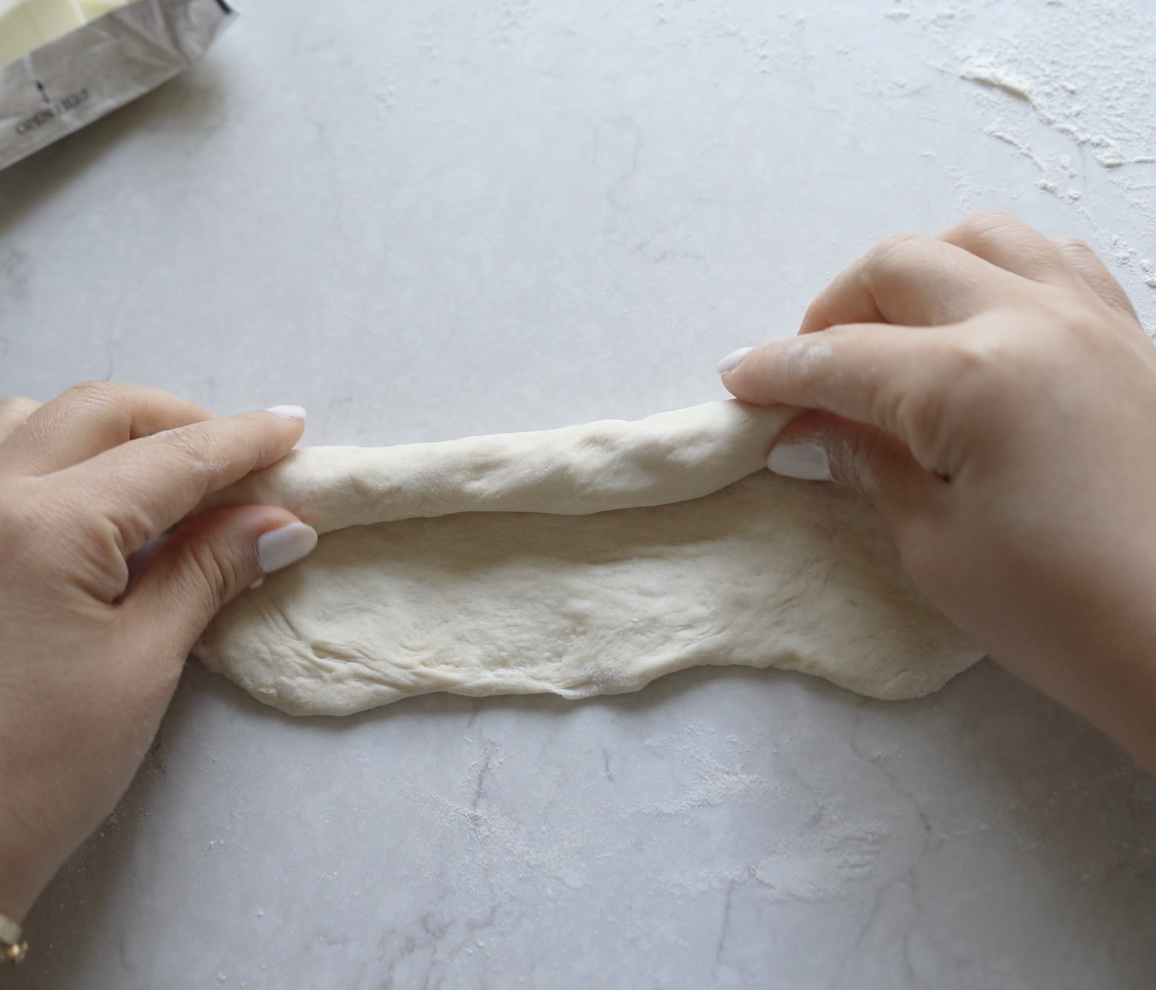
11:30 AM — Add Butter & Form the Bagels
For each bagel:
Flatten the dough into a rectangle
Place 6 small cubes of salted butter evenly across the dough
Roll the dough into a cylinder
Pinch to seal the seam
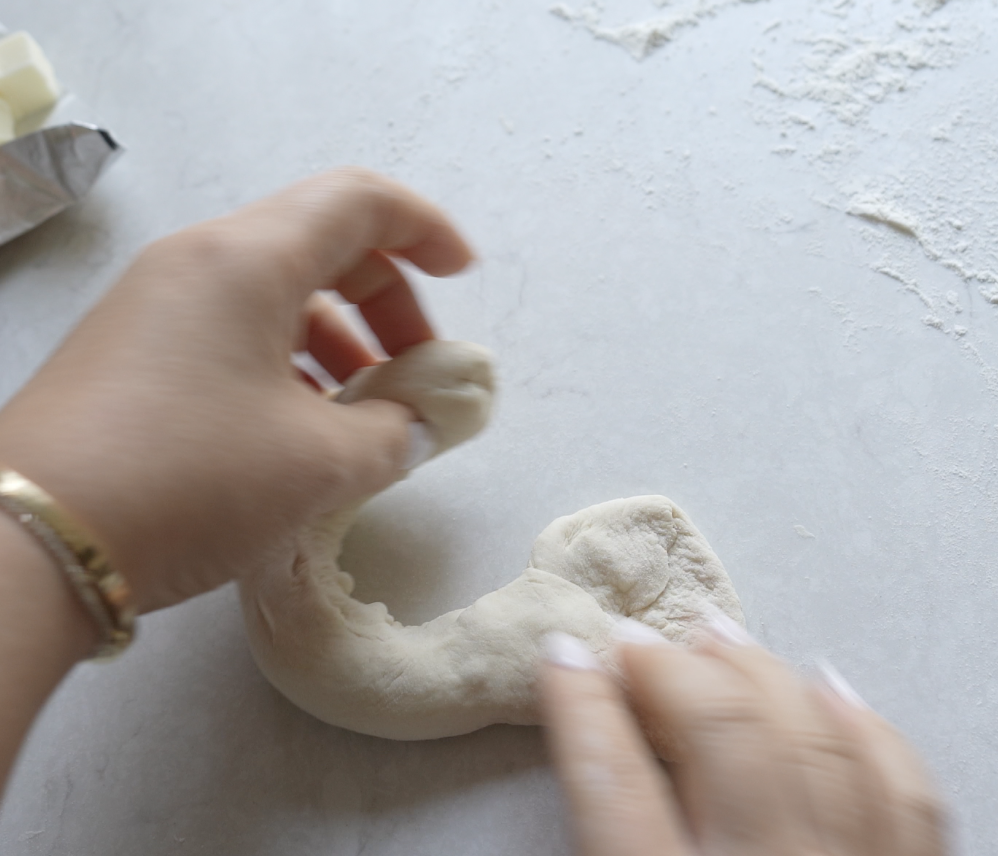
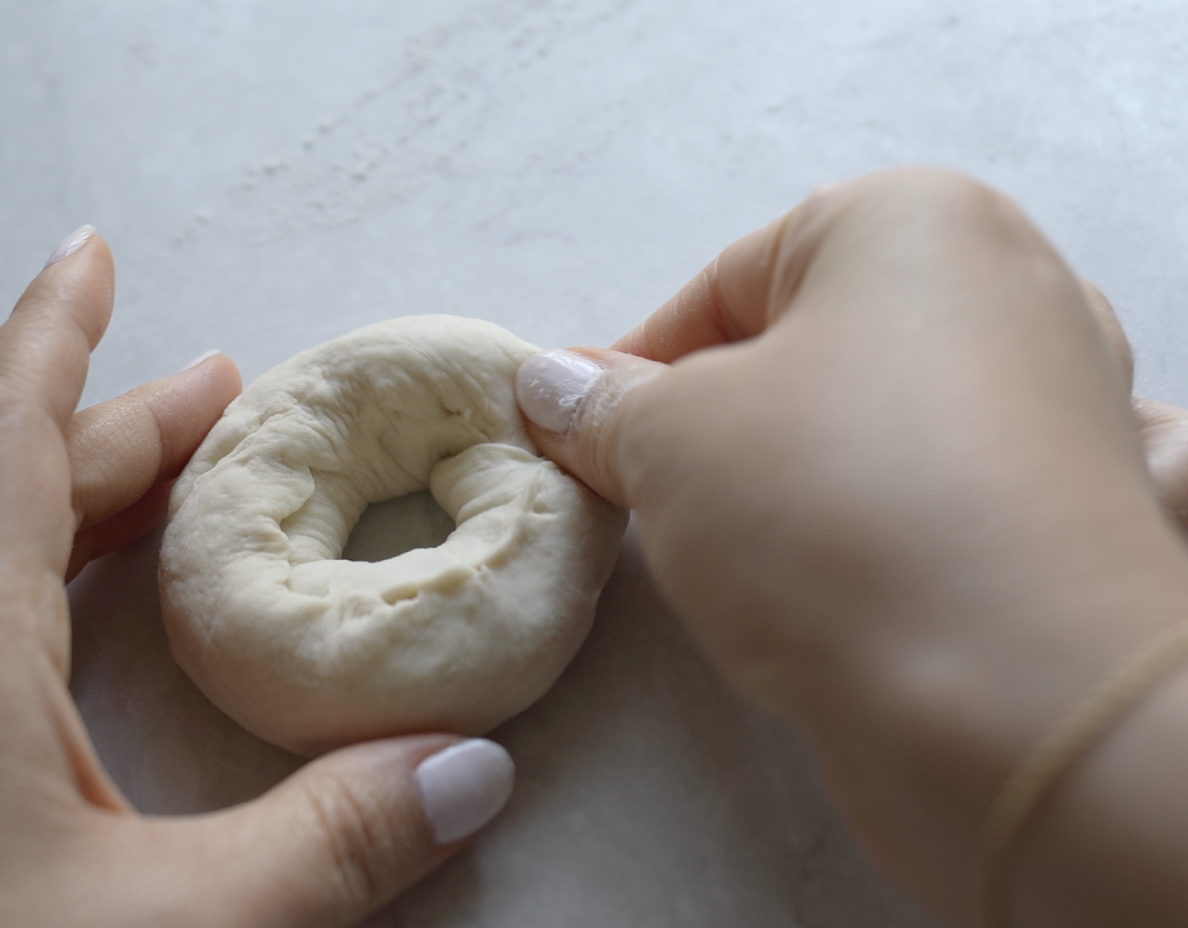
Flatten one end slightly
Bring the ends together to form a ring
Pinch the flattened end over to seal
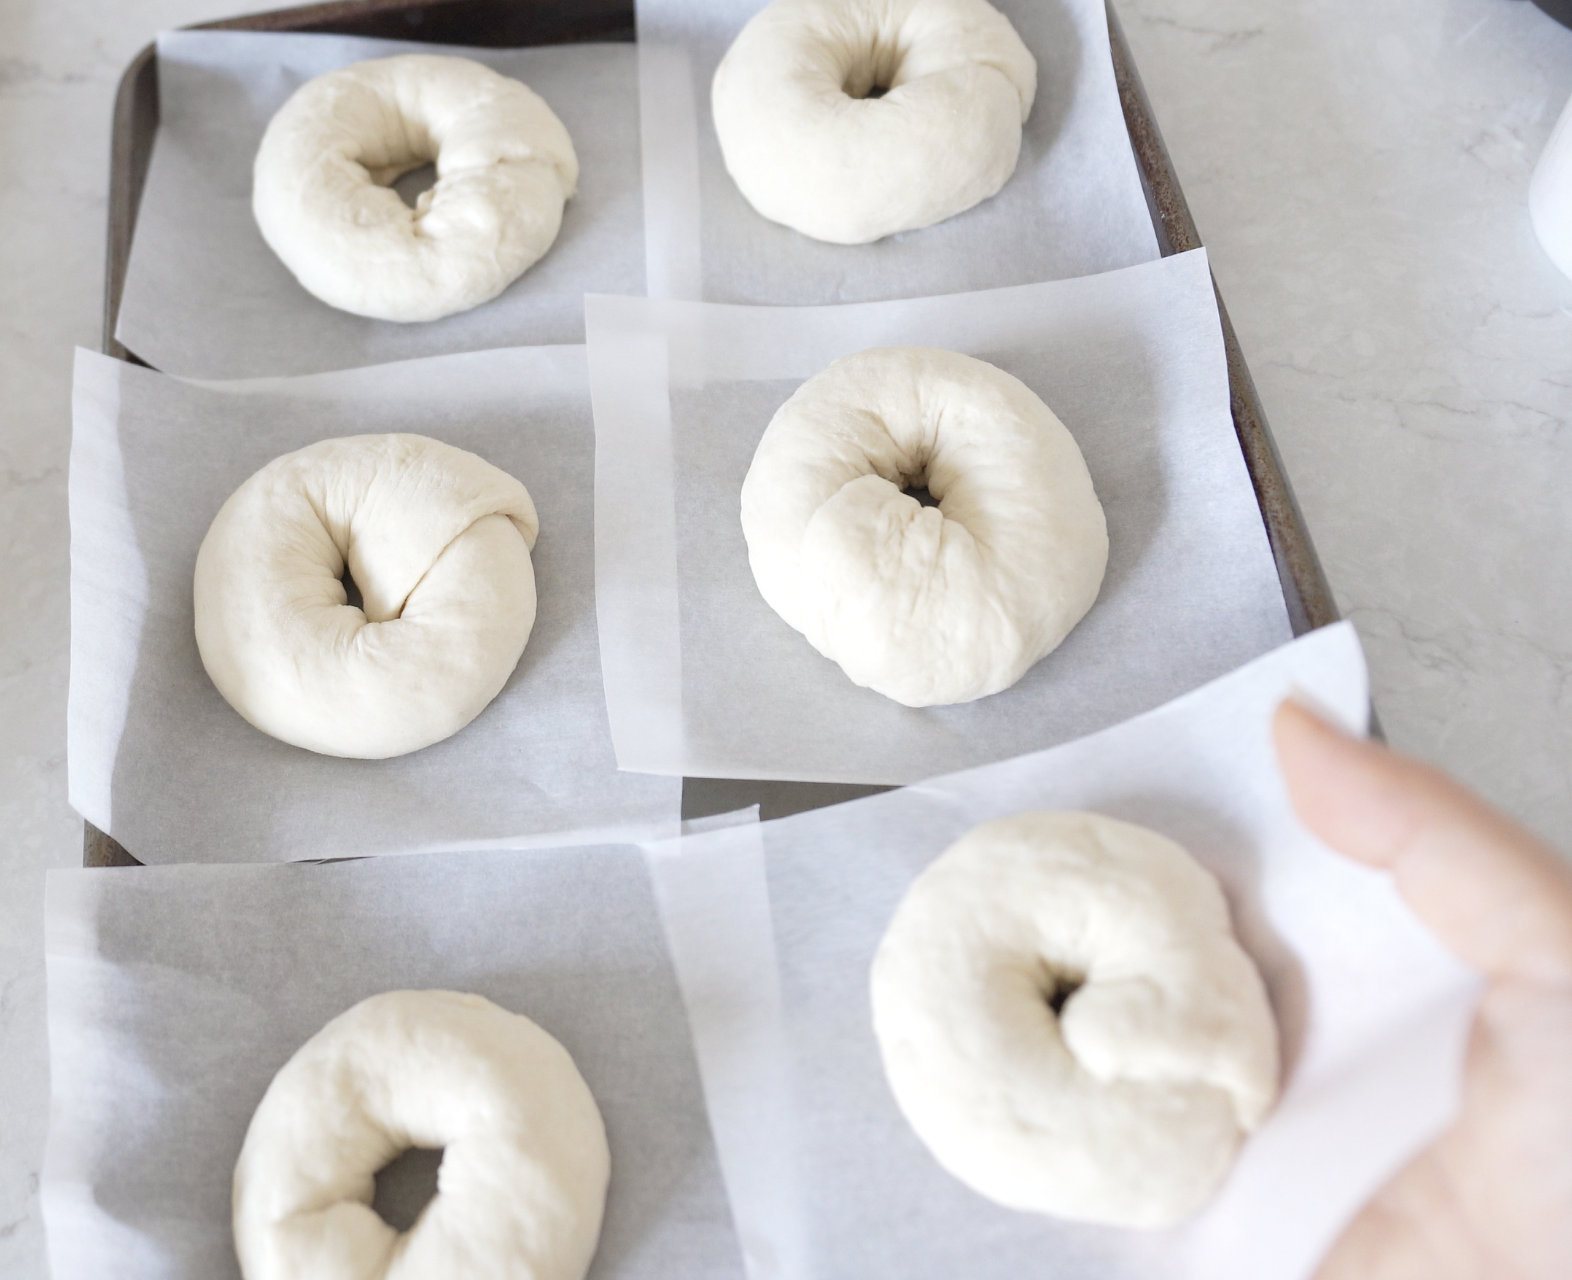
Place each shaped bagel onto its own parchment square.
Cover and let them rise for 1.5 hours
1:00 PM — Boil & Bake
Preheat your oven to 400°F (205°C).
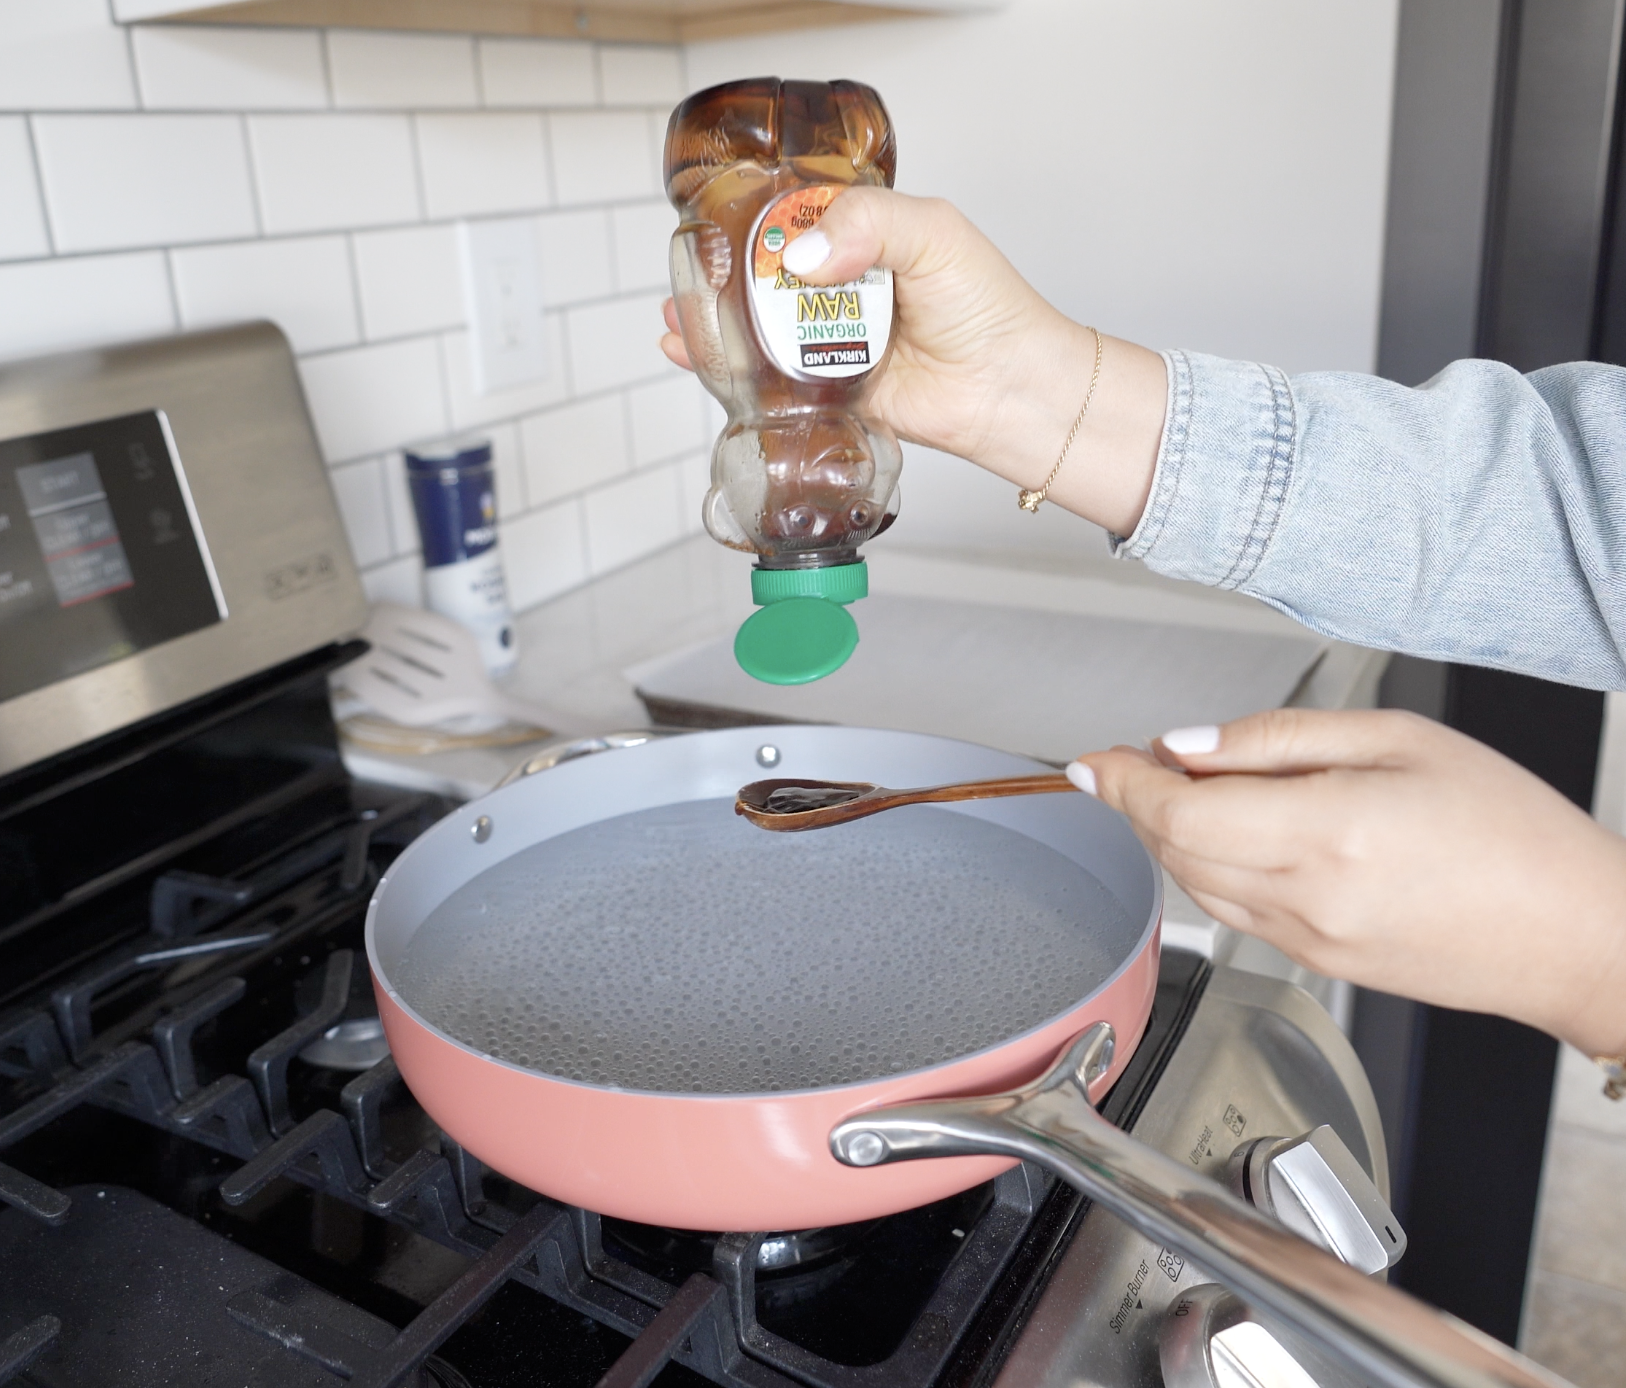
Bring a pot of water to a boil, then simmer and add:
2 tablespoons honey
Boil each bagel for:
30 seconds per side
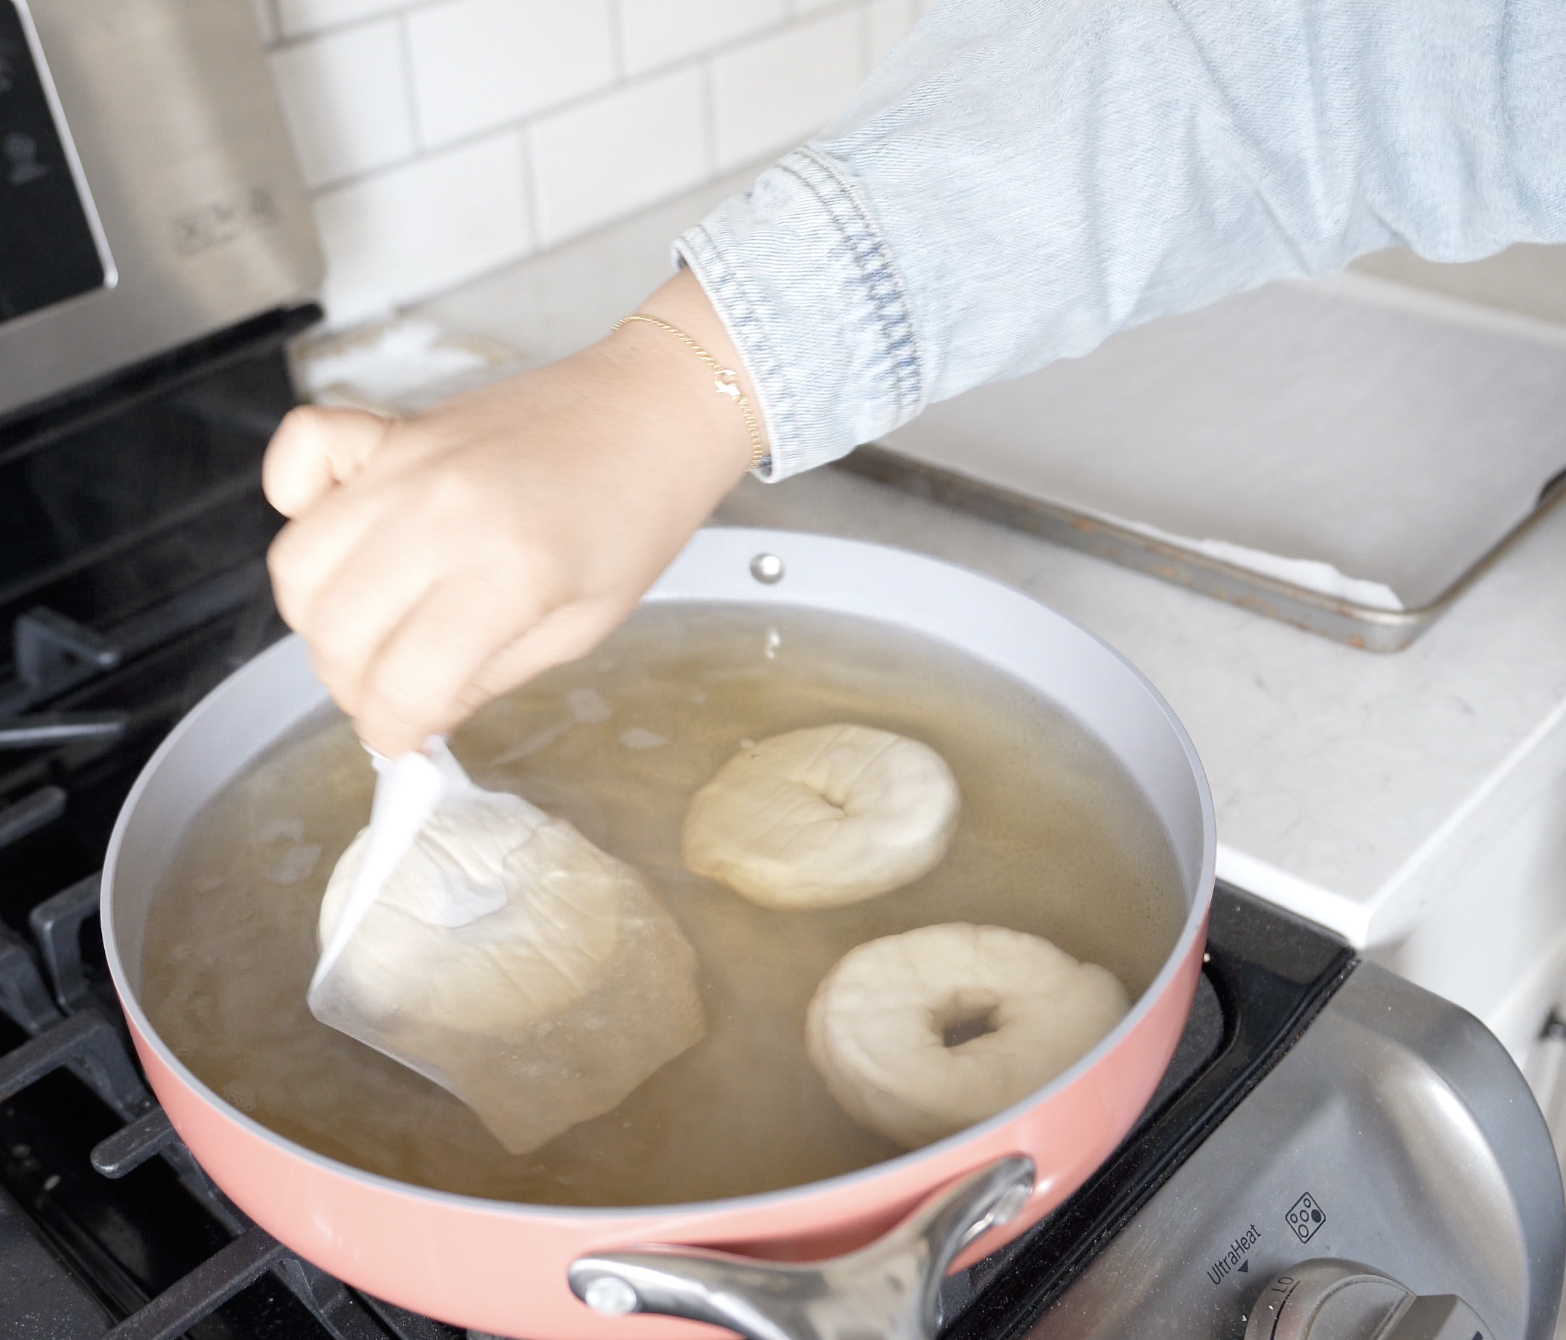
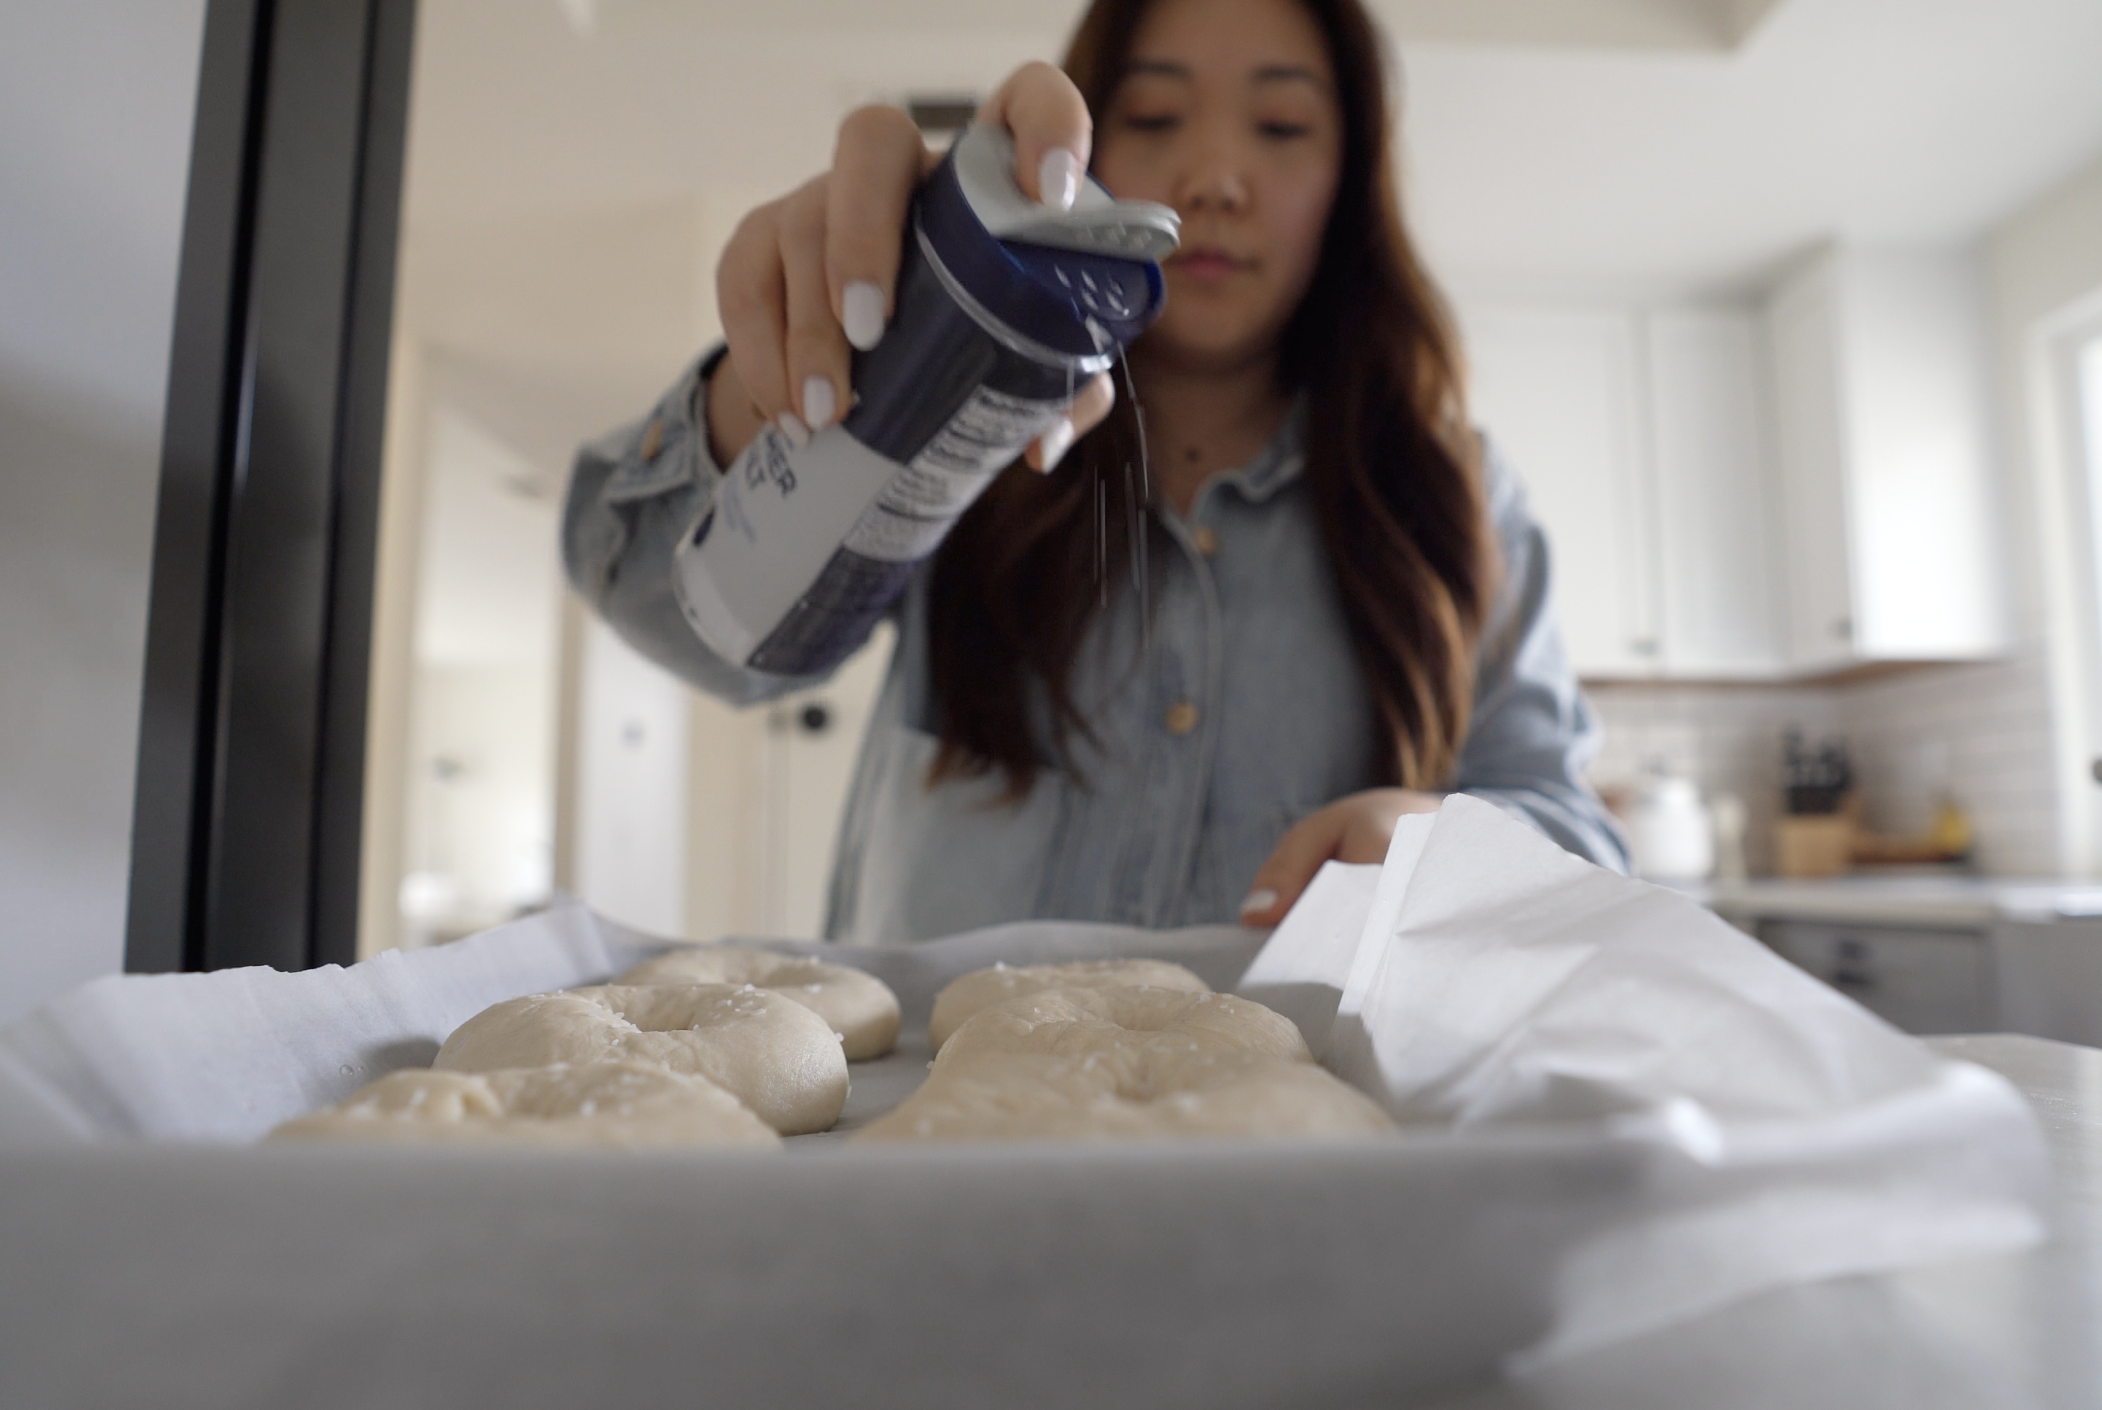
Transfer back to parchment, sprinkle with coarse salt, and bake for 25–30 minutes at 400°F (205°C)..
Toward the end of baking, you’ll notice some butter may ooze out. I brush that melted butter back onto the tops of the bagels and return them to the oven for one final minute.
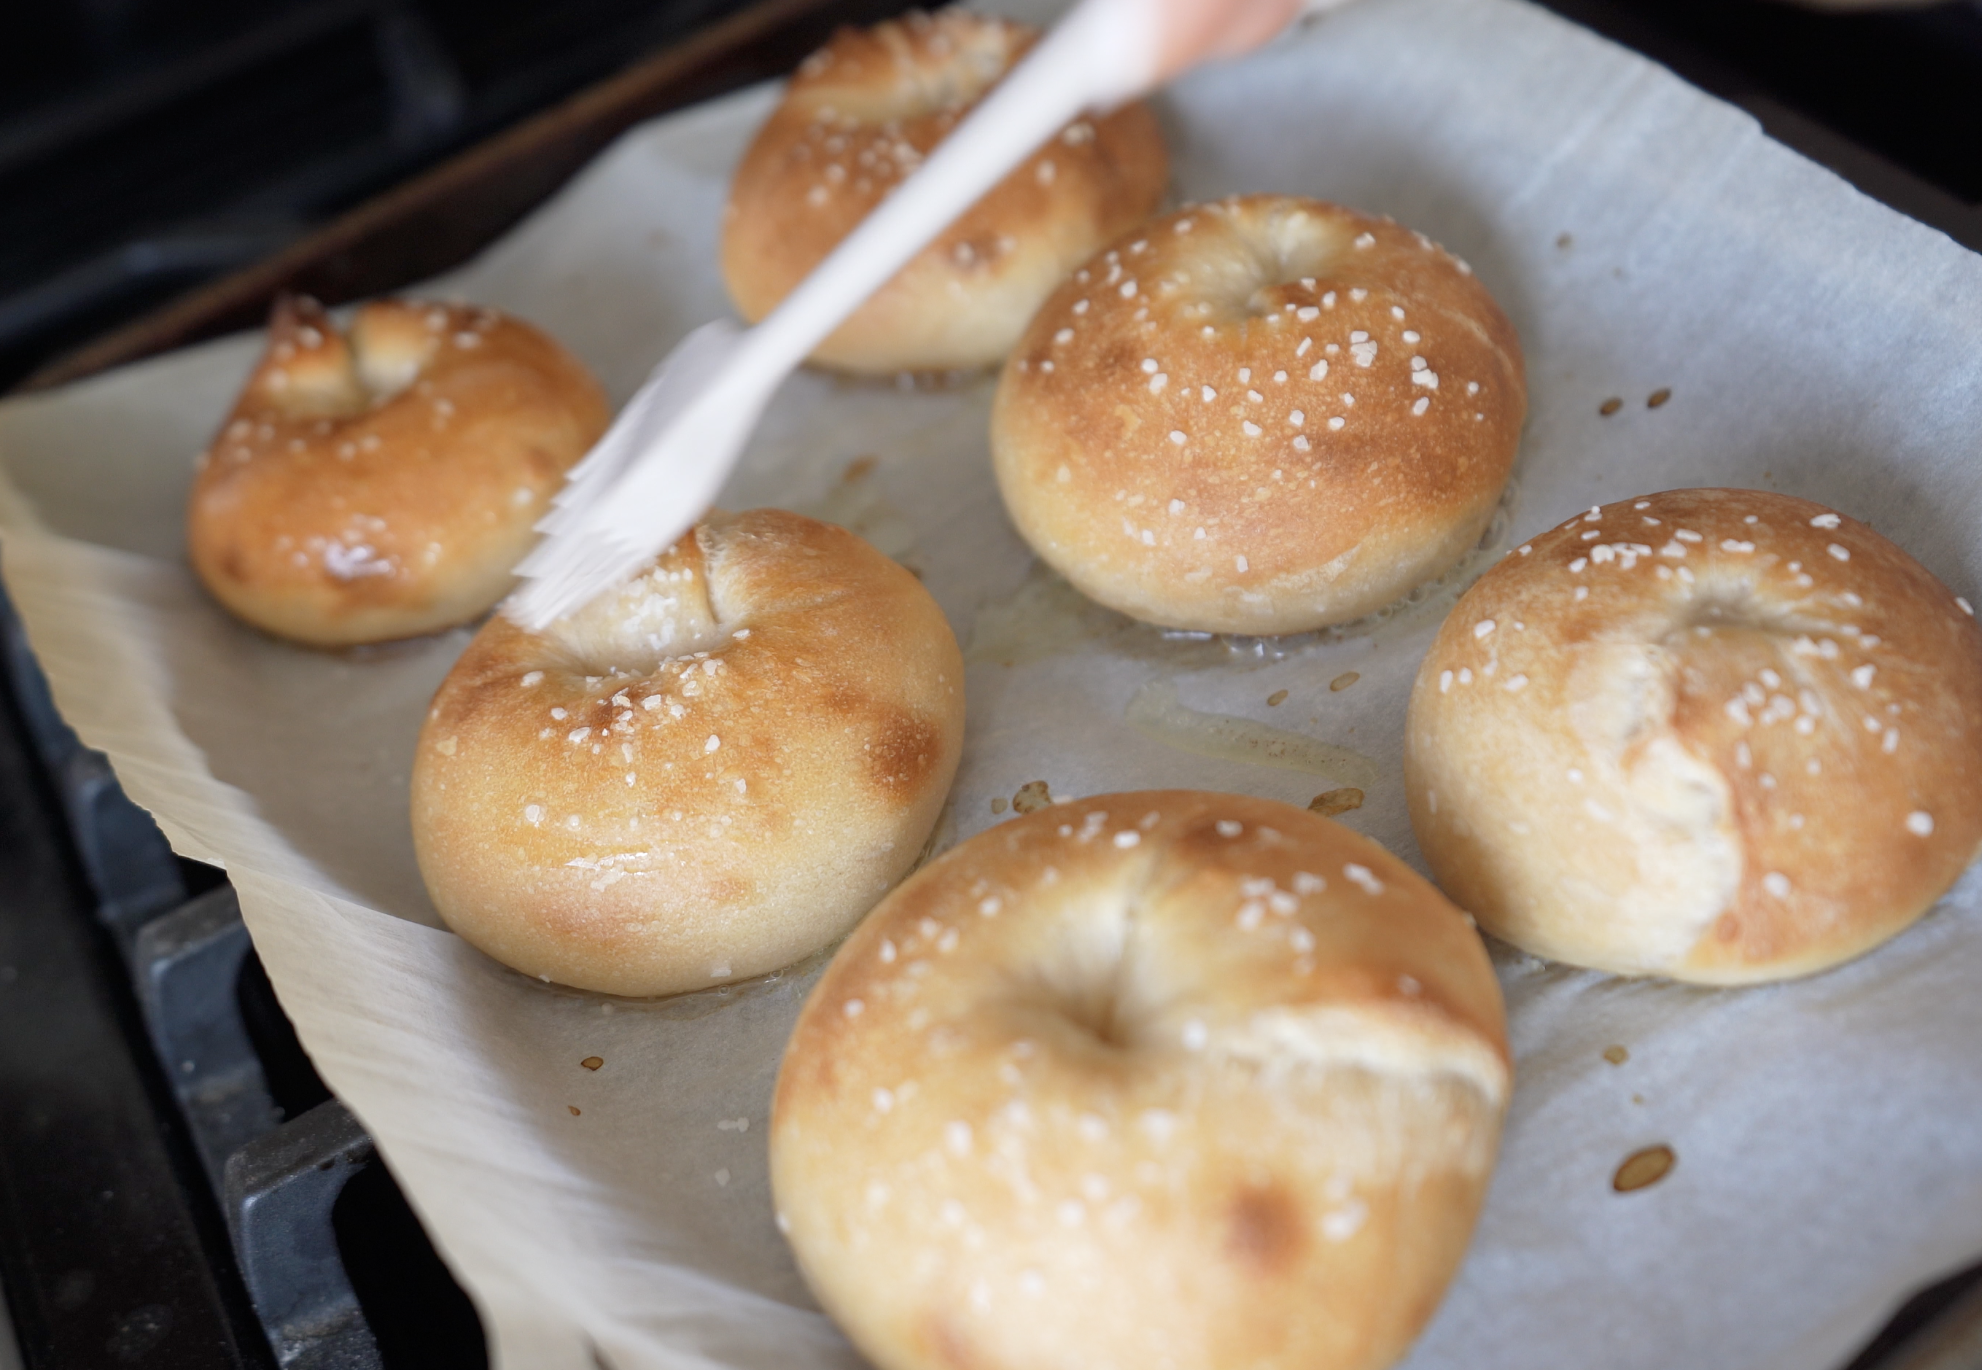
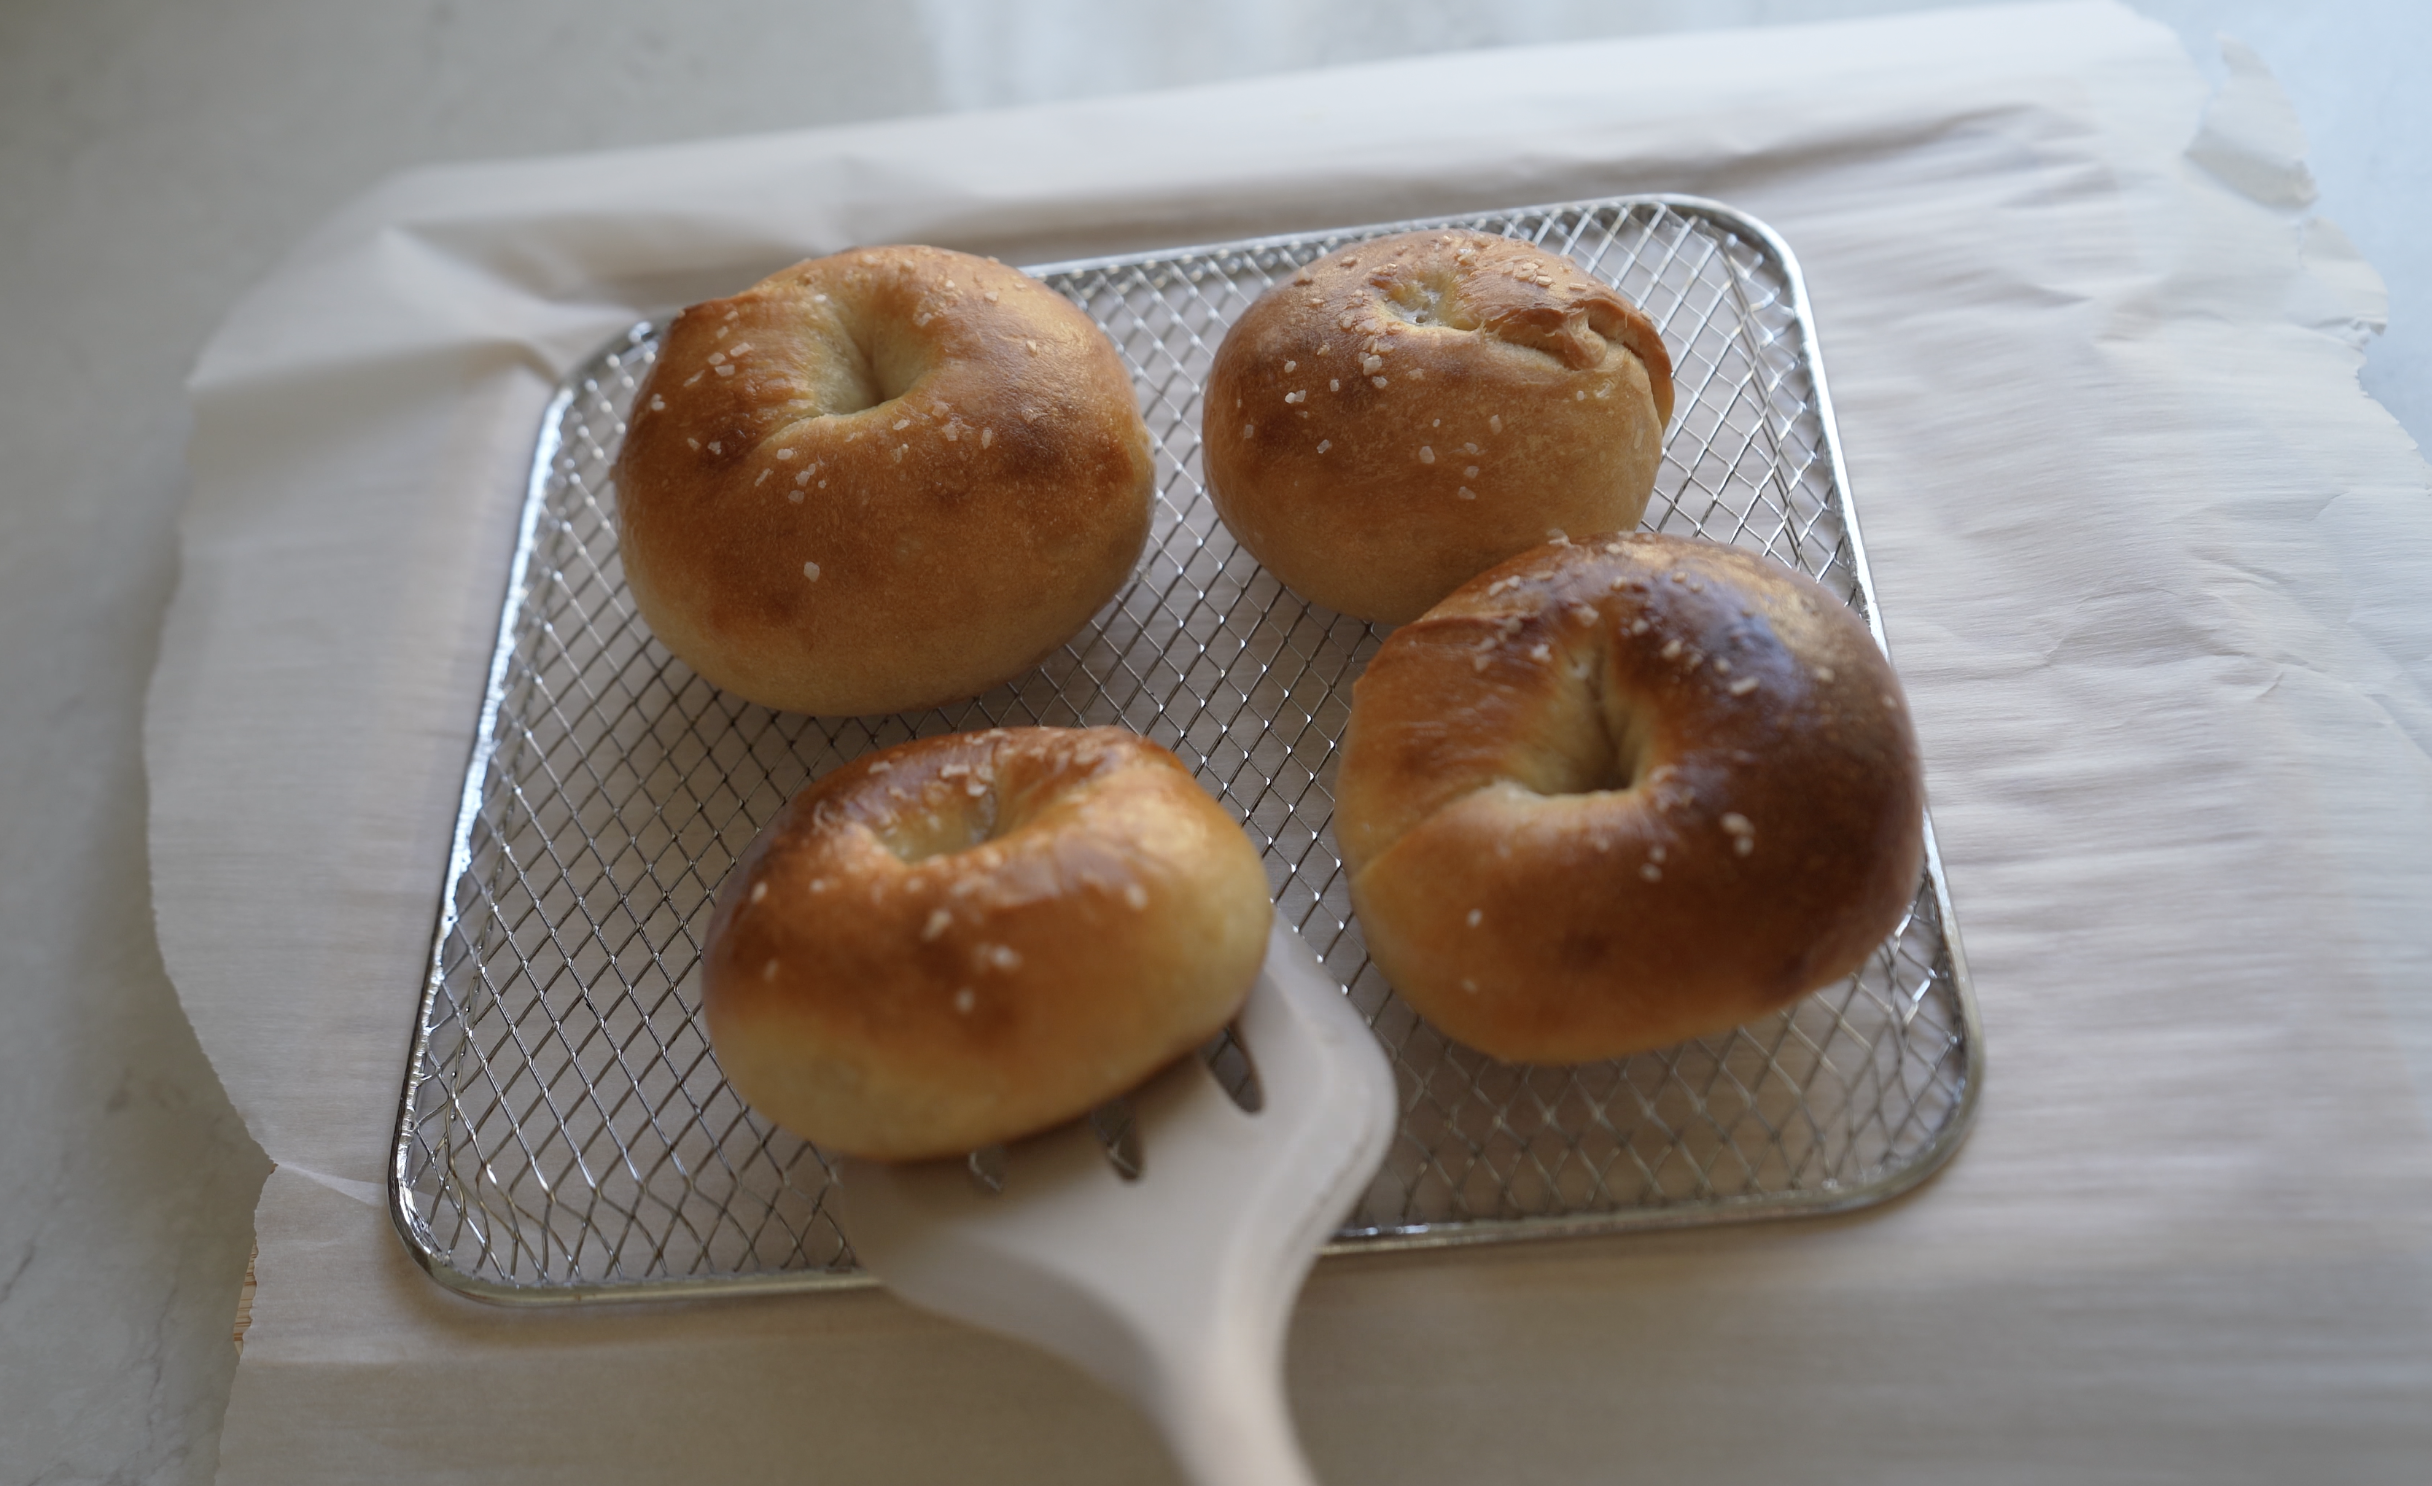
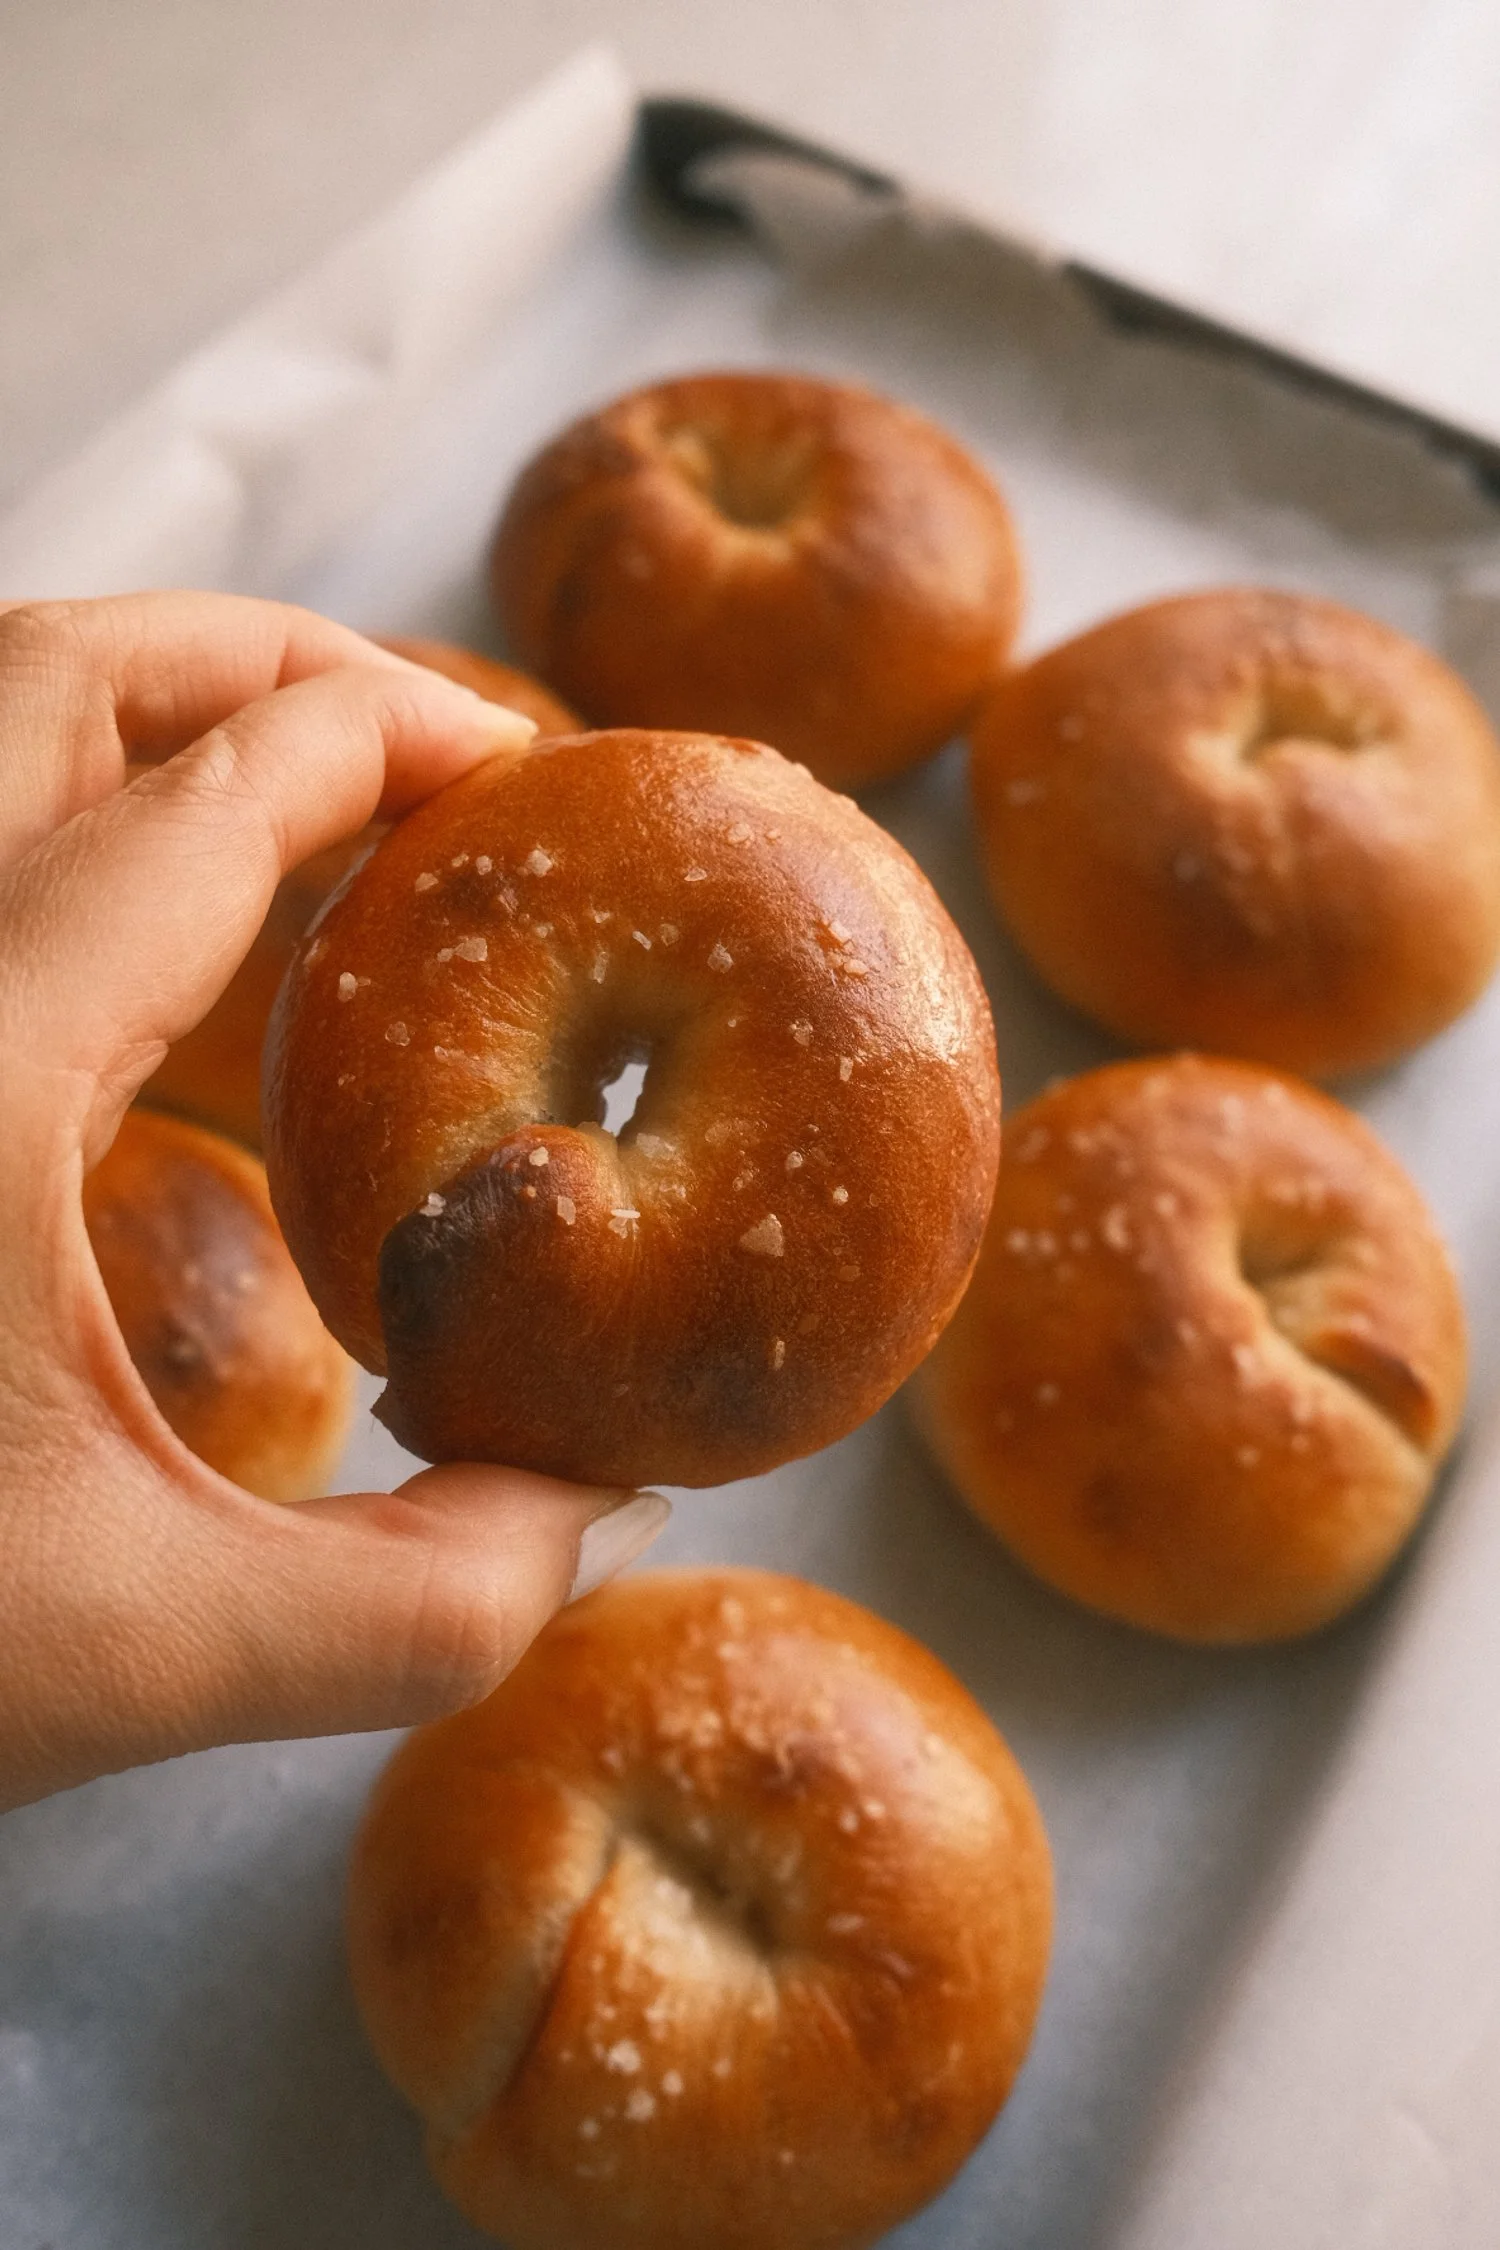
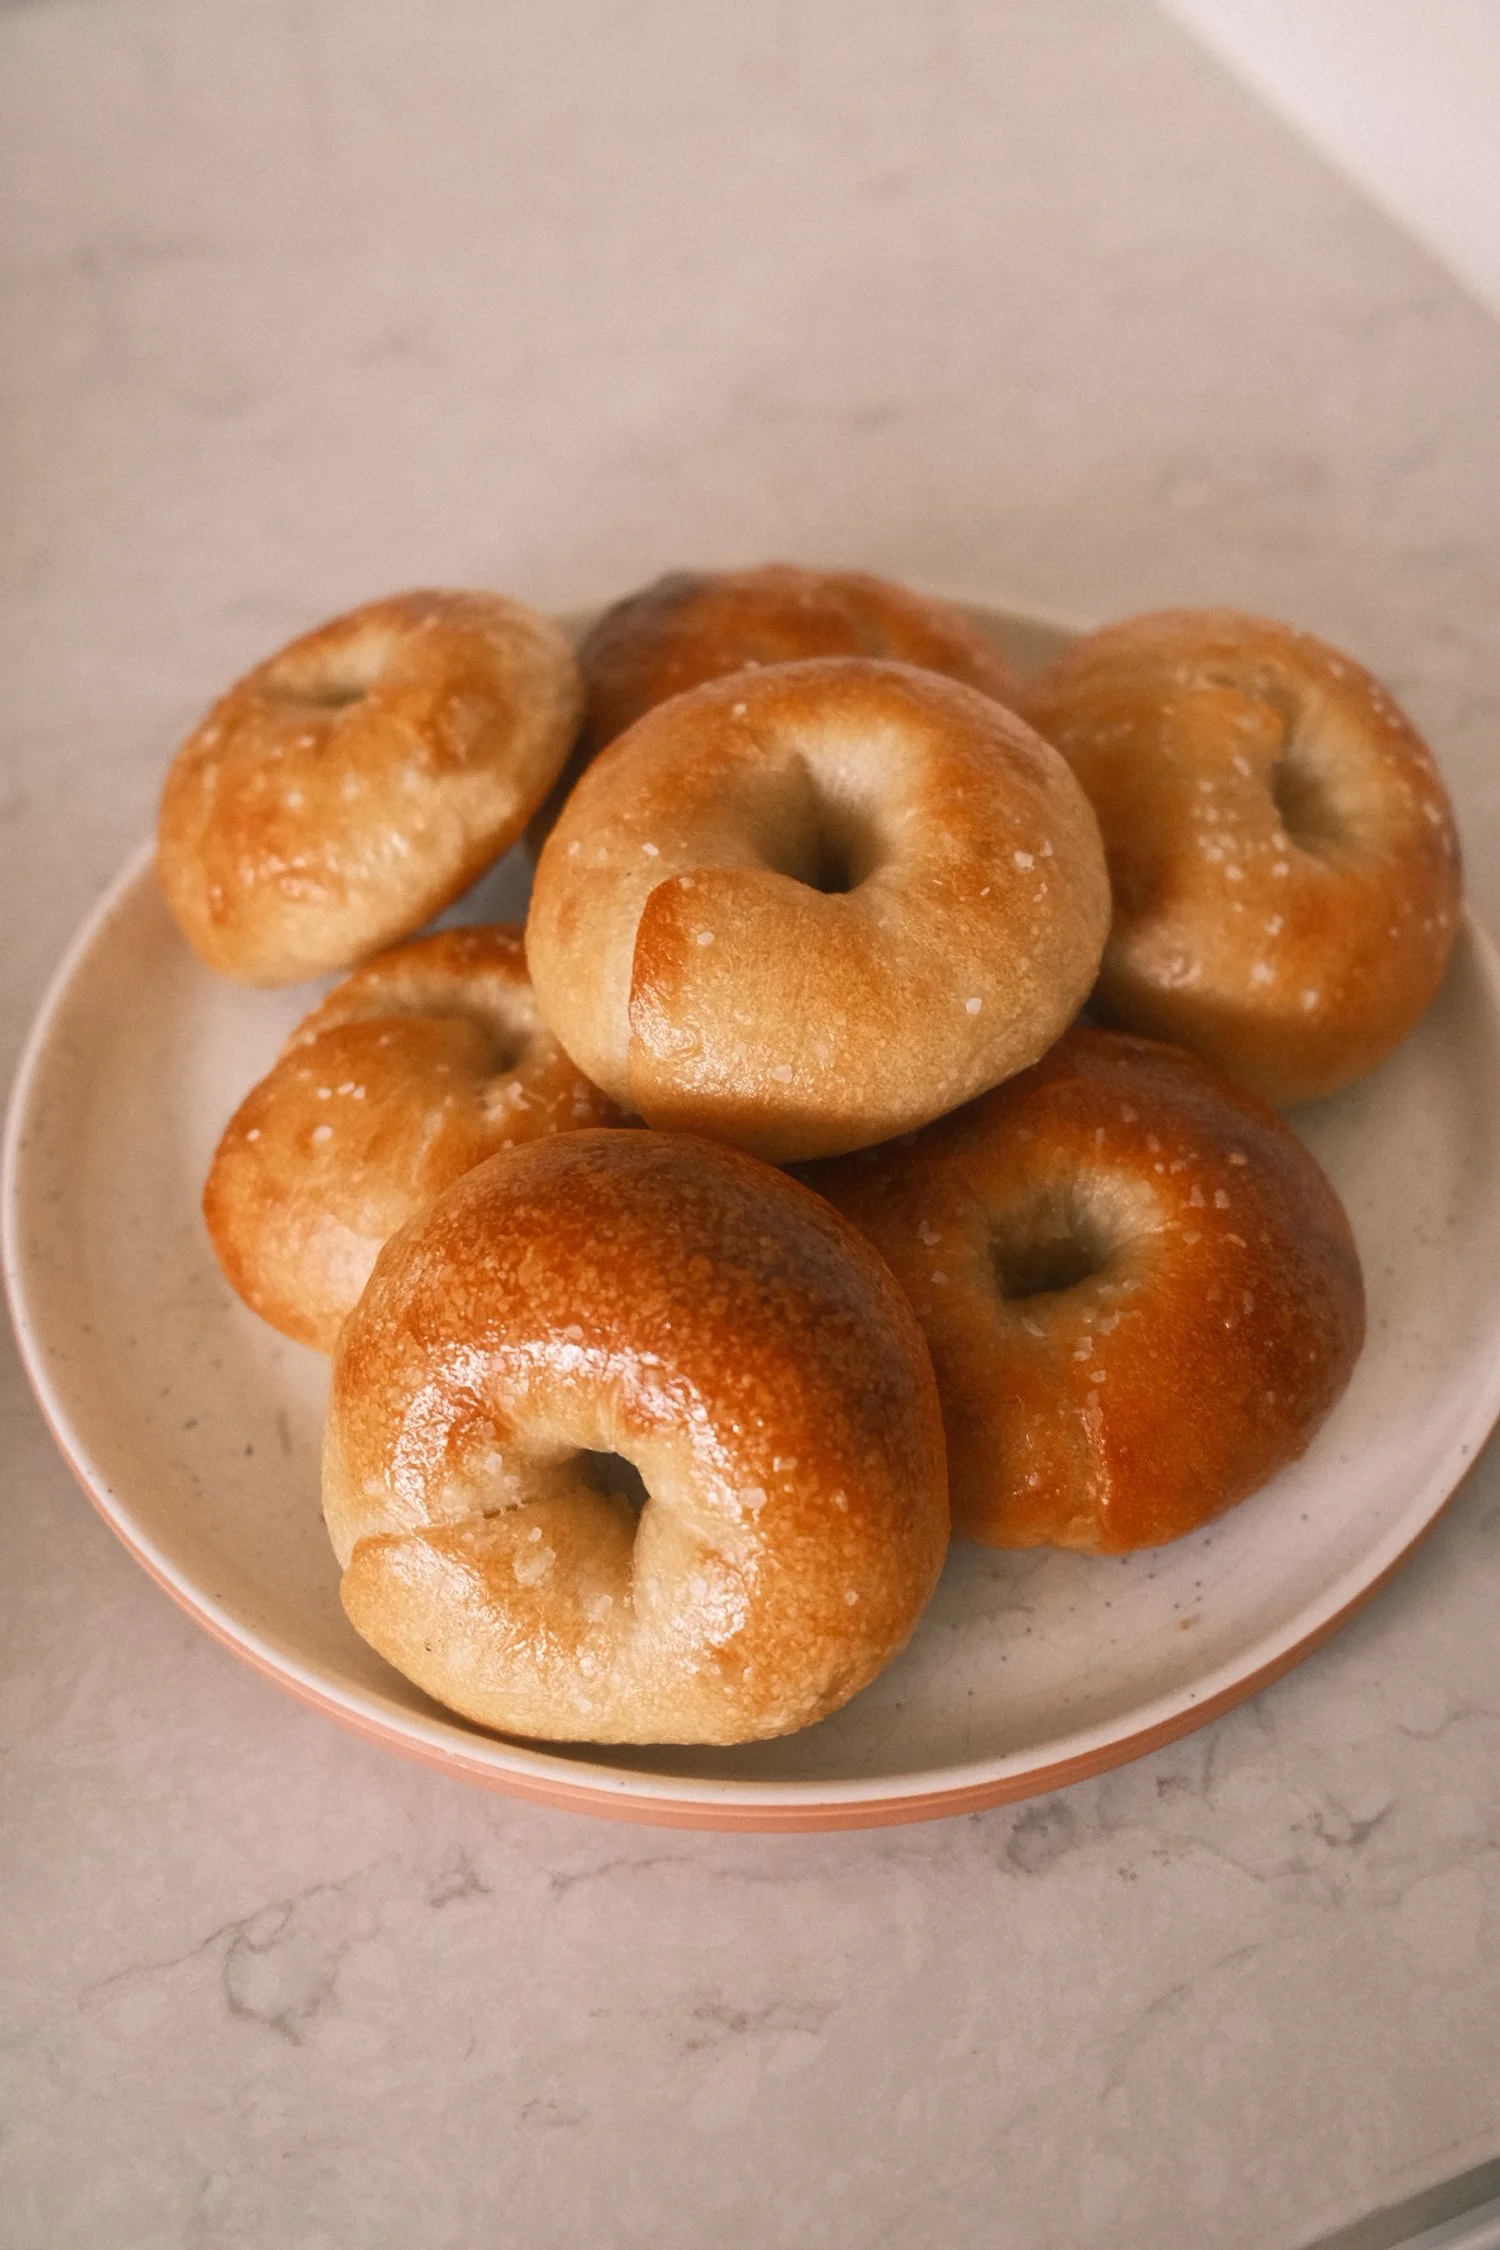
These came out exactly how I hoped:
Crunchy and golden on the outside
Soft, fluffy, and buttery on the inside
Lightly sweet, but still very much a bagel
They didn’t last long in my kitchen and I’ll definitely be making more.
This was my first time baking Japanese-style sourdough bagels, and it took a few test runs to get here. If your first batch isn’t perfect, that’s part of the process and honestly, part of the joy.
If I can make these, you truly can too. Find the full video tutorial below.
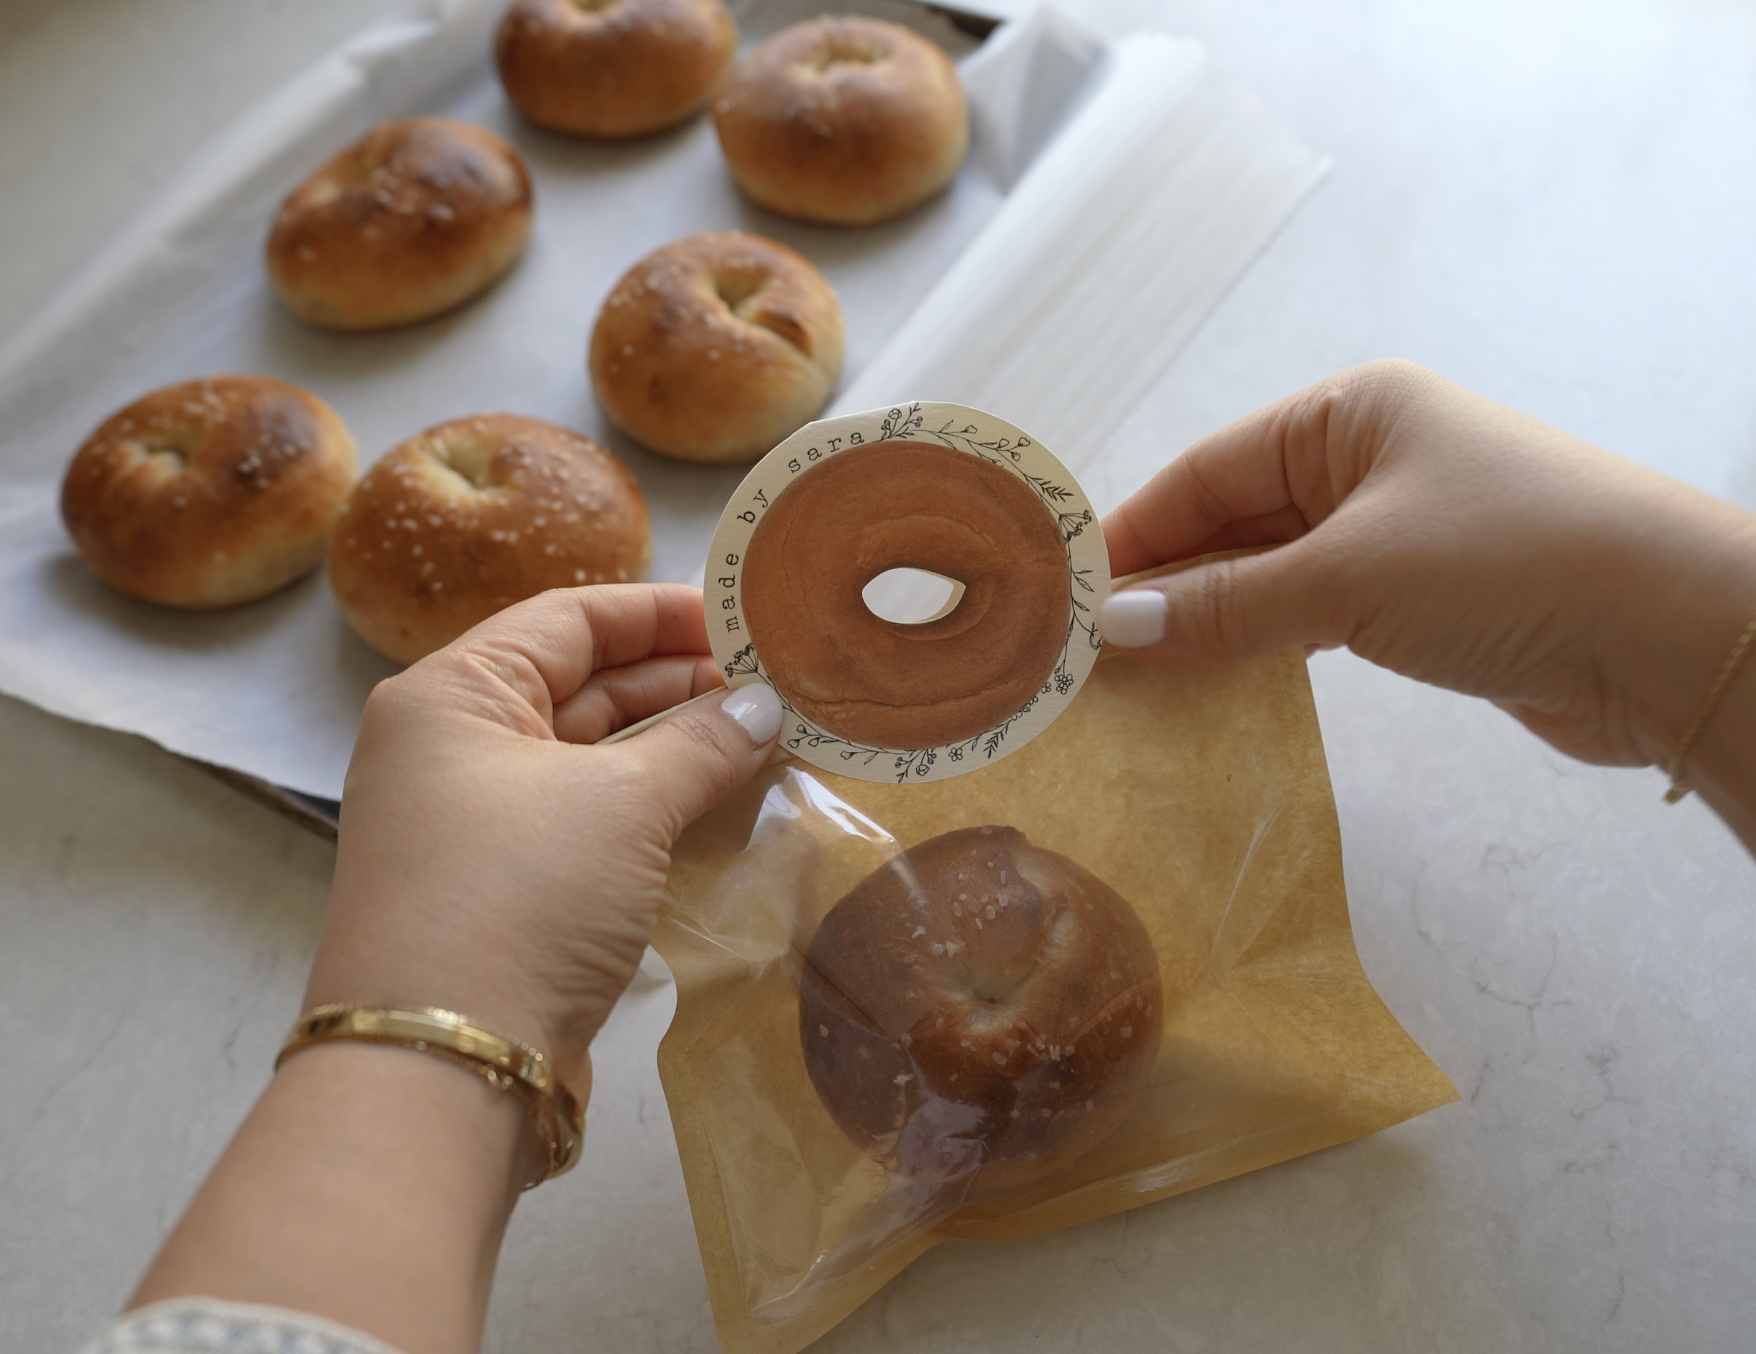
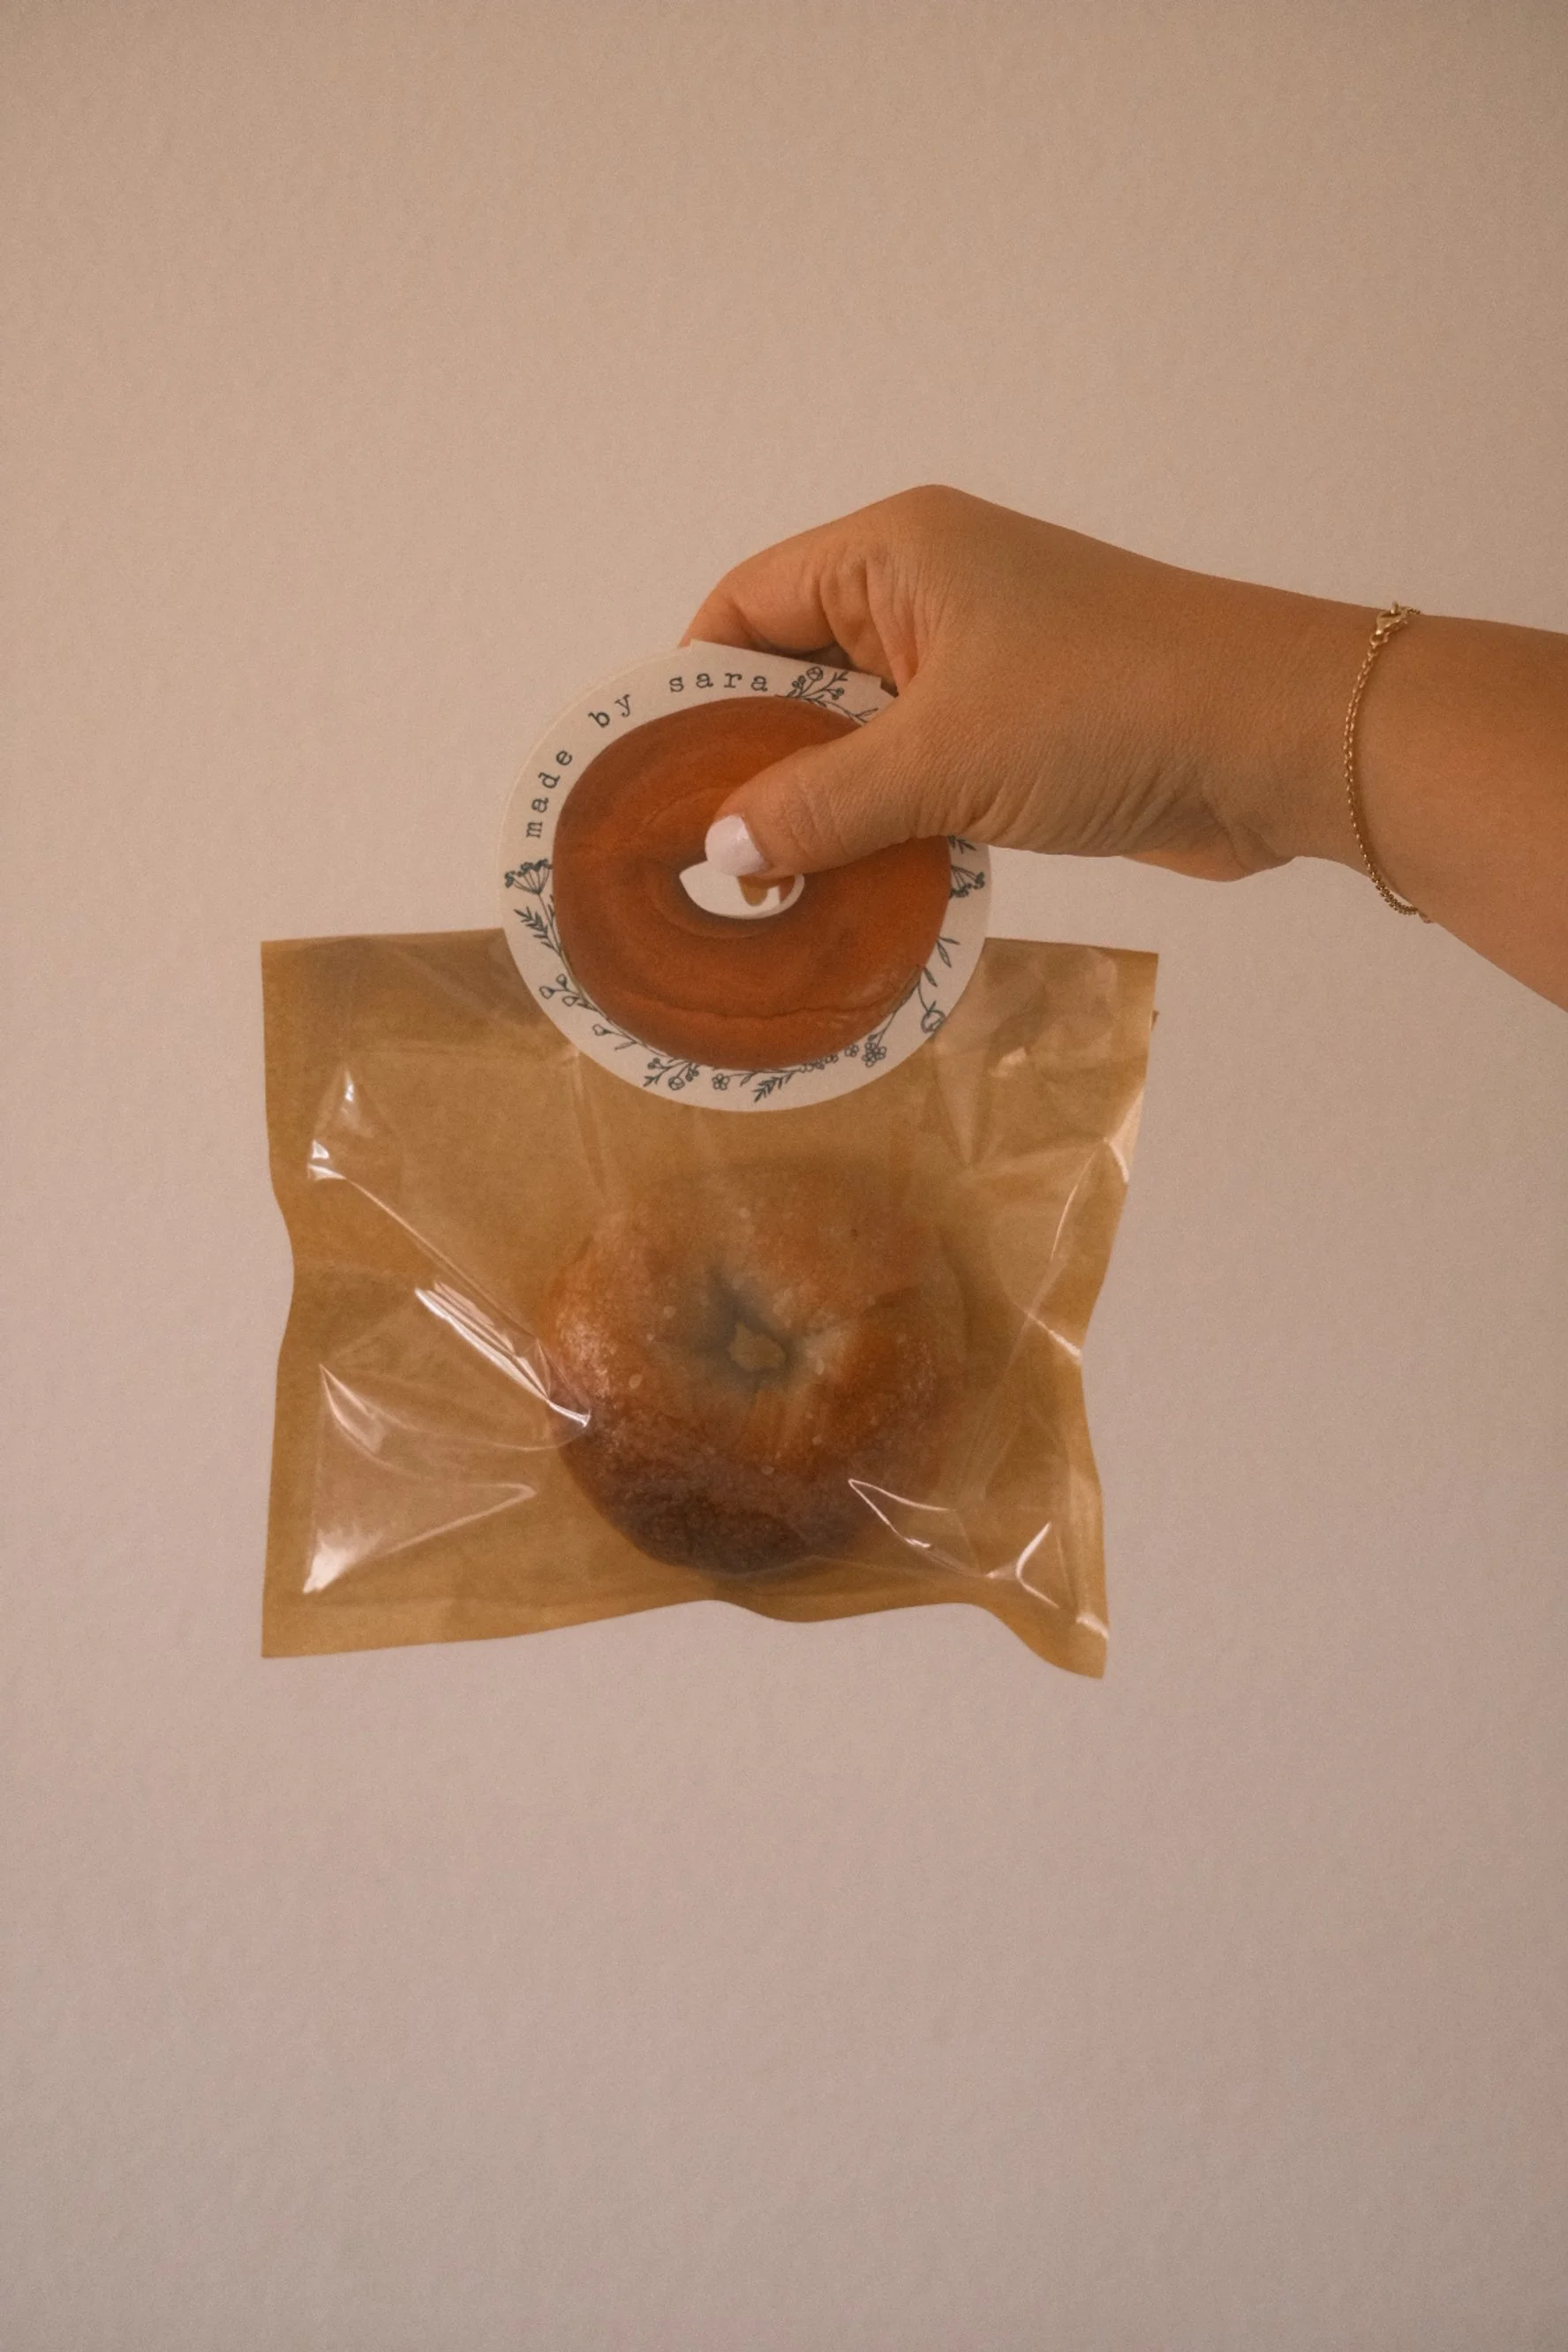
And yes… I couldn’t resist making a cute bagel tag and handle to gift a few to friends. Handmade food deserves handmade packaging.
If you try this recipe, I’d love to hear how it goes. Happy baking 🤍